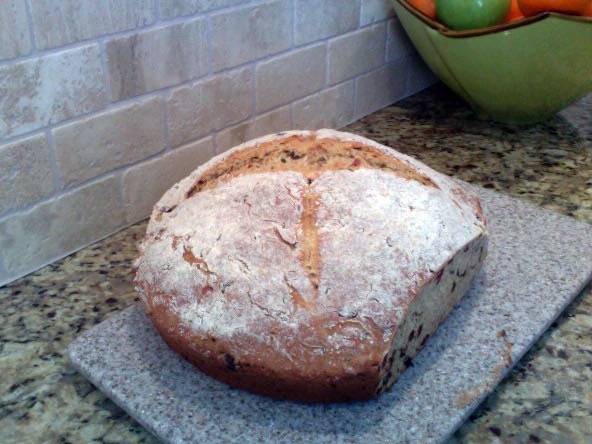
Gluten Free Irish Soda Bread


This bread is good any way you slice it. I compiled ideas from several recipes and this is what I came up with… We started making this for St Patrick’s Day 2009 and it has been a favorite ever since! Since this one is not easily adapted to be dairy free, we have avoided it for the kids until this year. Now that we are able to do baked egg and milk, we converted this to a gluten-free variation this week. The texture is a bit more dense, but the flavor is still spot on!

IRISH SODA BREAD

1/2 cup white sugar

2 cups white flour***

2 cups wheat flour***

***[for gluten free, sub these for 4c gluten free complete flour mix]

2 tsp. baking powder

1 1/2 tsp. baking soda*

3/4 tsp. salt

1 cup currants

1/2 cup craisins

1/2 cup pecans [nut-free sub for sunflower seeds]

1 Tbsp flax seed, pecans

1 Tbsp. caraway seeds

2 eggs lightly beaten

1 1/4 cups buttermilk

1/2 cup sour cream

1/2 cup plain yogurt**

**(can substitute yogurt/sour cream) If using ALL sour cream, decrease baking soda by 1/2 tsp. If using ALL yogurt, increase baking soda by 1/2 tsp.

1. Preheat oven to 350 degrees F (175 degrees C). Grease a 10 inch round cast iron skillet (or could use round baking or cake pan)

2. In a mixing bowl, combine flour, sugar, baking powder, baking soda, salt, raisins and caraway seeds. In a small bowl, blend eggs, buttermilk, sour cream and yogurt. Stir the liquid mixture into flour mixture just until flour is moistened. Knead dough in bowl about 10 to 12 strokes. Dough will be sticky. Place the dough in the prepared skillet or pan and pat down with a dusting of wheat flour. Cut a 1 in. by 6 in. deep “X” into the top of the bread before baking.

3. Bake in a preheated 350 degrees F (175 degrees C) oven for appx 50 min or until brown and pulling away from sides of the pan. Turn bread onto a wire rack to cool.

more than a tree

I try and post about things here that are practical, helpful and informative. This is way beyond that. See this painting? It’s so beautiful. My friend Karie painted it. You may see a tree, but here is what you don’t see…IMG_9759

Karie gave this to me this past summer when I was leaving the hospital. No, not because I was in the hospital. I had stopped by to visit her and her sweet 4 year old little boy, Walker. On July 3, 2014, Walker was playing legos and suddenly everything changed. He had a seizure…then another, and another, and things have never been the same. You can read their full story at http://www.caringbridge.org/visit/walkerphillips

June 2015… I finally made it back to SC to visit her and little Walker who had been in and out of the hospital for almost a year. I had to sit next to one of my littles in a hospital bed for 4 days once. It was heart wrenching. traumatic. exhausting. scary.

Karie has been doing this since that July day in 2014, fighting and advocating for her son to be well…searching desperately for any attempt to find the root cause of all that was terrorizing his little body. In her pain, one day she started to create again while sitting there next to his bed….just waiting. She painted this tree, and then gave it to me as a thank you for stopping by. I thought I had come by to give something to her, but they gave me so much more that day.

Karie and I were roommates way back. After I moved away, I flew back a few years later to be in her wedding. A few years after that, I was able to stop by and visit when she had her first baby. Now I sit here weeping across the country as I fight off the twinges of pain that are only a glimpse into what her mother’s heart is feeling. She is still waiting beside his bed. This time she’s not in the hospital. They said there was nothing more they could do. Little Walker is a fighter. She writes so beautifully and so raw on her blog www.waitingonwalker.com

I look through tears at this painting sitting next to my bed and see something beautiful, but the real beauty the moves me to the core is this mother’s heart….this precious boy’s life. They were created for a purpose. Life isn’t fair. Walker should not be dying. Somehow though through all the pain, there is still beauty. I pray we never fail to see it. In this tree, I see Walker’s life – he has grown into something more and radiates a light that is far beyond what could have been had he been restored only on this earth.

I feel like I have no words for what is happening. No words for her. What could possibly be said? Nothing. Lots of prayers.

Immune support for kiddos

People often ask us what we use with the littles to keep them healthy and their immune systems strong. We are so blessed to have an amazing well known pediatrician who realizes that our bodies are meant to work well if given the proper nutrients.  

 Our boys have a daily regimen of supplements, minerals and oils that have worked wonders. When they do need some extra support, we know what to do and are well equipped!

how to make kombucha

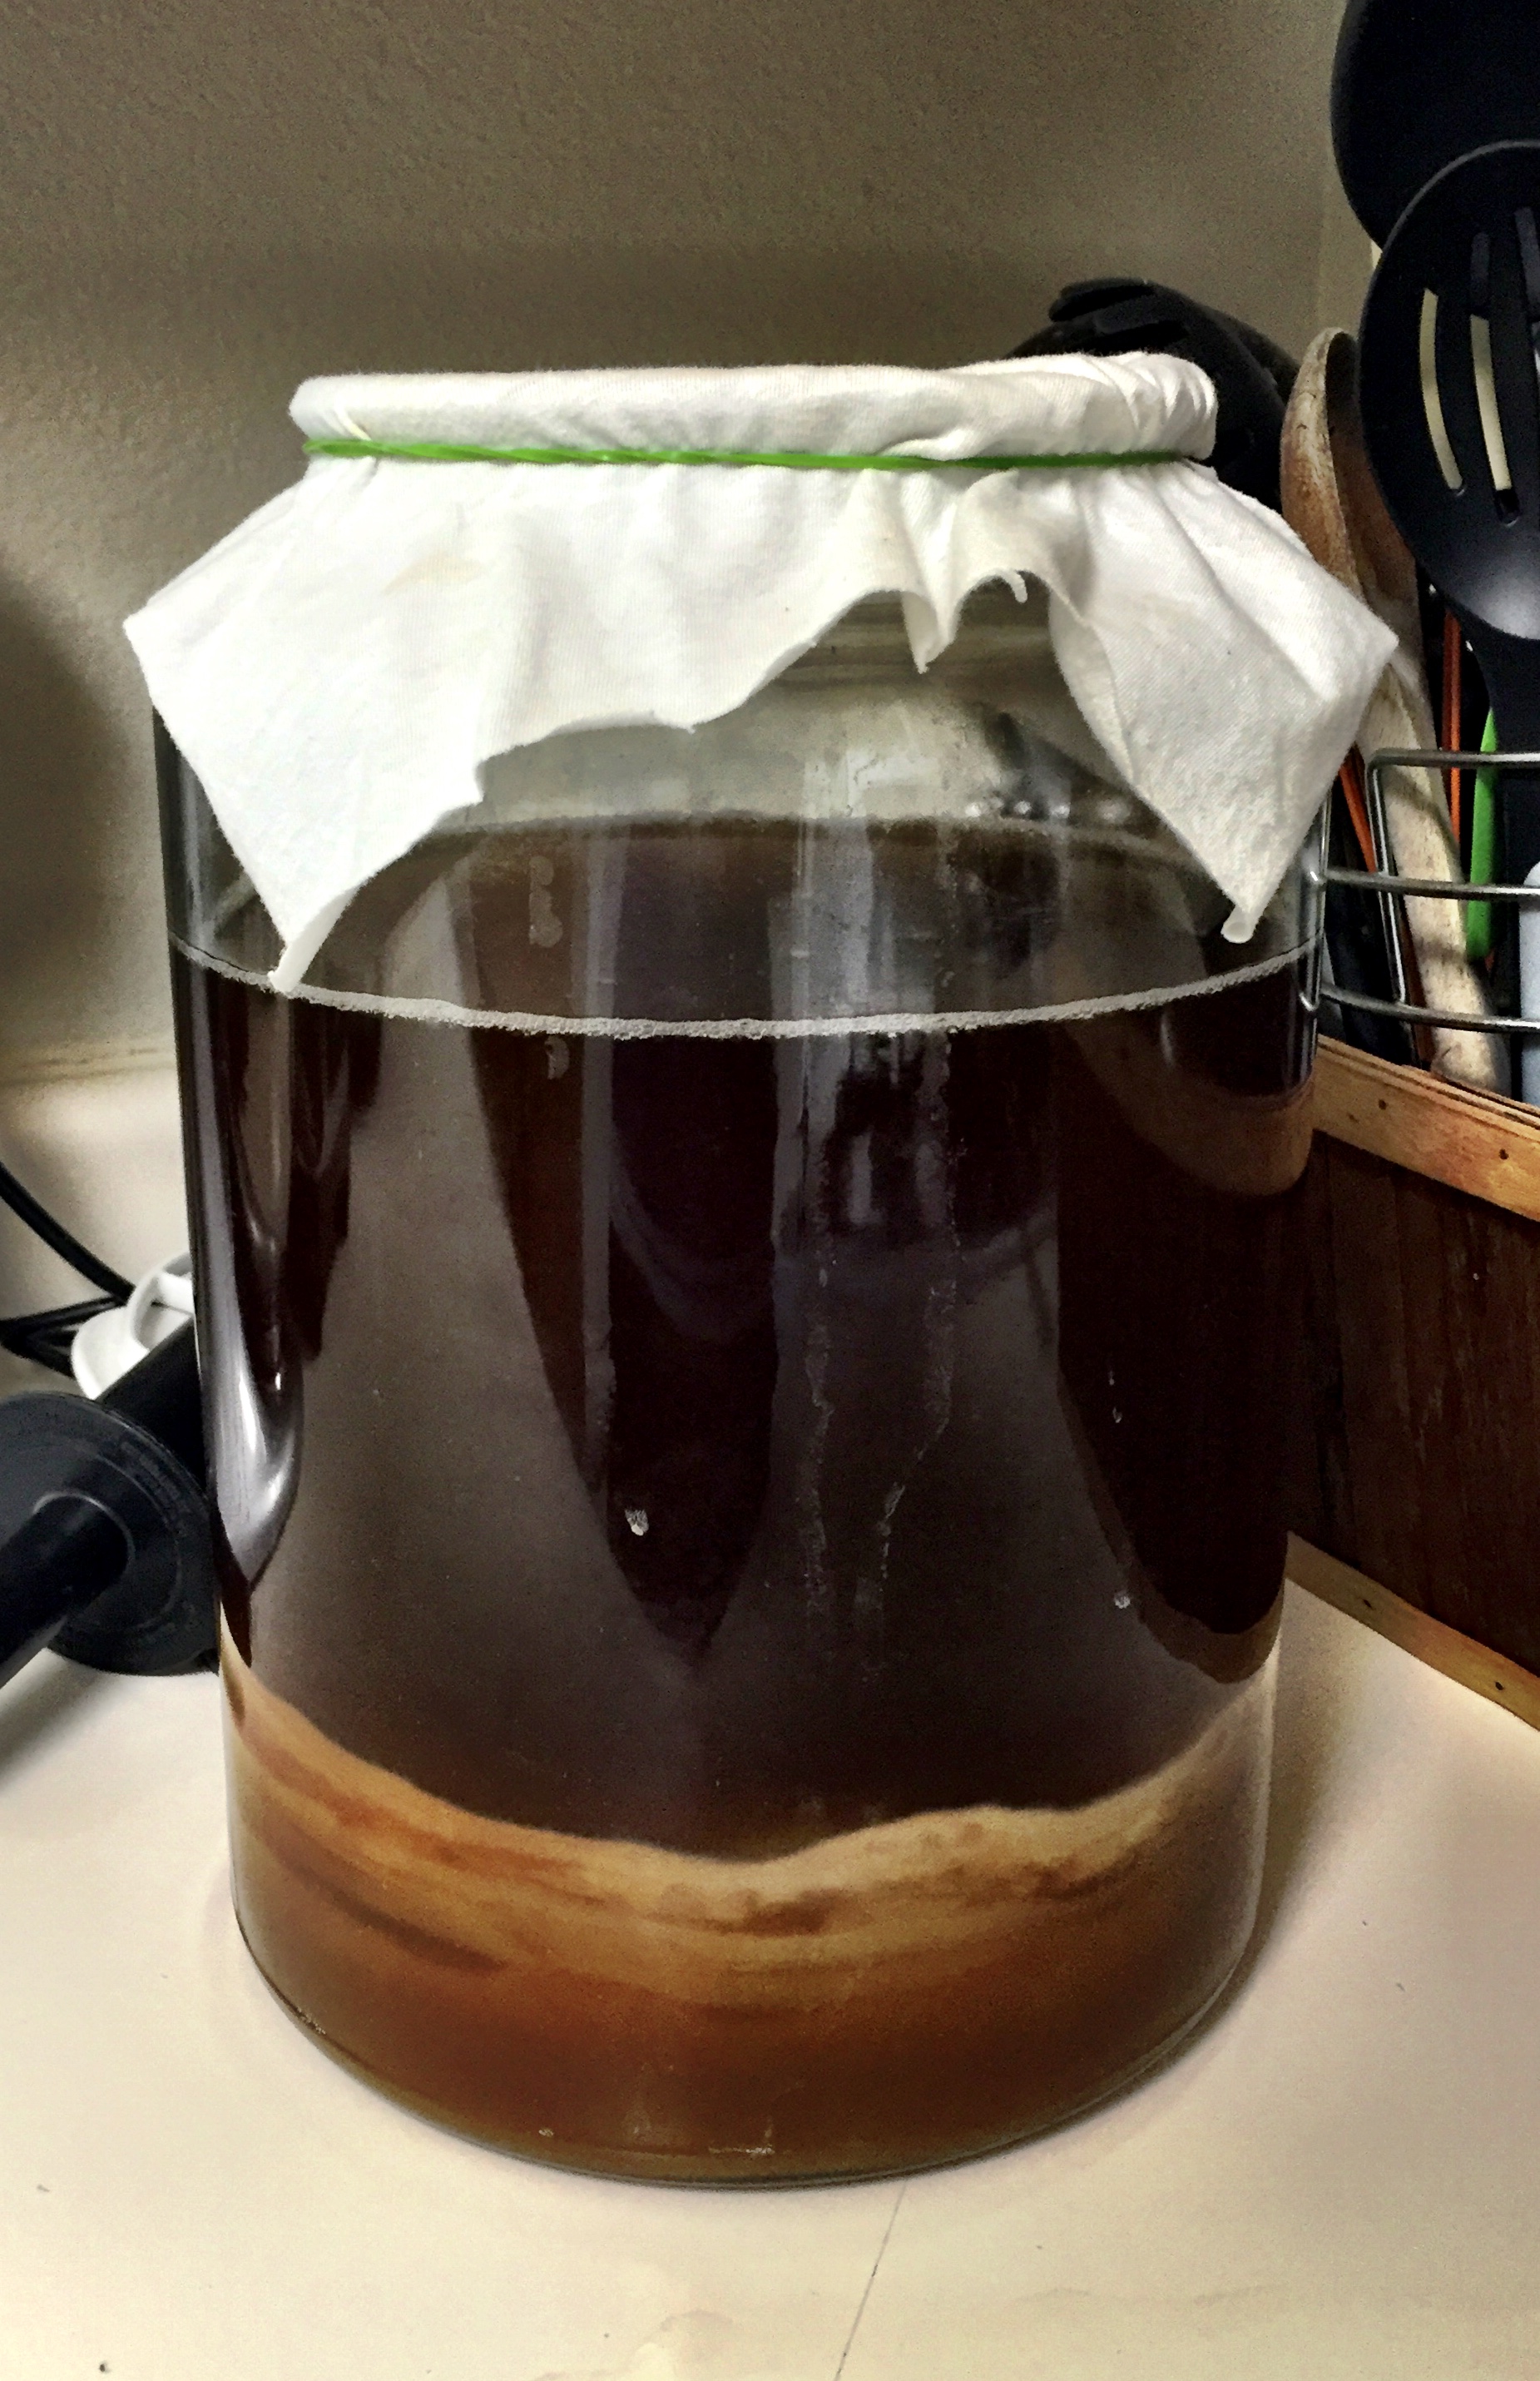
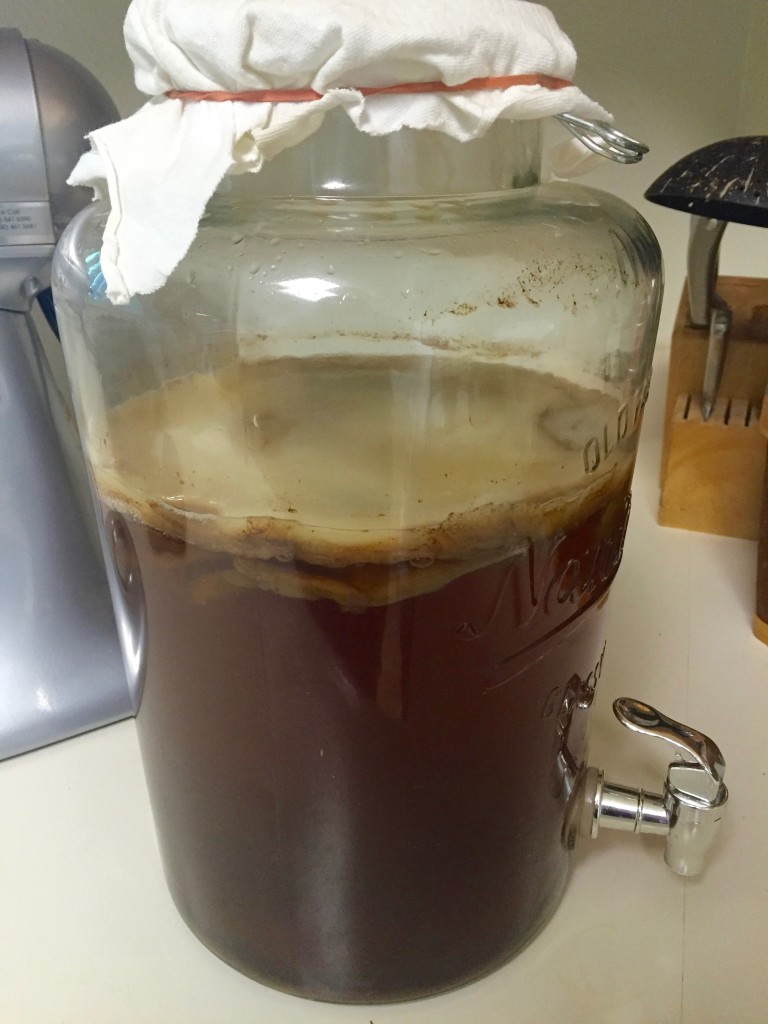
Kombucha can be intimidating, but once you jump in and realize that your scoby won’t jump out of the jar and eat you in the middle of the night (and that it is harder to kill than a goldfish) you’ll think this is super easy. I will do another entire post about the importance of gut health and the benefits kombucha can give, but this will focus on the how-to.IMG_9347

Things you’ll need to get before you start:

  • a scoby (I’d suggest asking around to all your natural minded friends and there’s a good chance someone will know someone who has one they would be happy to part with. If not, you can often get them at local health food stores)
  • a large glass jar (1-2 gallons or larger) I love the ones with the pour spout as it makes continuous brew kombucha SO easy! This is the jar I use and LOVE.
  • a piece of breathable cloth or a tshirt you can cut to make your ‘lid’
  • a rubber band to hold on aforementioned lid
  • enough black tea to brew however many gallons your jar will hold
    NOTE: get PLAIN black caffeinated tea. This is not the time for the decaf and DEFINITELY don’t do herbal. Scoby will not like that.
  • organic sugar (1 cup per gallon)
  • class containers to house your kombucha
    NOTE: If you do a 2nd ferment (the part that makes it yummy and fizzy) you will want to invest in some EZ cap long necked glass flip top bottles. These work SO much better than any others if you like a lot of carbonation These are my FAVORITE!
    You will also want fruit, herbs or fruit juice to flavor your 2nd ferment.
IMG_9693HOW TO:

1) Brew your tea as directed in another container and add your sugar. Let it cool to room temp.
**the temp is super important for the scoby. Do NOT EVER pour your scalding hot water on him, and freezing cold tea will put him into hibernation**

2) gently pour your tea into your large container with your scoby. It should rise to the top. If it doesn’t it may be the temp is off but eventually it should float. if you have to reach in there or touch it with any type of utensil, just do NOT use reactive metal.

3) cover with your [clean] tshirt piece and rubber band that on. I suggest using a dry erase to mark the date so you know when you’ve started this masterpiece.

4) leave it alone in a nice corner where it won’t get too hot or too cold. let it sit there for about a week and then give it a sip. Don’t be scared of the scoby. Just dip a plastic spoon in there and give it a taste. The longer it sits, the more that scoby will eat the sugar, making the health benefits great, but the flavor will start to really sour (vinegary) the longer that it sits. Some people like to let it go for 2 weeks – I personally have found 8-9 days is great for my liking.

5) this is where you can drink it as-is or choose to go to 2nd ferment. This is my favorite part, but will require a few additional containers. If you paid attention and got the EZ cap flip top glass bottles (mentioned above), now is the time to pull those out. click here to get the cobalt ones I LOVE!

2nd FERMENT

6) pour your kombucha into your smaller containers and add about 1/4 c juice to every 16 oz container that you fill with kombucha. MAKE SURE to leave enough room for this stuff to ‘breathe’ so do NOT fill the bottle too high (1-2″ space left at the top or in the neck)IMG_9470
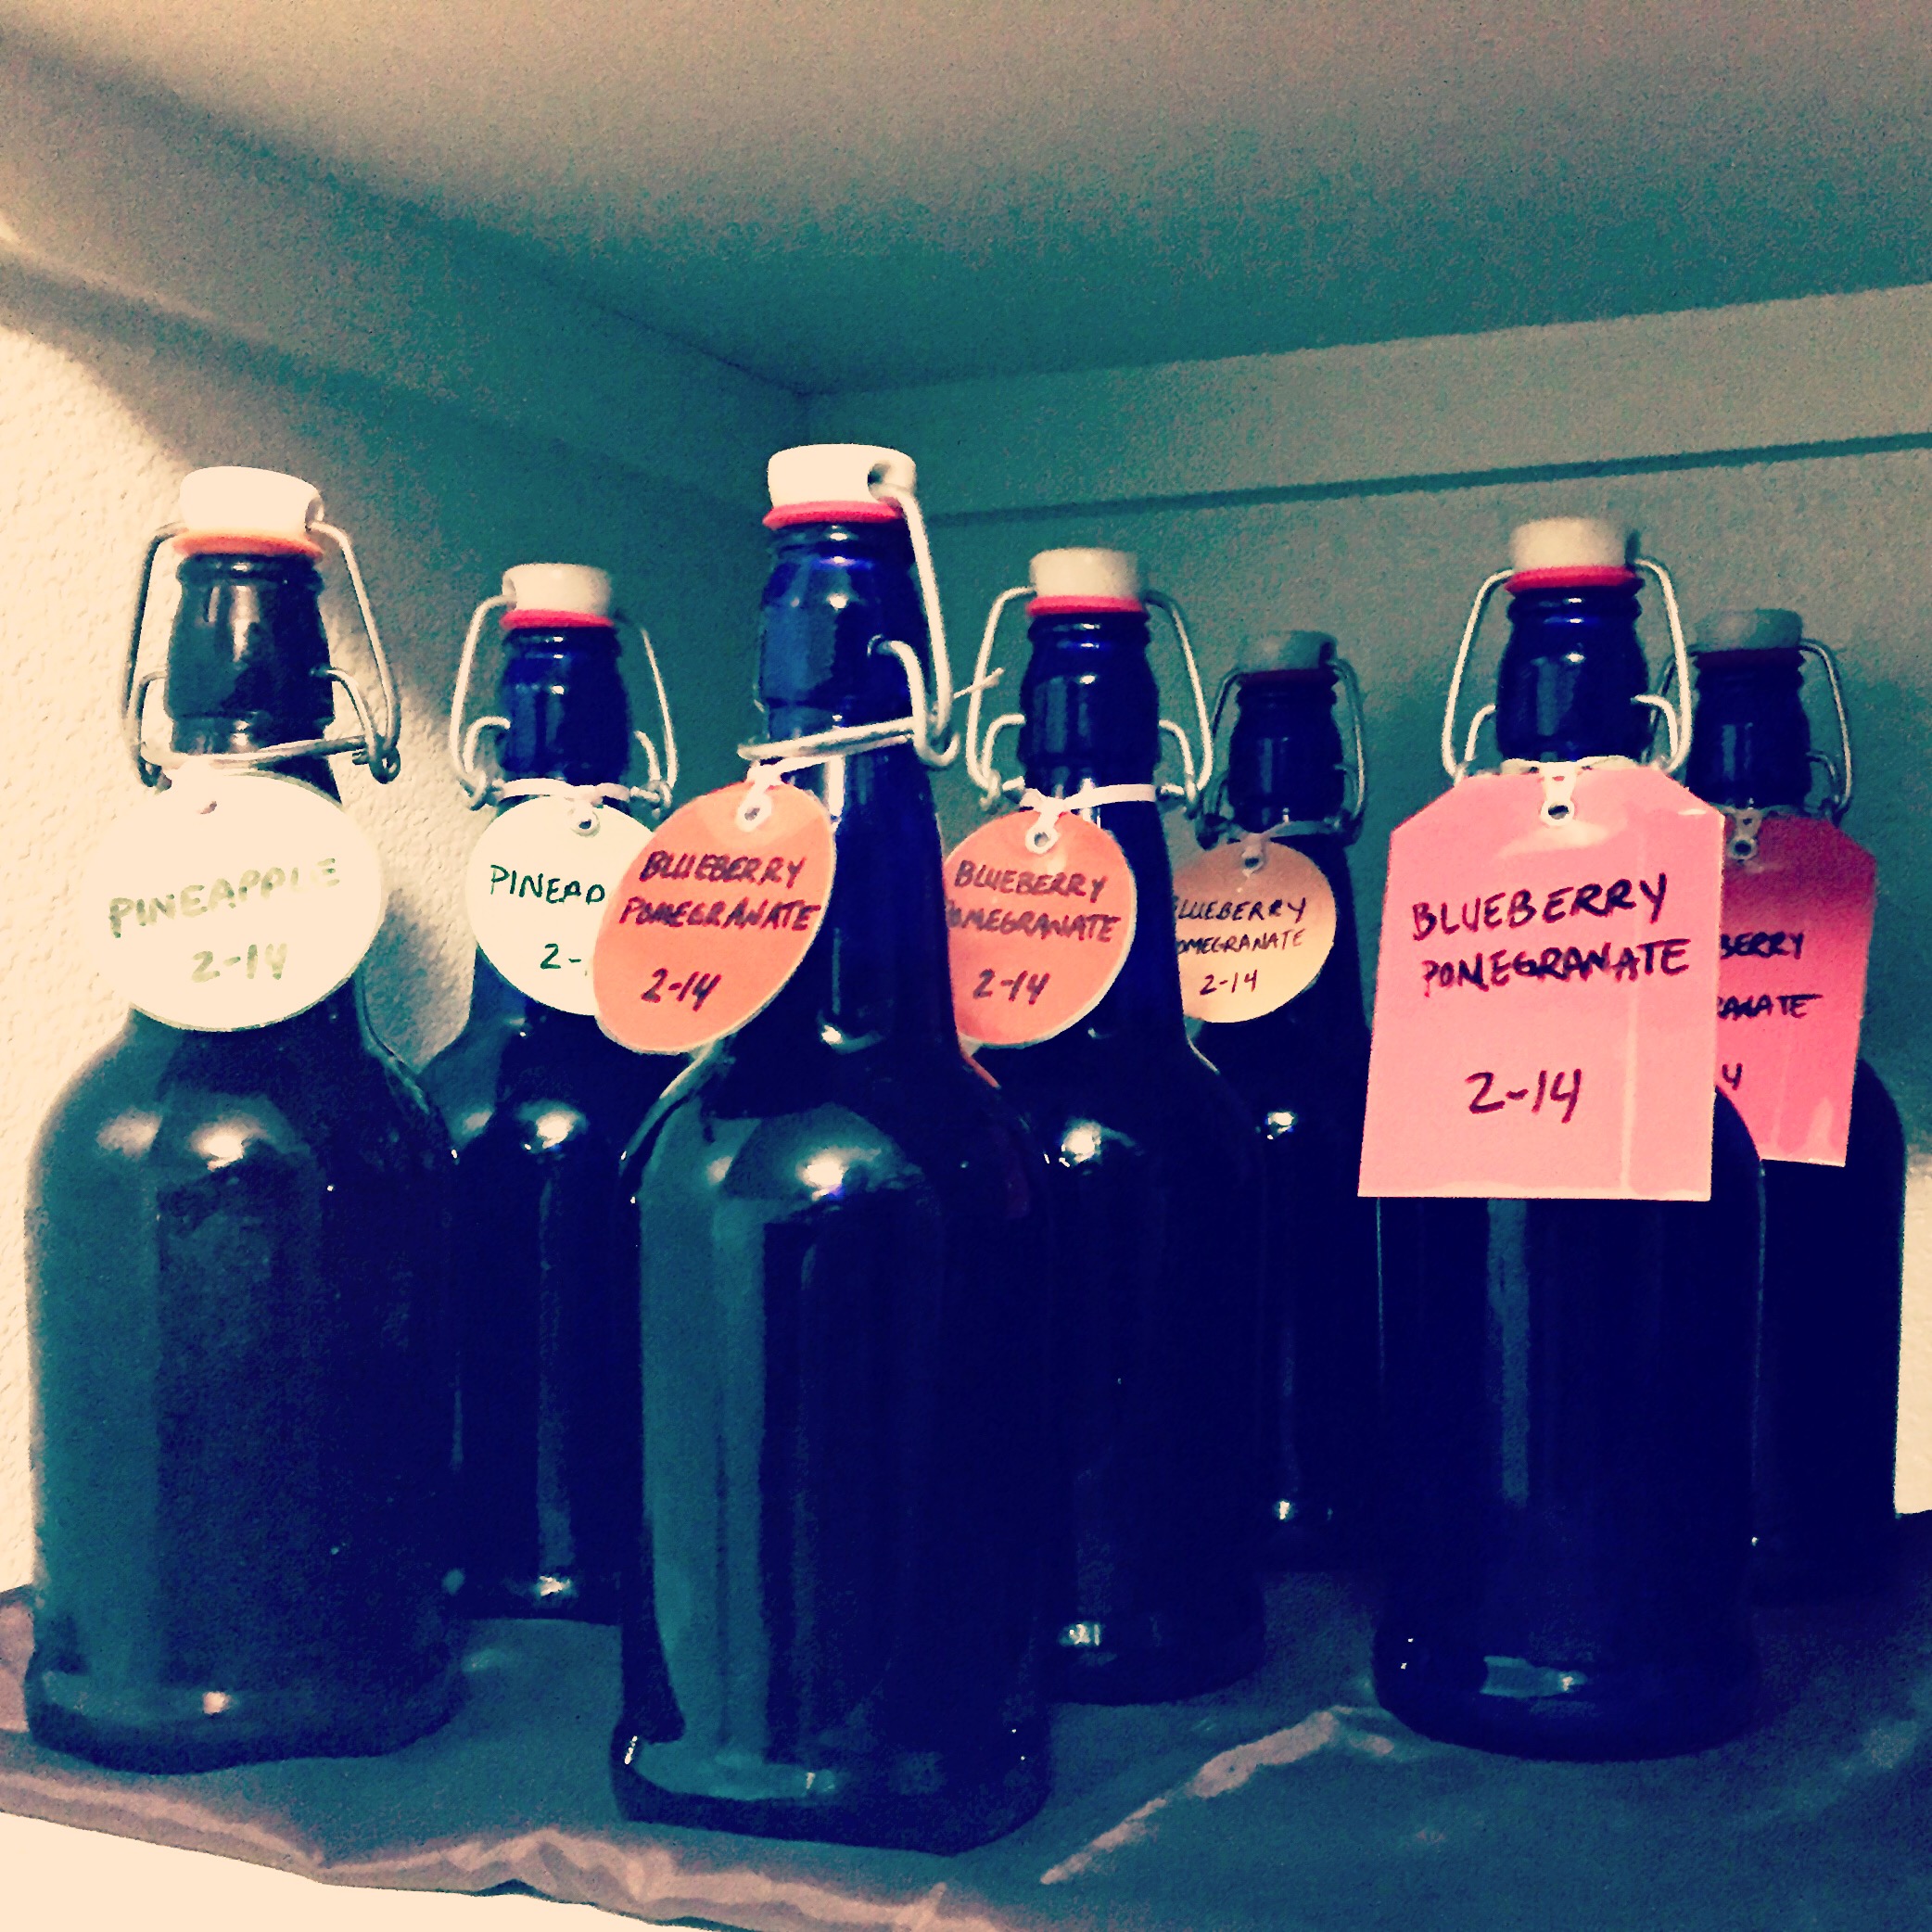
7) seal your bottles and let them sit anywhere from 2-10 more days on the shelf. only refrigerate them when you are ready for the fermentation to stop (when it is sufficiently carbonated to your liking)

8) carefully pop open the top (it can get SUPER fizzy) and enjoy your handiwork knowing that you are getting a great probiotic drink at a fraction of the cost to buy it in the stores!

2nd FERMENT FLAVOR OPTIONS:

There are endless possibilities when it comes to how you want to flavor your 2nd ferment, but here are a few that I’ve tried and our favorites:

~ Organic Cranberry Pomegranate juice – LOVE
~ Organic Blueberry Pomegranate juice – LOVE
~ Pineapple juice – my FAVORITE
~ Apple juice – MEH – It’s really good if you let it carbonate a lot and then tastes like sparkling cider, but otherwise tastes more like ACV
~ Fresh Peach slices – NOT A FAN – Love the idea of the fresh fruit, but this just didn’t add enough sugar to carbonate it to my liking and still had a strong vinegar taste

The BEST part about flavoring your kombucha is that you can also add in a drop of dōTERRA essential oil into the 2nd ferment (make sure it is one that is safe for internal use). They give an amazing burst of flavor!

Check out some of these combos (and msg me if you need any of these oils):
Blueberry + Pomegranate + dōTERRA Lavender
Blueberry + Pomegranate + dōTERRA Lemon
Blueberry + Pomegranate + dōTERRA Tangerine

You can also add in things like cinnamon, herbs, oils, turmeric, etc. I’ve found powders like cinnamon and turmeric add good flavor, but they leave a thick sludge at the bottom, so be prepared to either suck it up and drink that or strain it out.

Would LOVE to hear your favorite flavors, tips and tricks!
Breakfast casserole

Our lives have taken a step in an exciting direction with the discovery that our oldest can have eggs as long as they are baked into something and thoroughly cooked! We LOVE eggs, and I feel like some mornings, breakfast just isn’t complete without them. For years we just made due, but I have recently been able to incorporate a breakfast casserole and my little one is ecstatic!

This is so easy and versatile – it takes about 45 min to bake so it’s great to get up and throw in early before they all get crazy and hangry.

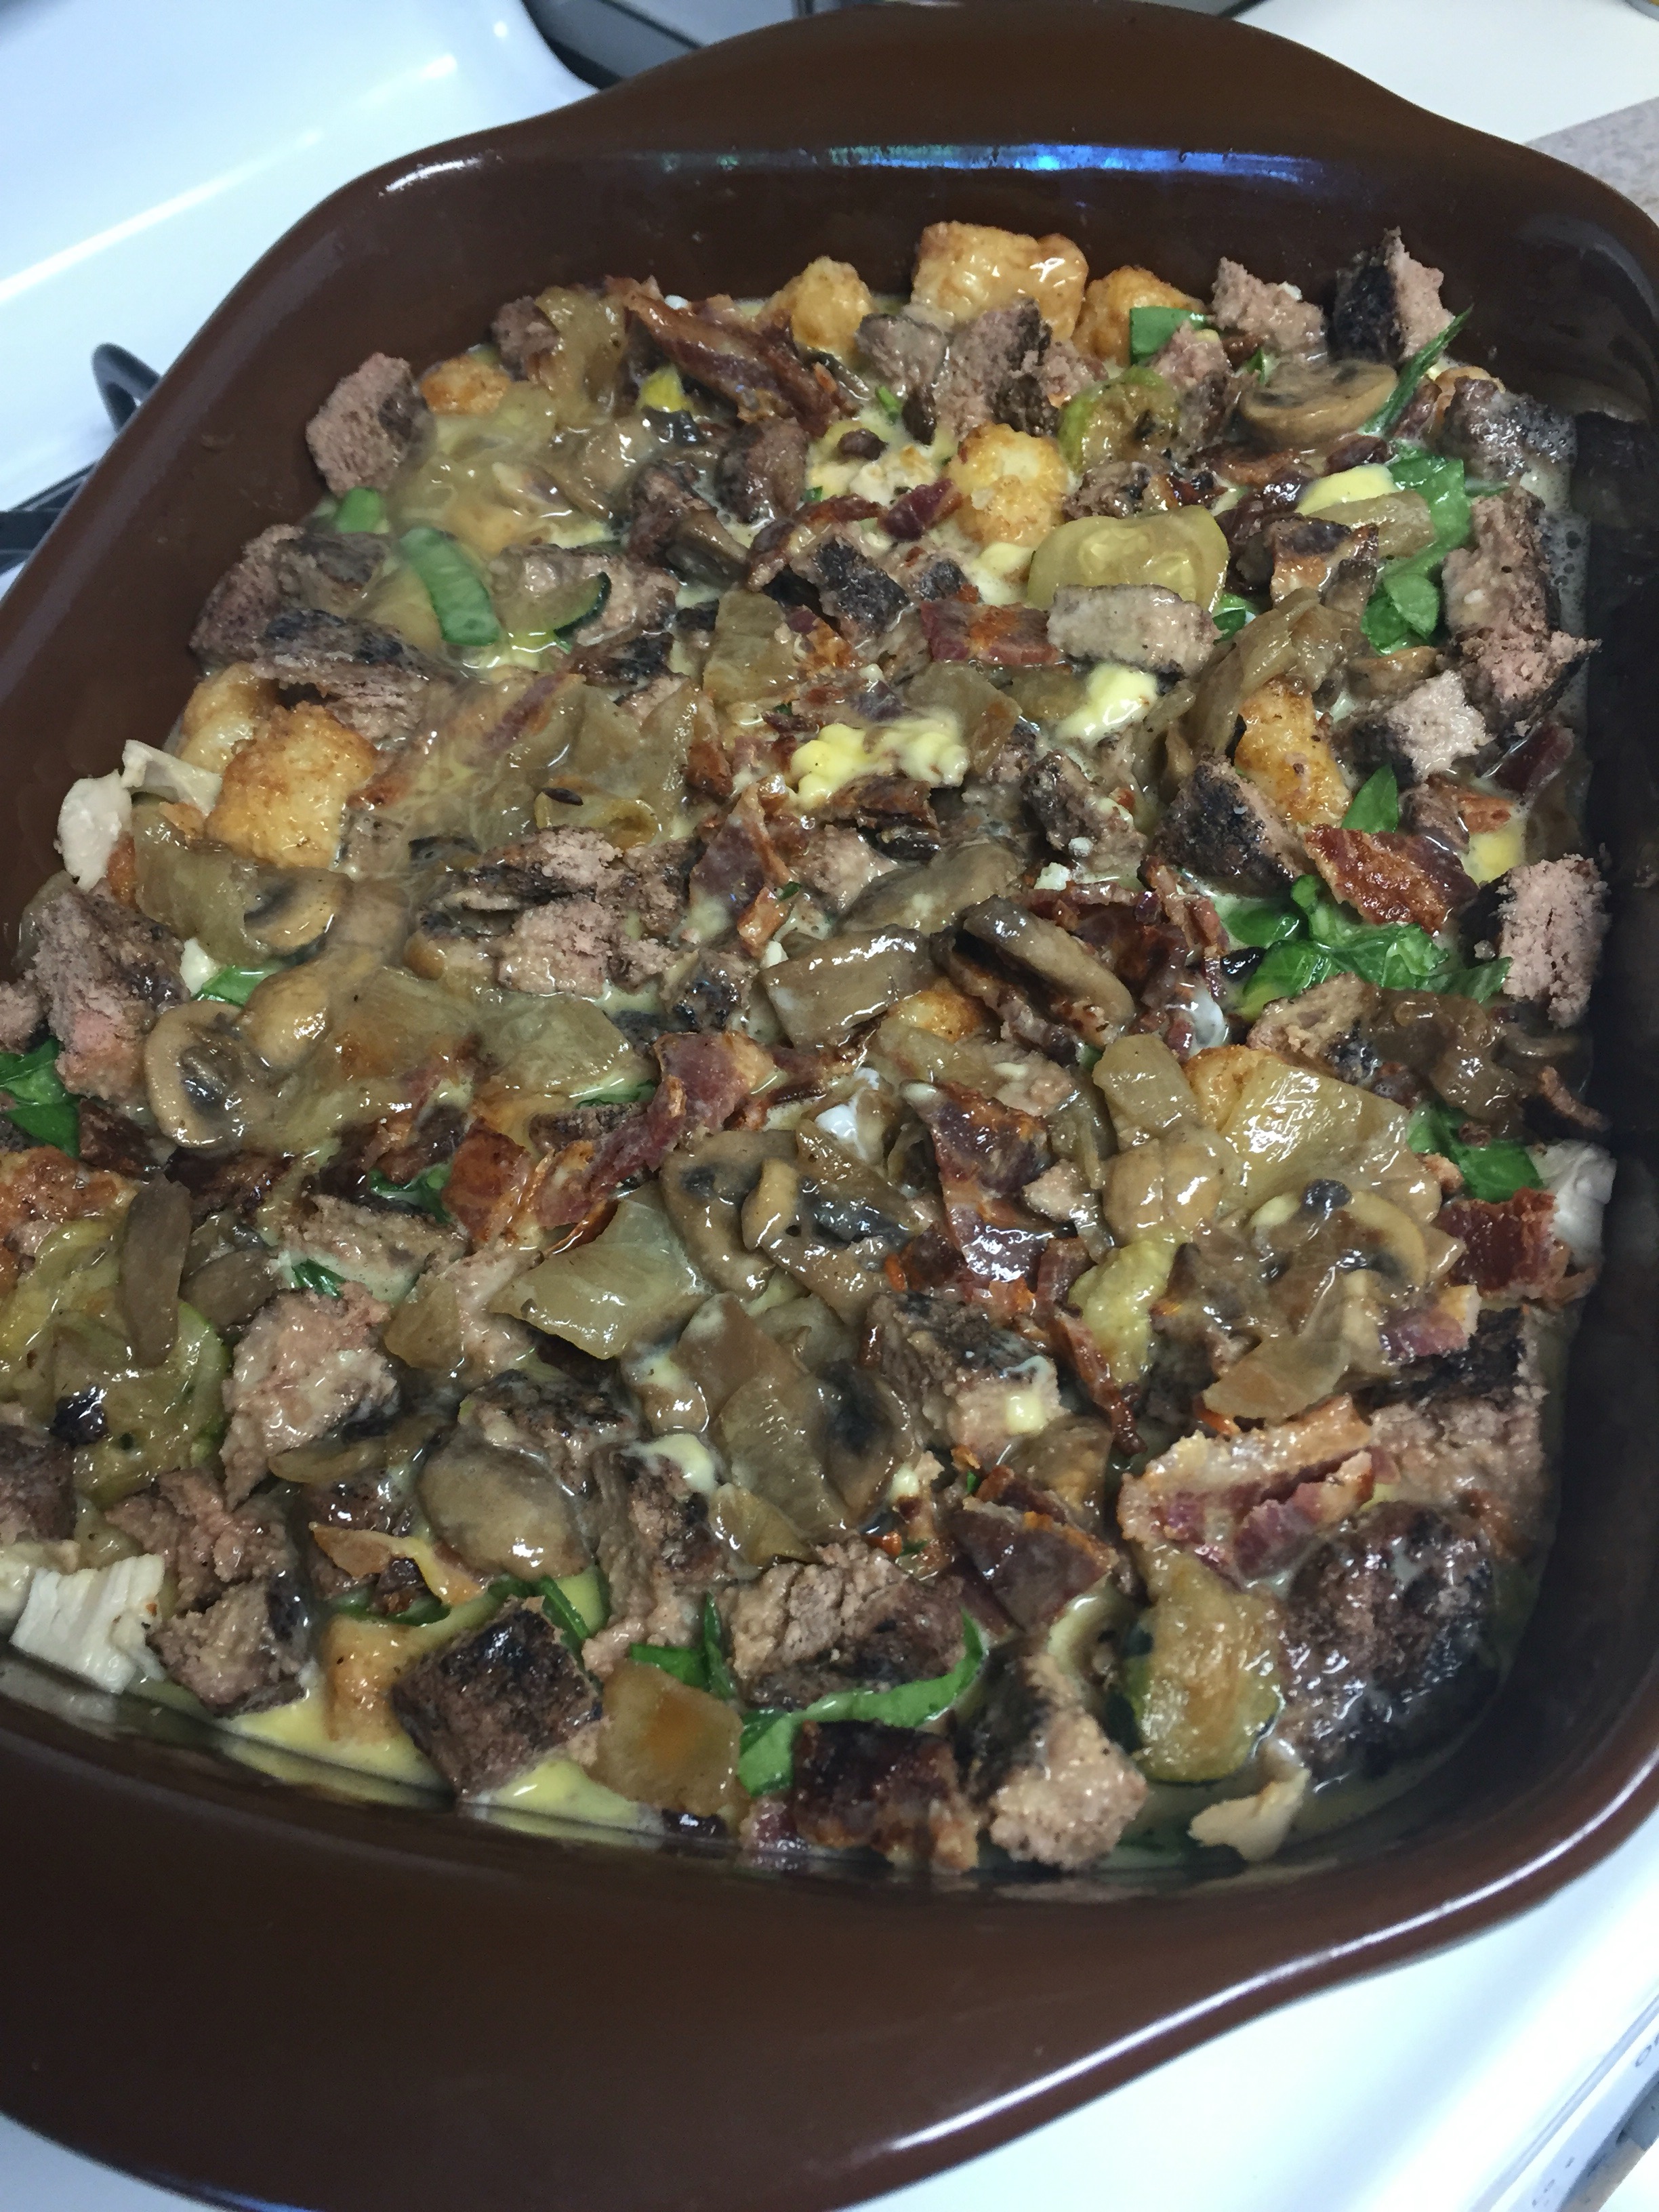
Here’s a picture of our casserole today before it has been baked. It was a great way to clean out the fridge from the random meats, sides and veggies from the week!
Ingredients:

You can literally throw anything into this! Here is what we usually do:

  • Pre cook a roll of natural sausage or breakfast meat
  • Add chopped (pre-cooked) potatoes or even throw in a layer of frozen fries or tots
  • Chop in veggies you have in the fridge (mushrooms, spinach, zucchini and onions are our favorites)
  • Add cheese if you can have that. We aren’t quite there but sometimes I mix in some dairy free Daiya cheddar shreds
  • Mix about 8-12 eggs until they are whipped up, adding in some cream or milk of choice, salt and pepper (I love adding in 1-2 drops of dōTERRA Black Pepper essential oil)
  • Because we still need a binder with our eggs to make them safer, I add in about 1/4 cup gluten free bisquick to the egg mix

Grease a 9×13 casserole dish and grease the bottom. Throw in your meat, potatoes, veggies and then pour your egg mix on top to set it all!

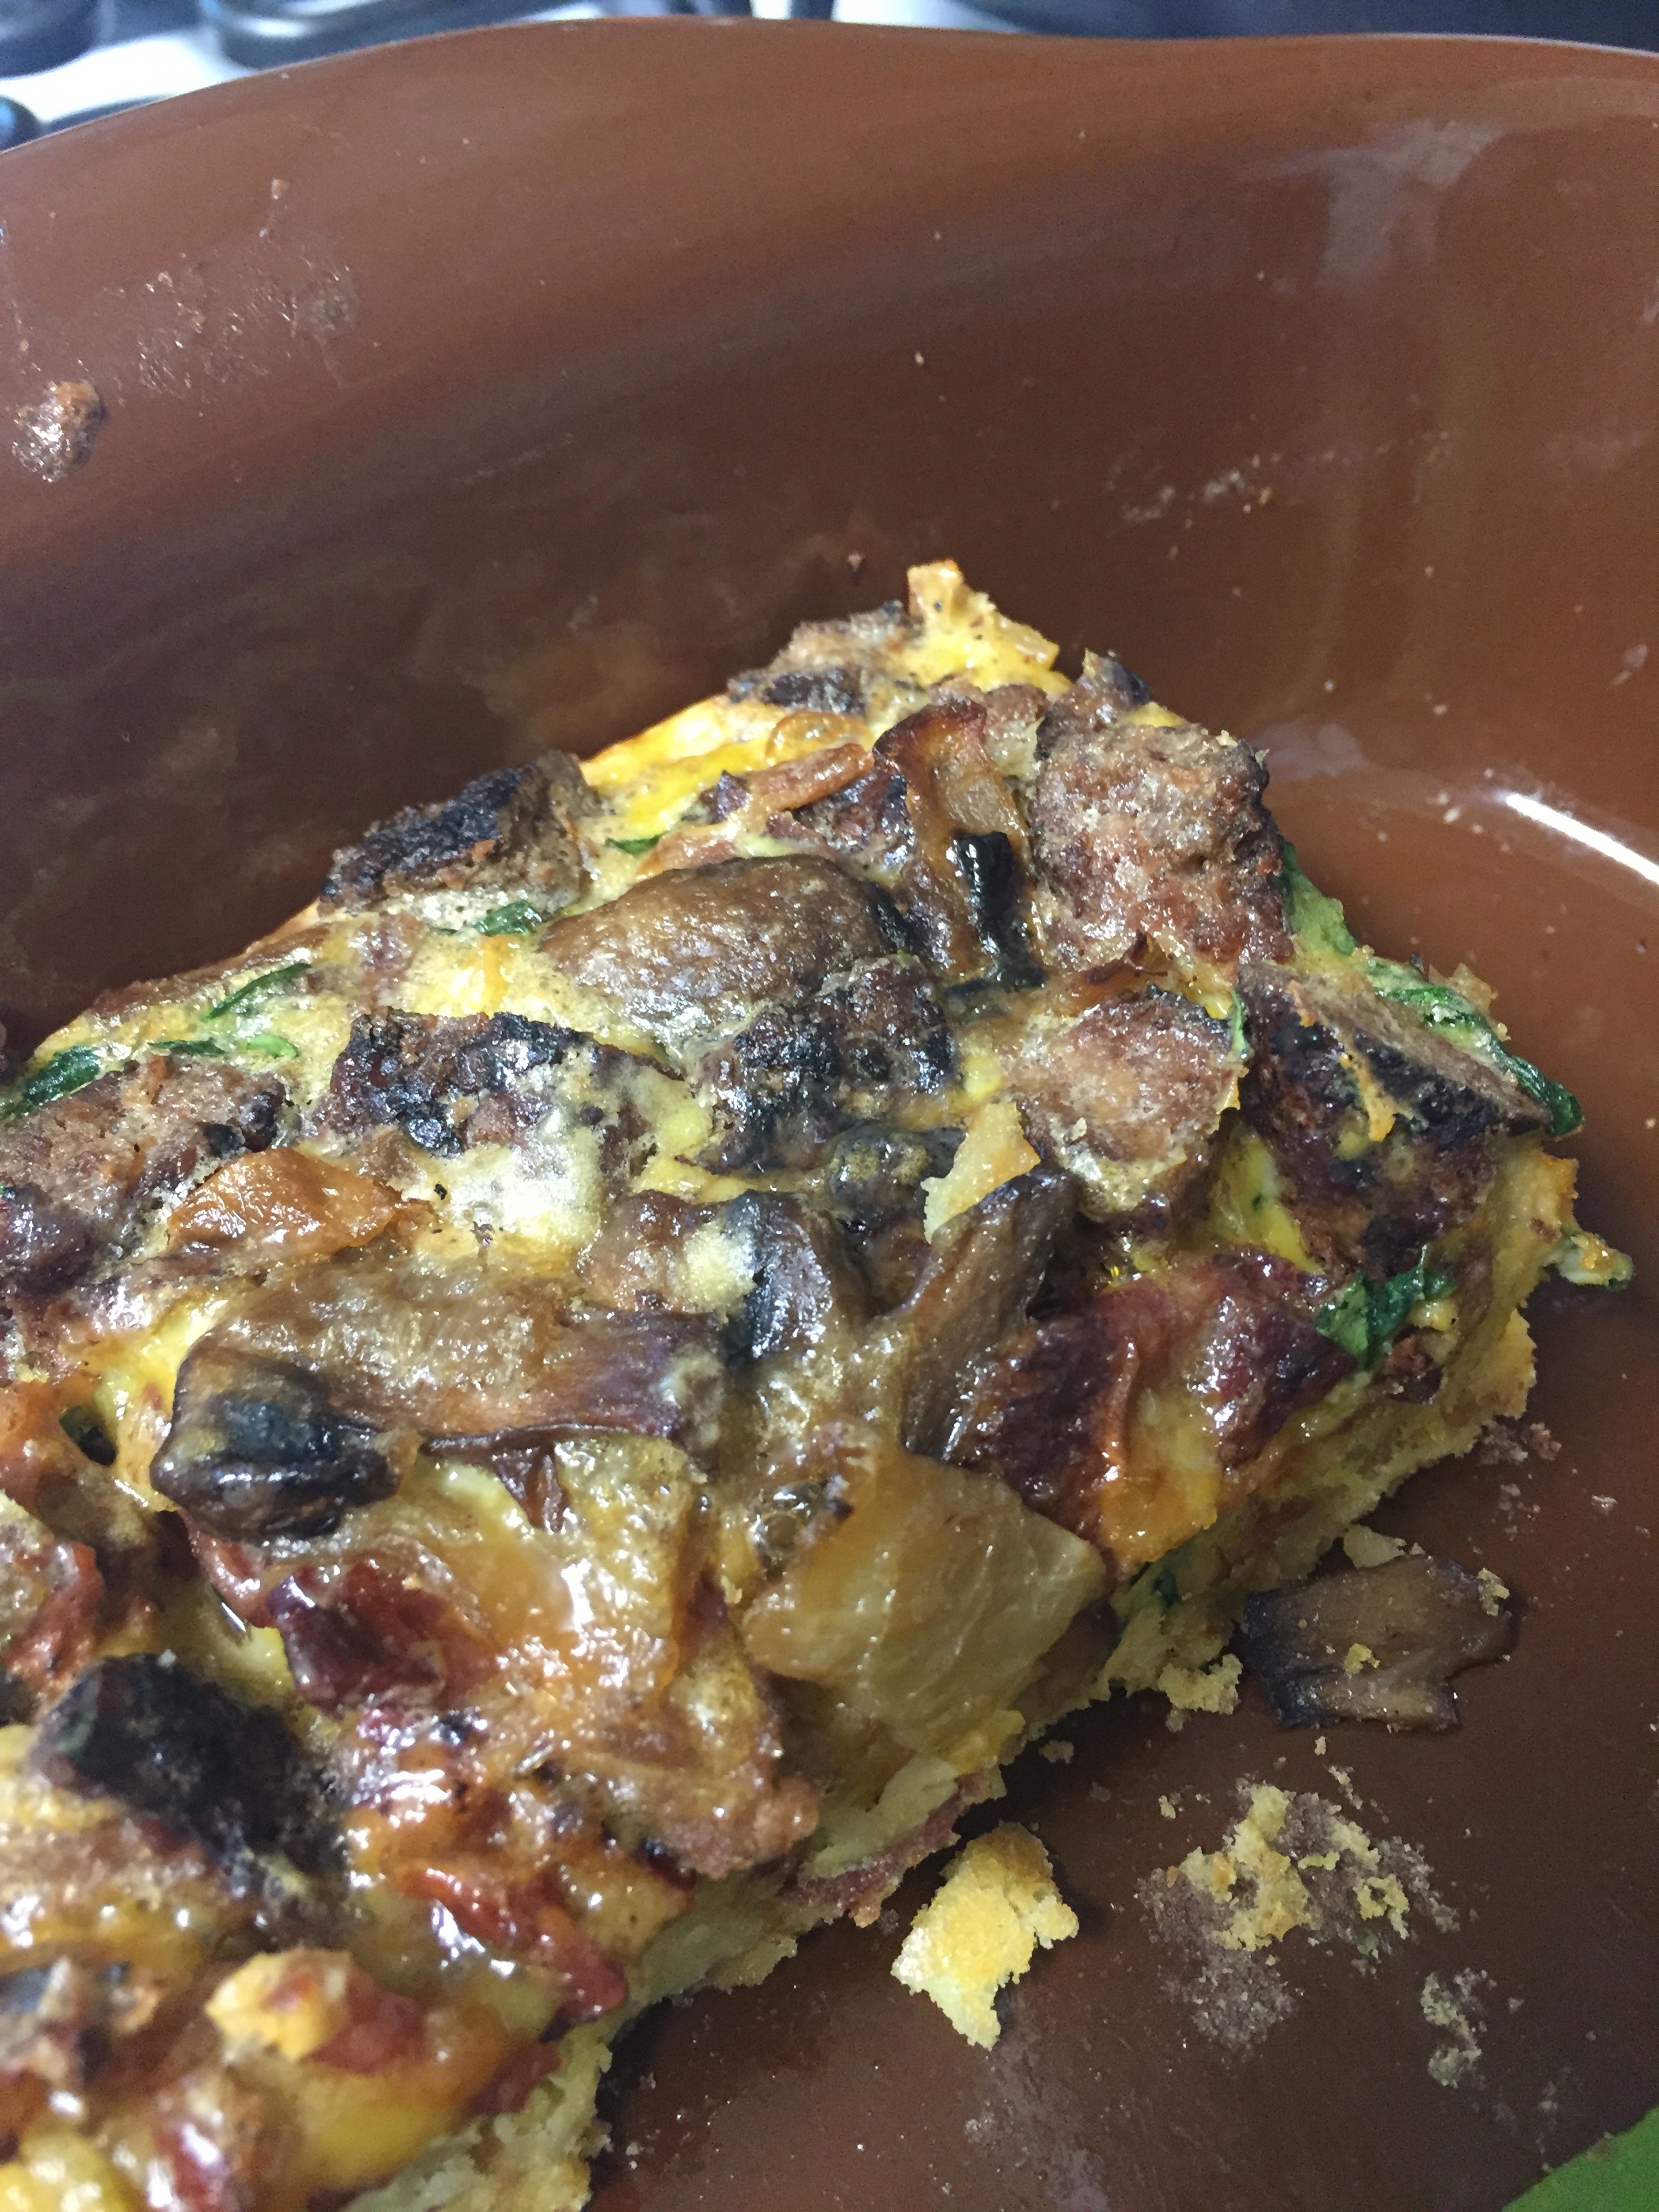
Bake at 350 for appx 45 min or until egg part is thoroughly cooked! It’s a huge hit every time!


Asian Spiced Shrimp

Check out this awesome recipe using dōTERRA essential oils by Mandy Osburn!!

Asian Spiced Shrimp

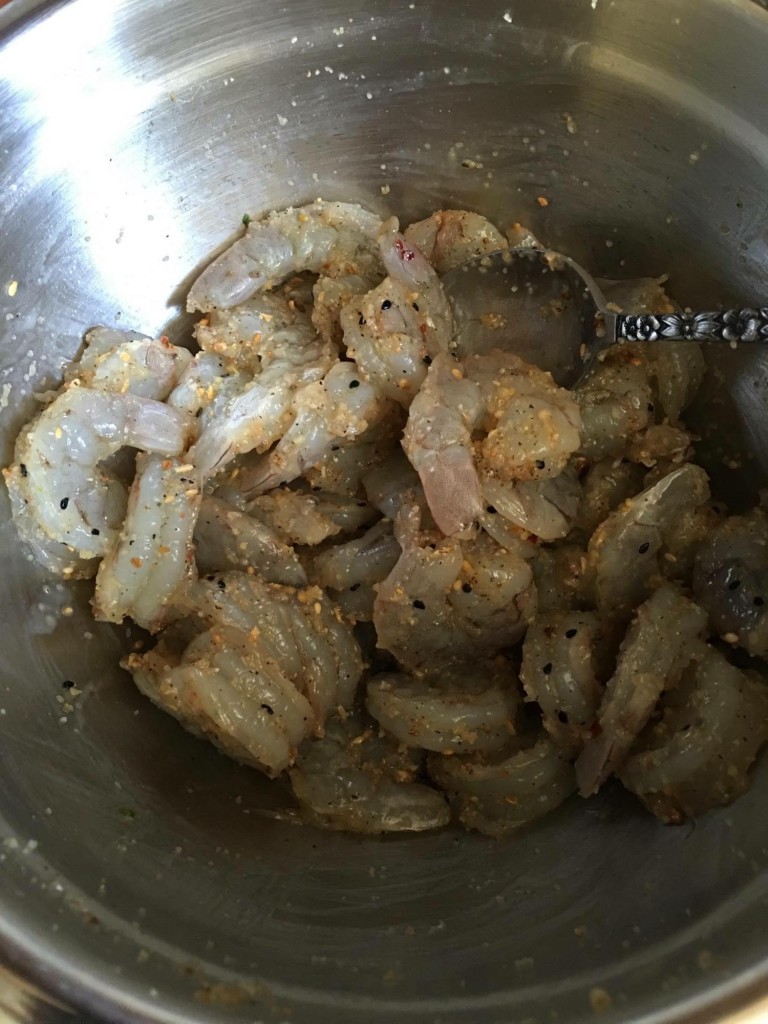
Mix shrimp with 1 drop of each Lemon, Lime and Ginger dōTERRA essential oils! IMG_9689I also used a dash of garlic & onion powder, Himalayan Salt, pepper and an Asian spice I bought at Costco!
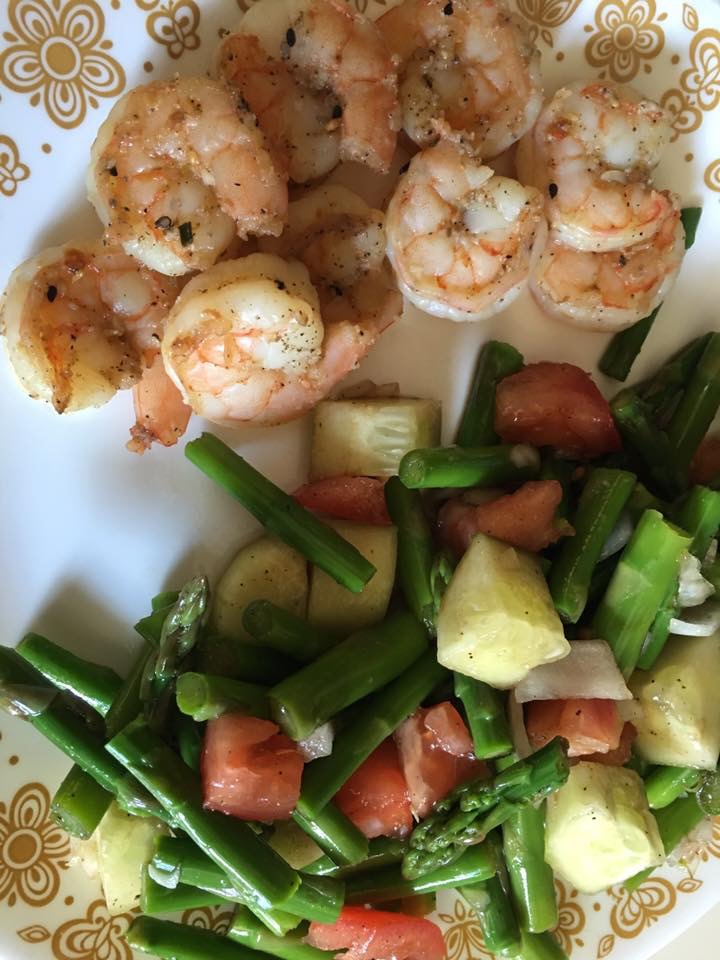
dōTERRA essential oils are the best thing to give your meals a great clean flavor boost. Check out that fresh salad on the side. Have a great Blessed day peeps!

IMG_9688

airstream renovation:: part 3

We decided for sure in November that we were going to go forward with this and jump into FULL TIME LIFE ON THE ROAD (at least until we get tired of it), and since then have kicked this reno project into high gear! Despite spending a LOT of time on it, visible progress is LOW AND SLOW right now. We have been taking out the last little bits of the ‘old’… patching vents and spots that won’t be needed with our new design and layout, and getting it cleaned up and water tight. Within the next month, we should FINALLY be on the up and up and can start re-constructing this thing with new and usable insides.

People ask all the time how we know how to do renovations or how we’ve  created a successful home business and get the freedom that we are looking forward to. Our answer: we just decided what we wanted, followed our passions, jumped in, and you learn as you go – sometime along the way you start to actually know what you’re talking about! My husband is pretty much a genius, I will admit, and extremely handy, but we have adapted a little secret we have called – FIGURE IT OUT AS YOU GO. Seems to be our motto in life. Sometimes you win, sometimes you lose {like discovering that a few of our windows are leaking when it rains}, but then you go back and learn how to fix it (thanks, YouTube)! Now we love sharing our stories with others in hopes they can save a bit of time and get to where they want to be a little bit faster!

I feel like we are finally starting to round the corner on this big scrap of metal….. and we’re getting excited!!

me and kombucha

I’ll never forget the first time I had kombucha. I was browsing a health food store (which is one of my favorite mindless activities to do) and I was thirsty. I scanned the wall of awesome designed bottles touting life changing health benefits, and picked up something randomly labeled kombucha. 10 minutes later I’m driving down the road, pop it open and take a swig. GROSS! It was intense. I don’t like or drink beer and it really tasted like some kind of funky beer to me. I scanned the label while pulling onto I-5 and realized it did contain alcohol. CRAP! I quickly put the lid back on and threw it under the seat thinking this would surely be the day I got pulled for a random car search. Tthey would never believe that I was just thirsty and fell for a cool label on a drink and had no idea what it was.
IMG_8897
So that happened & at least I knew that whatever kombucha was – I didn’t like it. I did aquire a taste for the coconut probiotic drinks though, and could see the benefits when I would consume them on occasion. Several years after my initial kombucha experience I decided to open my mind again and tried another one. Not sure if it changed or if I am just way more of a hippy now, but I really kind of liked the taste and knew it had some amazing gut health benefits which gave me more reason to give it a chance.

Fast forward to today and you’ll find a large jar housing our scoby (my 6 year old named it ‘Ron’) on the kitchen counter and an entire kombucha brewing shelf in the work room housing our 2nd brew and our scoby hotel.

No doubt if you’ve visited my house for any reason lately, you’ve not left until you tried one of my latest creations. I find it really funny to insist that visitors (even ones I just met) try my kombucha. So proud of that stuff!

As to not bore you further when I’m sure you just want the how-to {DIY} stuff, I’ll break that down in other posts and link it up here for you soon. You’re welcome.

Young Coconut Green Smoothies

This is tropical perfection in a cup! While working with fresh young Thai coconuts may be intimidating, it is quite easy, and the health benefits of coconuts are an amazing addition to your morning smoothie. Coconut water is a great source of potassium (as much as 4 bananas) and is chock full of minerals that your body needs to function optimally. The white ‘meat’ of the coconut is a great source of fiber and medium chain fatty acids (healthy fats), which your body uses for energy, healthy skin and proper brain function!

For this creation, you will need…

  • Fresh young Thai coconut
  • 2 cups of organic baby spinach
  • 4-5 pitted dates
  • 1 Tbsp organic vanilla extract
  • handful of ice
  • 1 tsp organic cinnamon

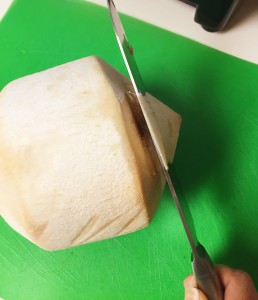
First you need to crack open the coconut. IMG_8899It’s not as hard as it sounds, but it does take some getting used to. Find the largest, sharpest knife in the kitchen (assuming you don’t have a machete handy). Start at the point and cut away the white part until you uncover the entire top of the brown nut inside.
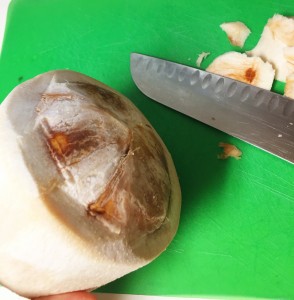
IMG_8900At this point be CAREFUL NOT TO LOSE YOUR FINGERS and take the bottom corner of the knife and drive it into the base of the top a few times (careful not to spill out the water once you break into it). Once you get a good crack, you can wedge your knife in and pop the top right off like a lid (coconuts completely amaze me).
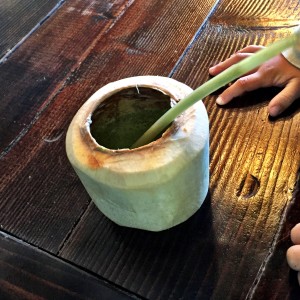
Carefully pour the coconut water into your vitamix or blender (maybe drink a few sips along the way because it is delicious stuff). Take a large spoon and then scoop out the white ‘meat’ from the inside of the coconut. Scoop it all out into your blender. Add in spinach, vanilla, cinnamon, dates (to sweeten), and ice.

Blend on high speed until completely pureed. I like to add in our Wild Orange flavored liquid Omega 3s (these are critical for my little ones) and pour them into fun cups. (The omegas will change the flavor into more of an orange creamsicle, so those can be omitted if you don’t want that flavor.) One lucky kid gets the smoothie served back out of the coconut shell. There is nothing better than the taste of fresh coconut to start out your morning feeling happy and healthy! Let me know if you try this, or have any questions!IMG_8879

Instant Pot gluten free pumpkin bread pudding

This is sooooo good. I had heard of people making pumpkin pie and bread puddings in their instant pot, so I decided to merge the two and see what happened. It was a huge hit!

Disclaimer: this is NOT a super fast cooking recipe

Here’s what I used:

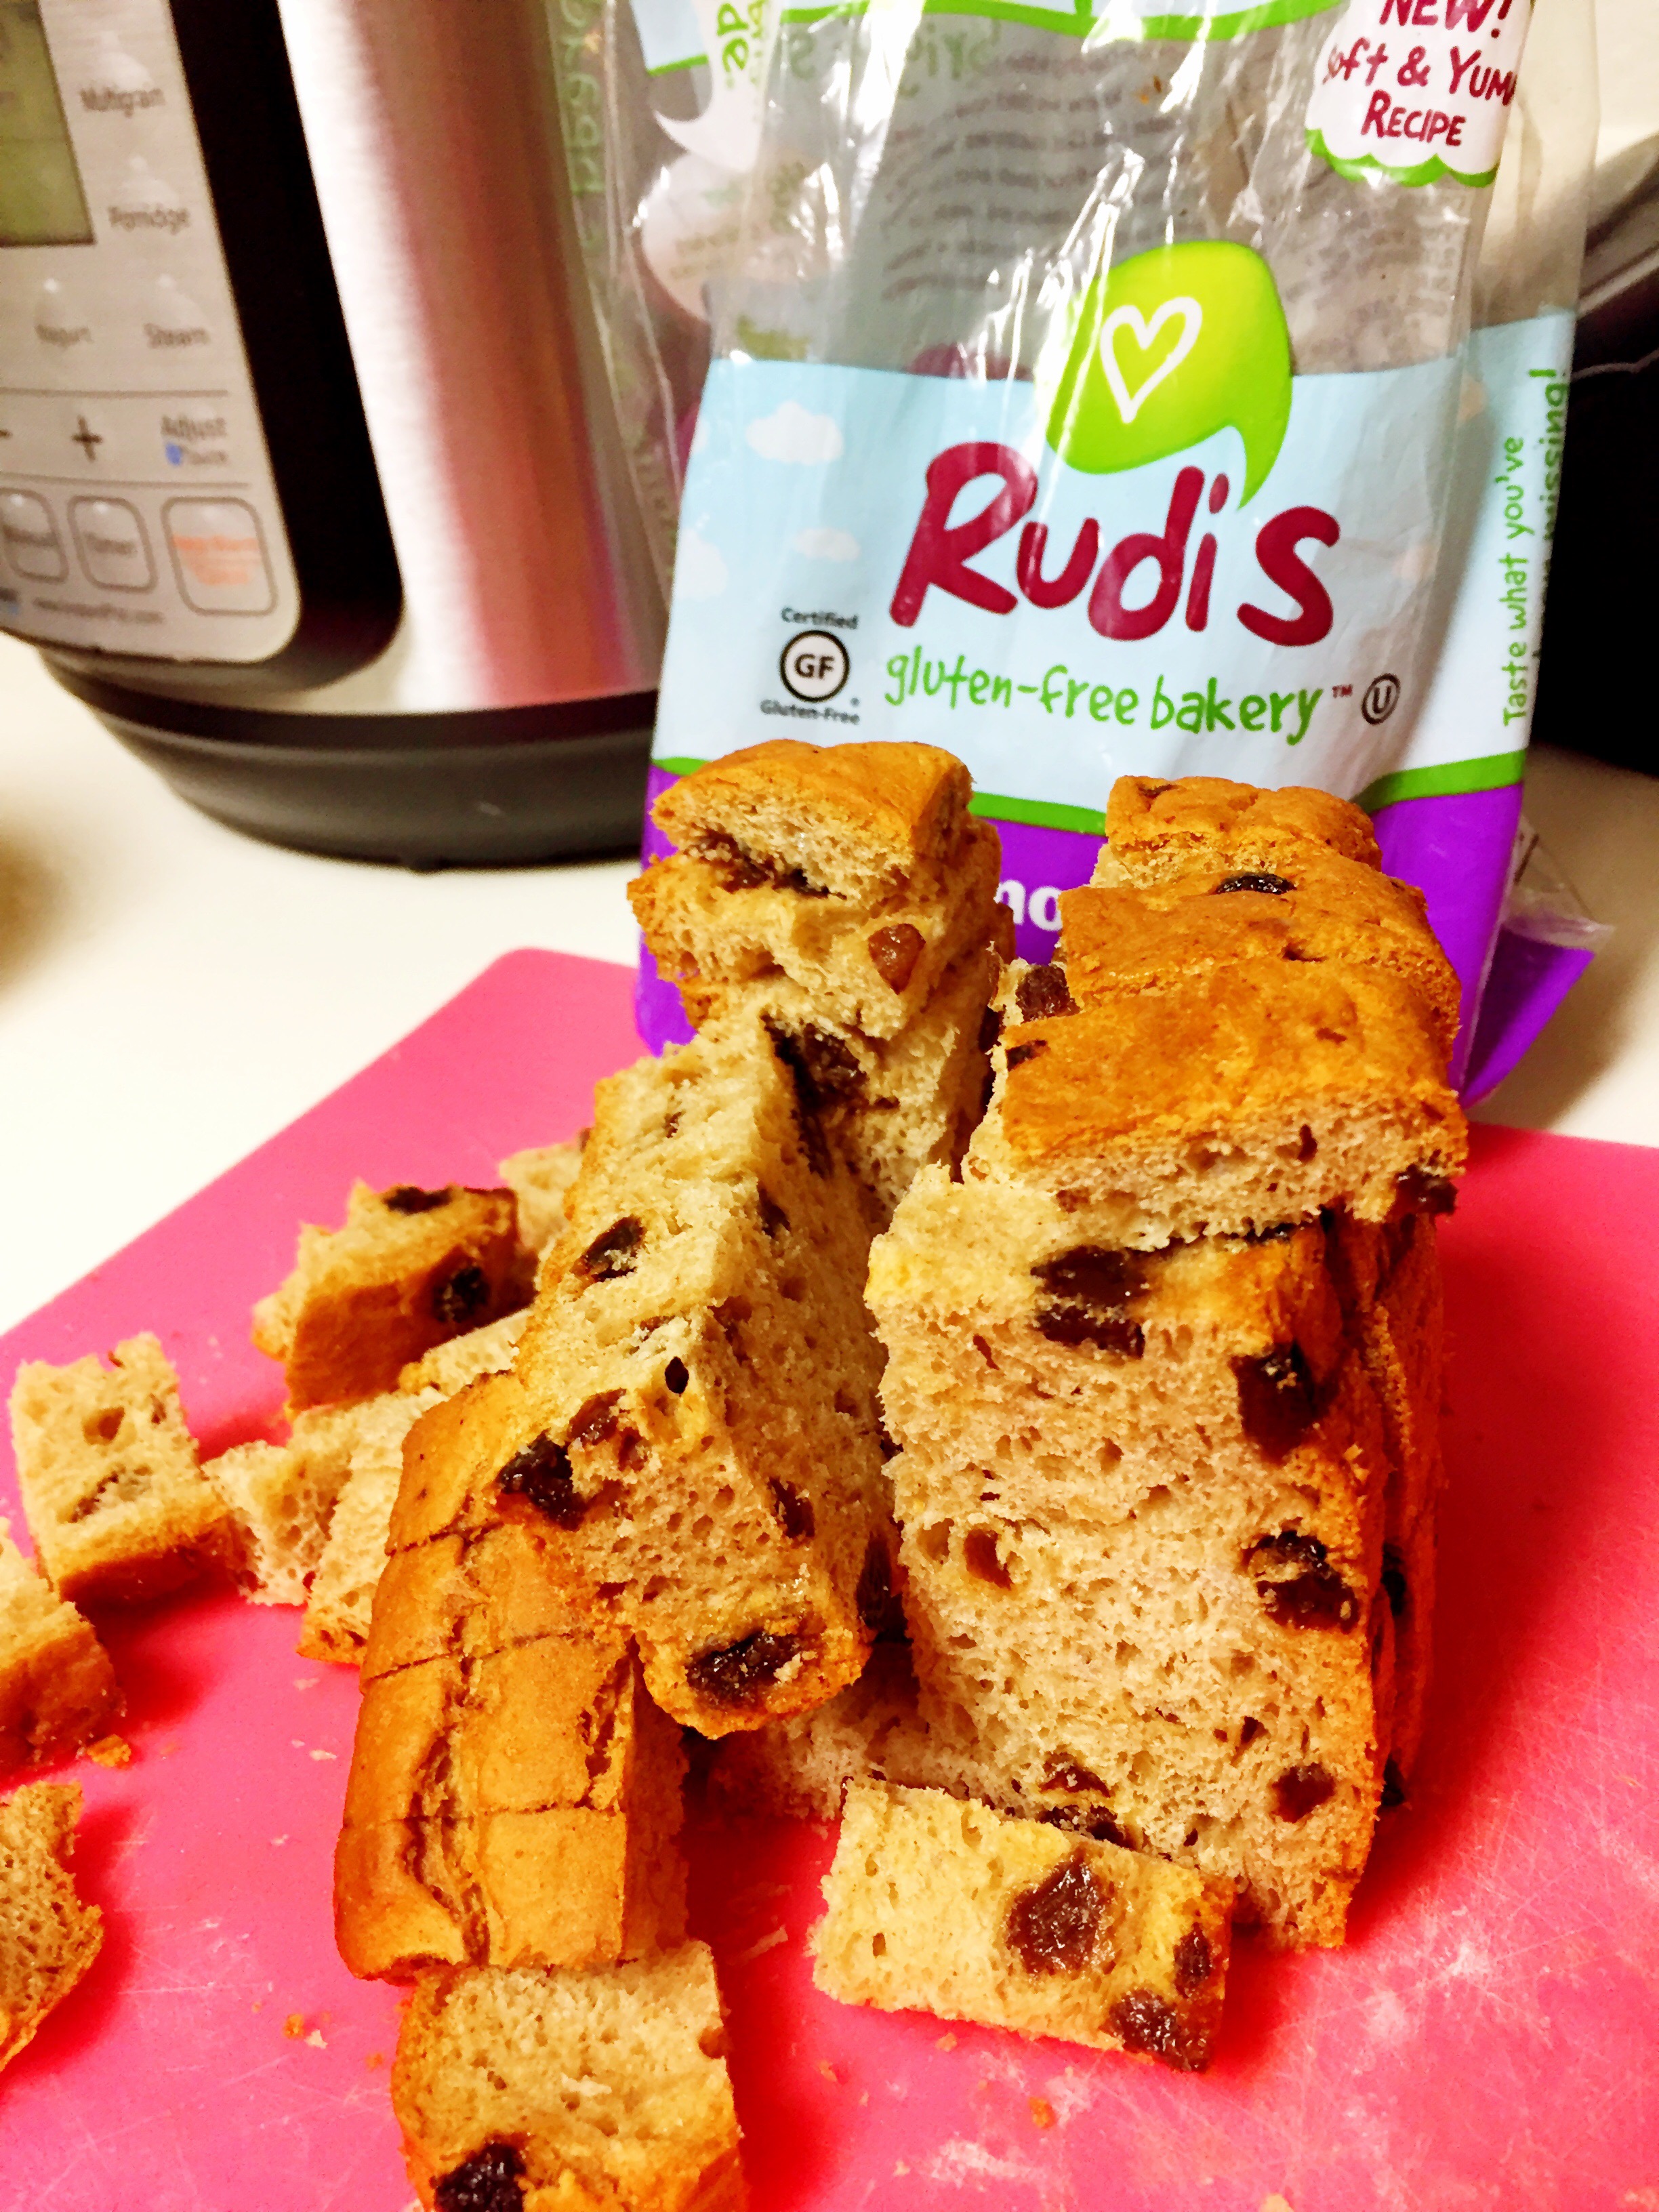
  • 6-8 pieces of Udi’s gluten free cinnamon raisin bread
  • 4 eggs
  • 2 Tbsp melted butter
  • 1/2 cup organic sugar
  • 1 Tbsp organic cinnamon
  • 1 tsp organic vanilla
  • Dash salt
  • Dash nutmeg
  • 2 drops cassia essential oil
  • 1 can organic pumpkin purée
  • 1 cup of whole milk or 1/2 milk, 1/2 cream
  • 2 cups of water (for steam in instant pot)

Grease the inside of a baking dish that will fit in your instapot (I used a 1 1/2 qt stoneware dish).

Cube bread and fill dish. Drizzle melted butter over the bread cubes (this step can be omitted if you want it a little more cake-like).

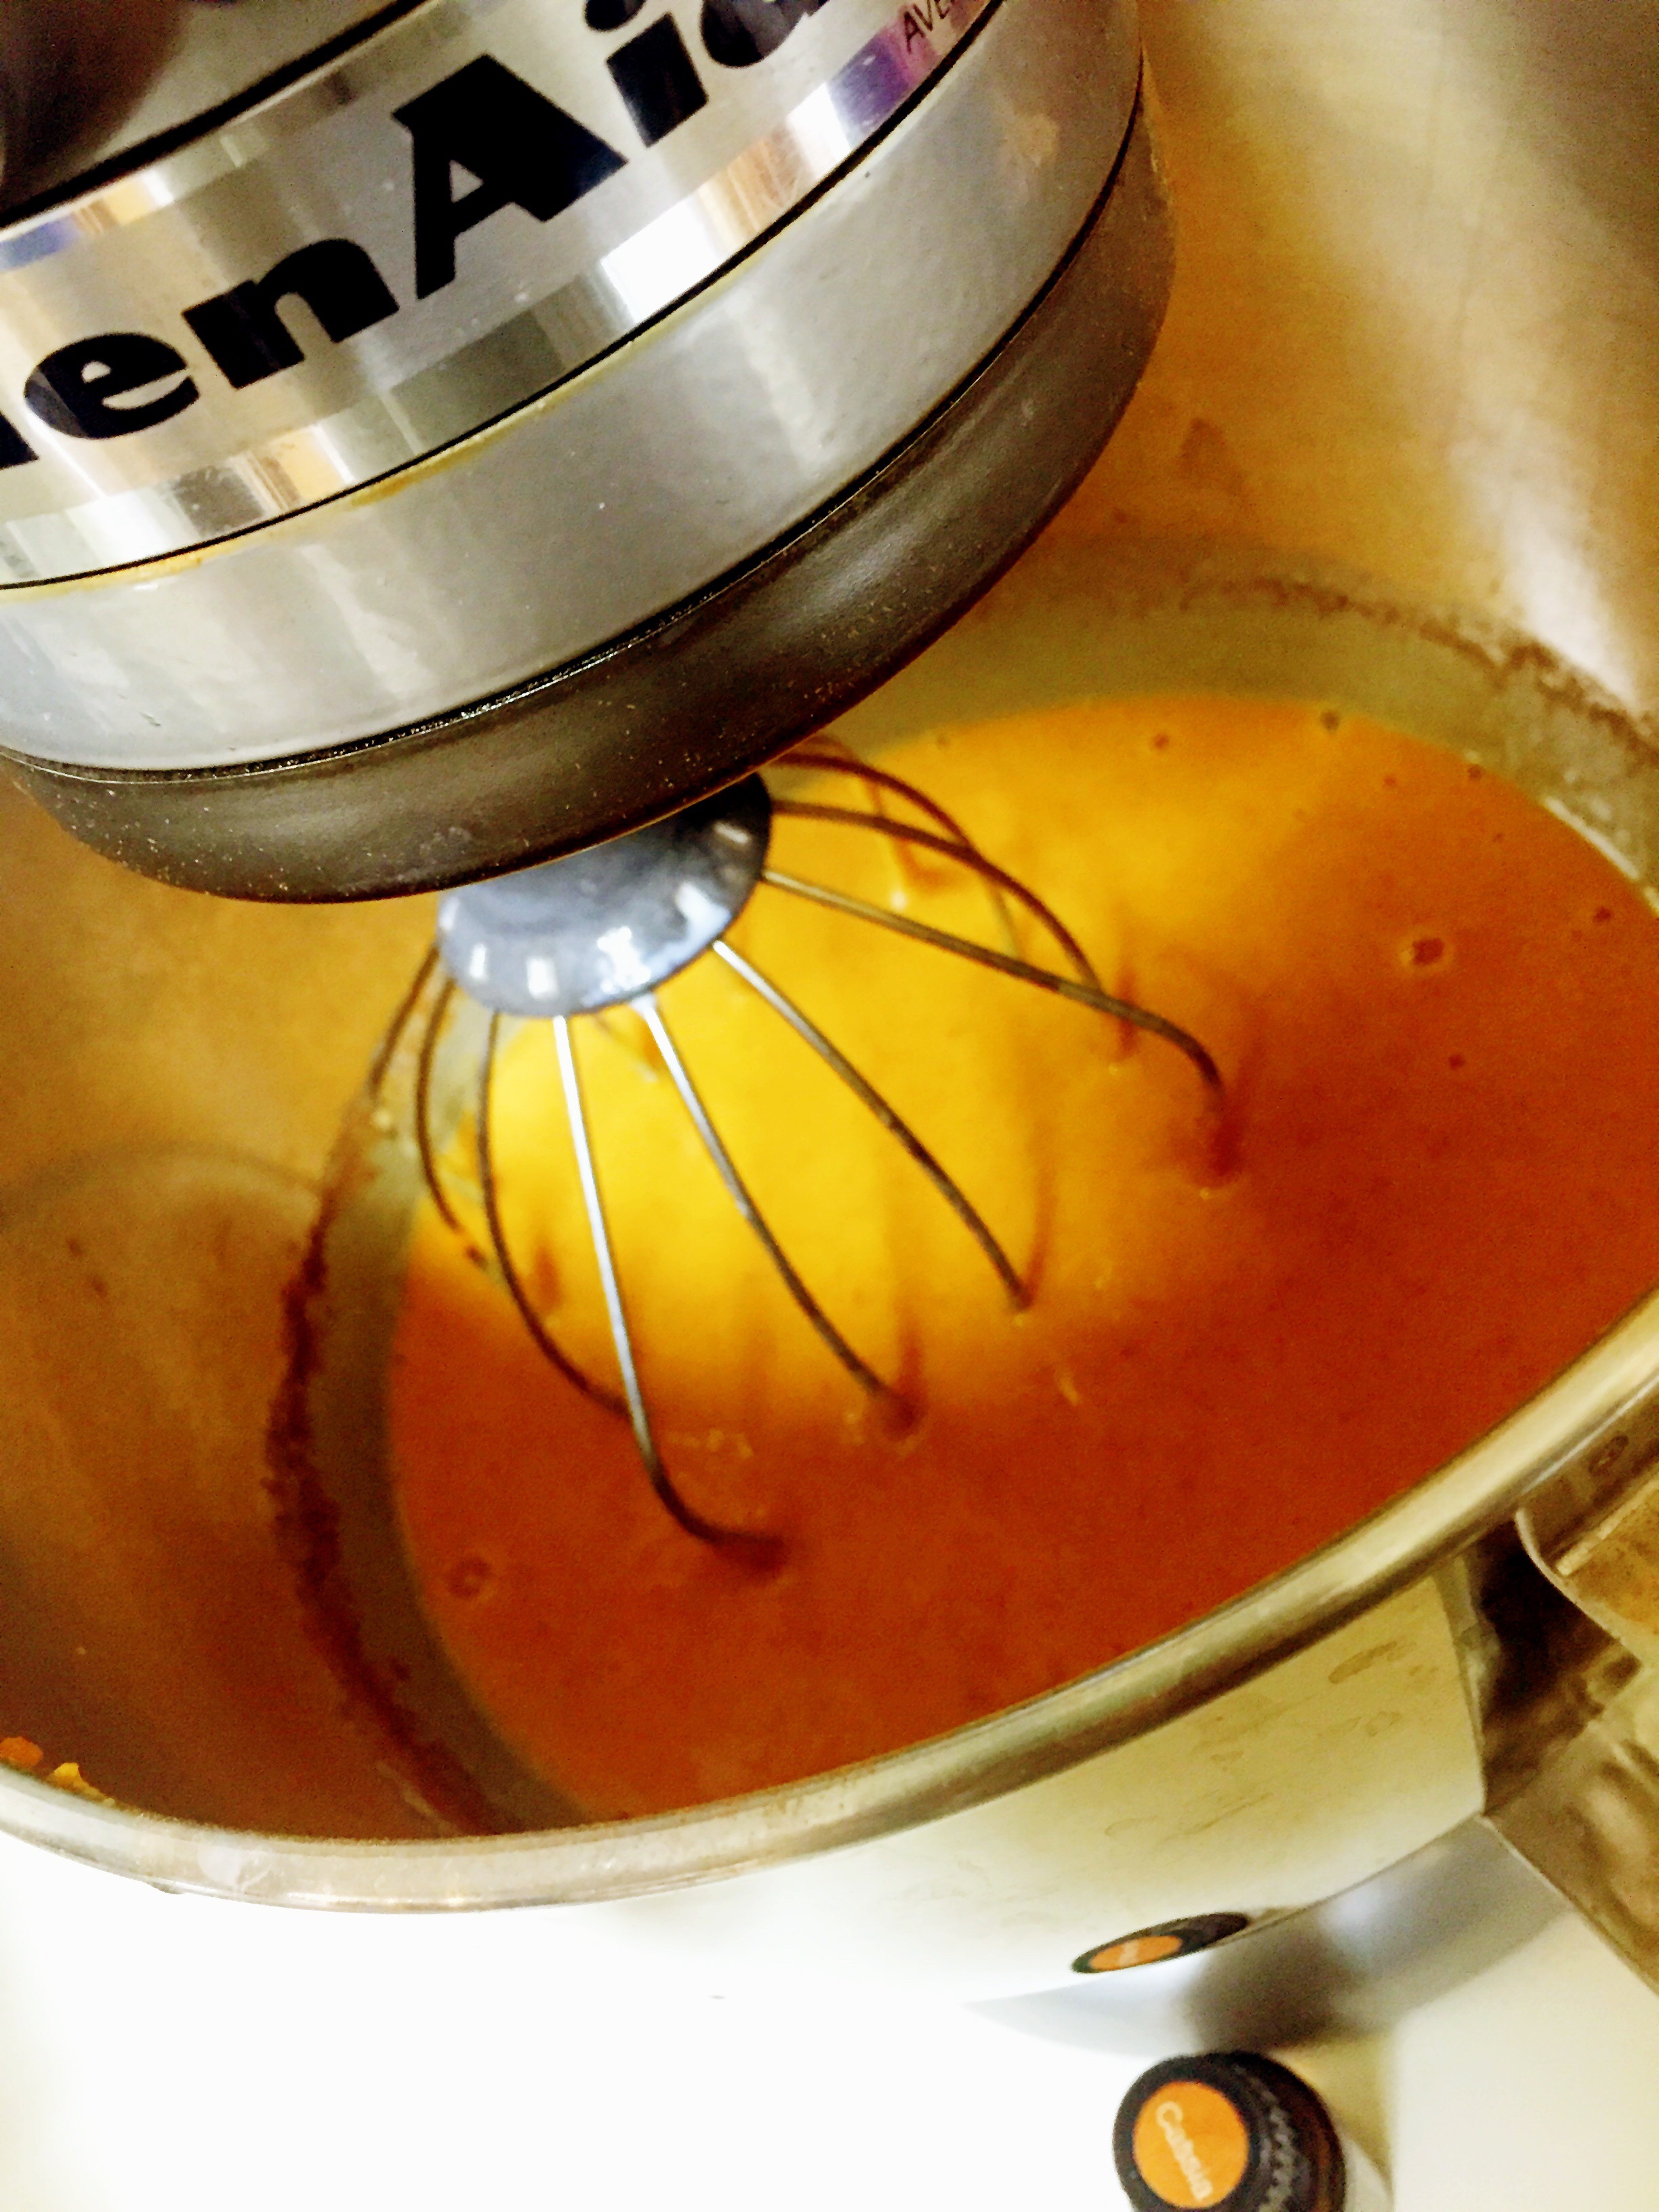
In my kitchen aid, I beat 4 eggs with the sugar until mixed, added vanilla, cinnamon, nutmeg, salt & cassia. Mix well and stir in 1 can pumpkin purée, then pour in milk and mix until blended.

Pour pumpkin mixture over bread cubes and let is sit for a few minutes or tap it down to let it absorb into the bread and let some air bubbles out.
img_8876.jpeg
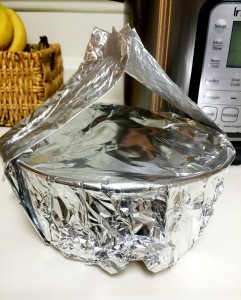
Cover the dish with foil and make a foil sling to make it safer and easier to lift the pot when it is done. (This is basically just a long strip of foil folded into a 1-2 inch thick ribbon and placed around the pot so you can grab it and lift it out at the end).

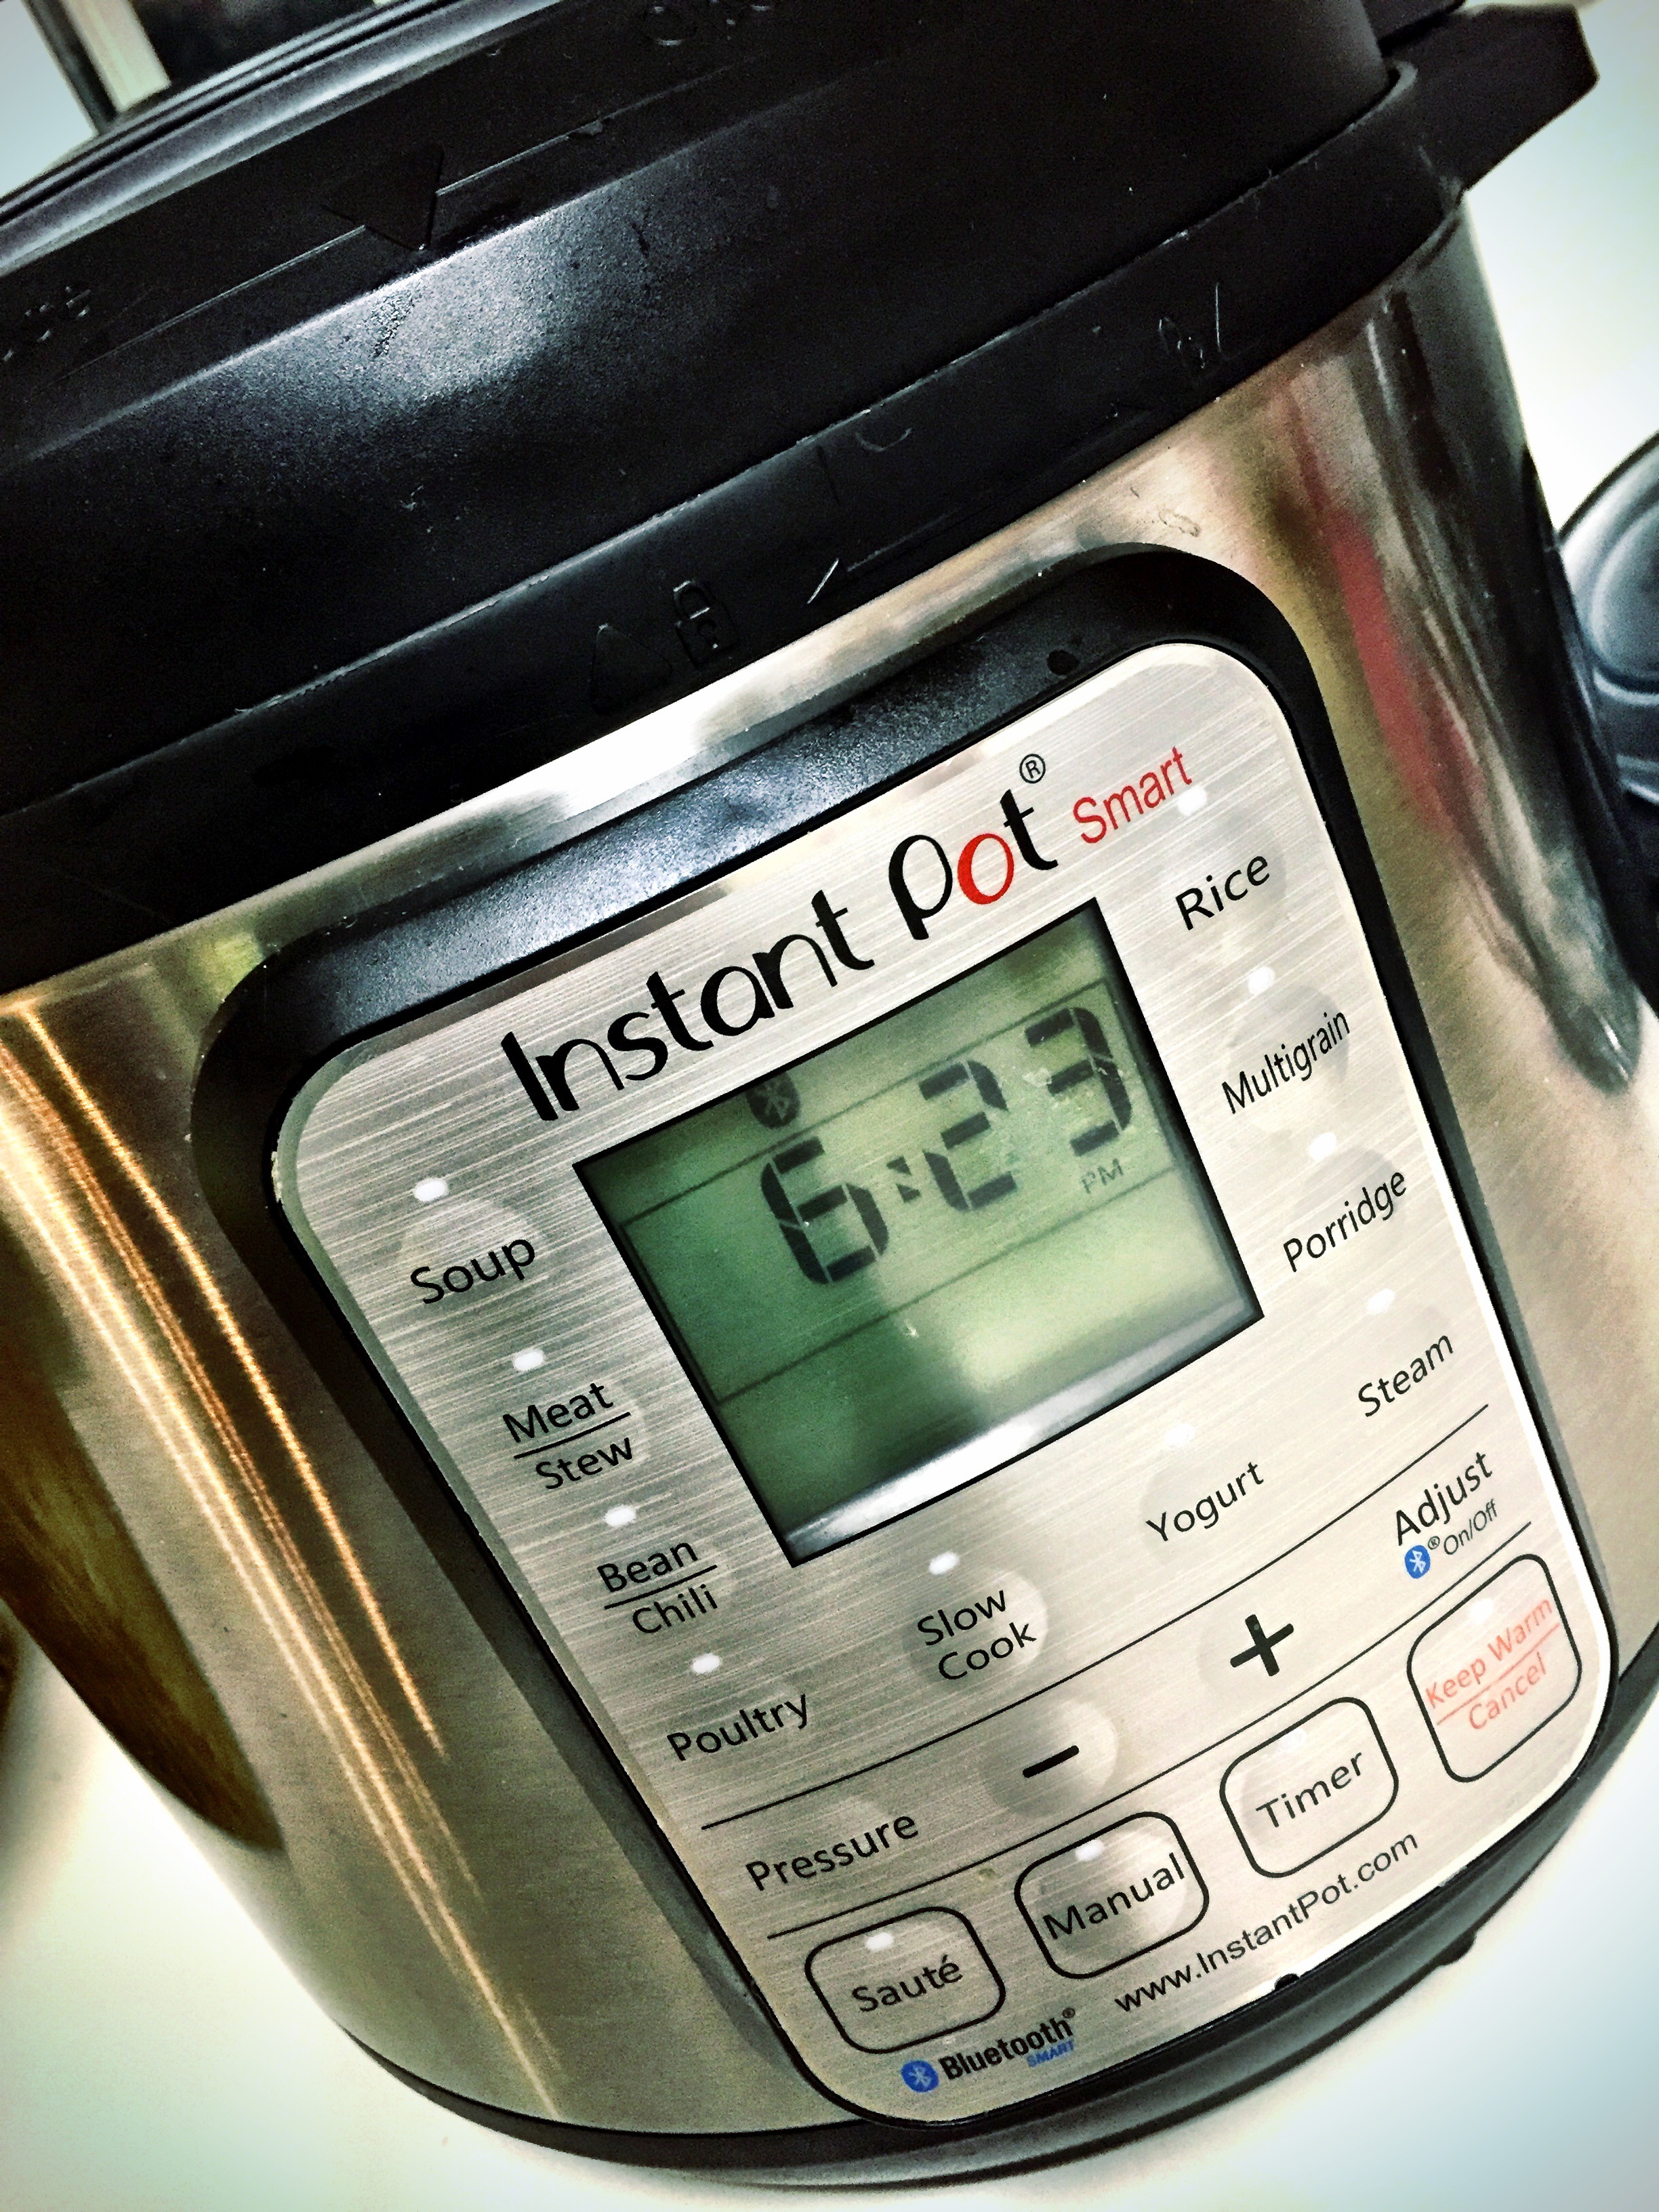
Insert the steamer rack and pour in 2 cups of water into the instant pot. Set the dish into the pot and set it on manual for 35  minutes at high pressure.

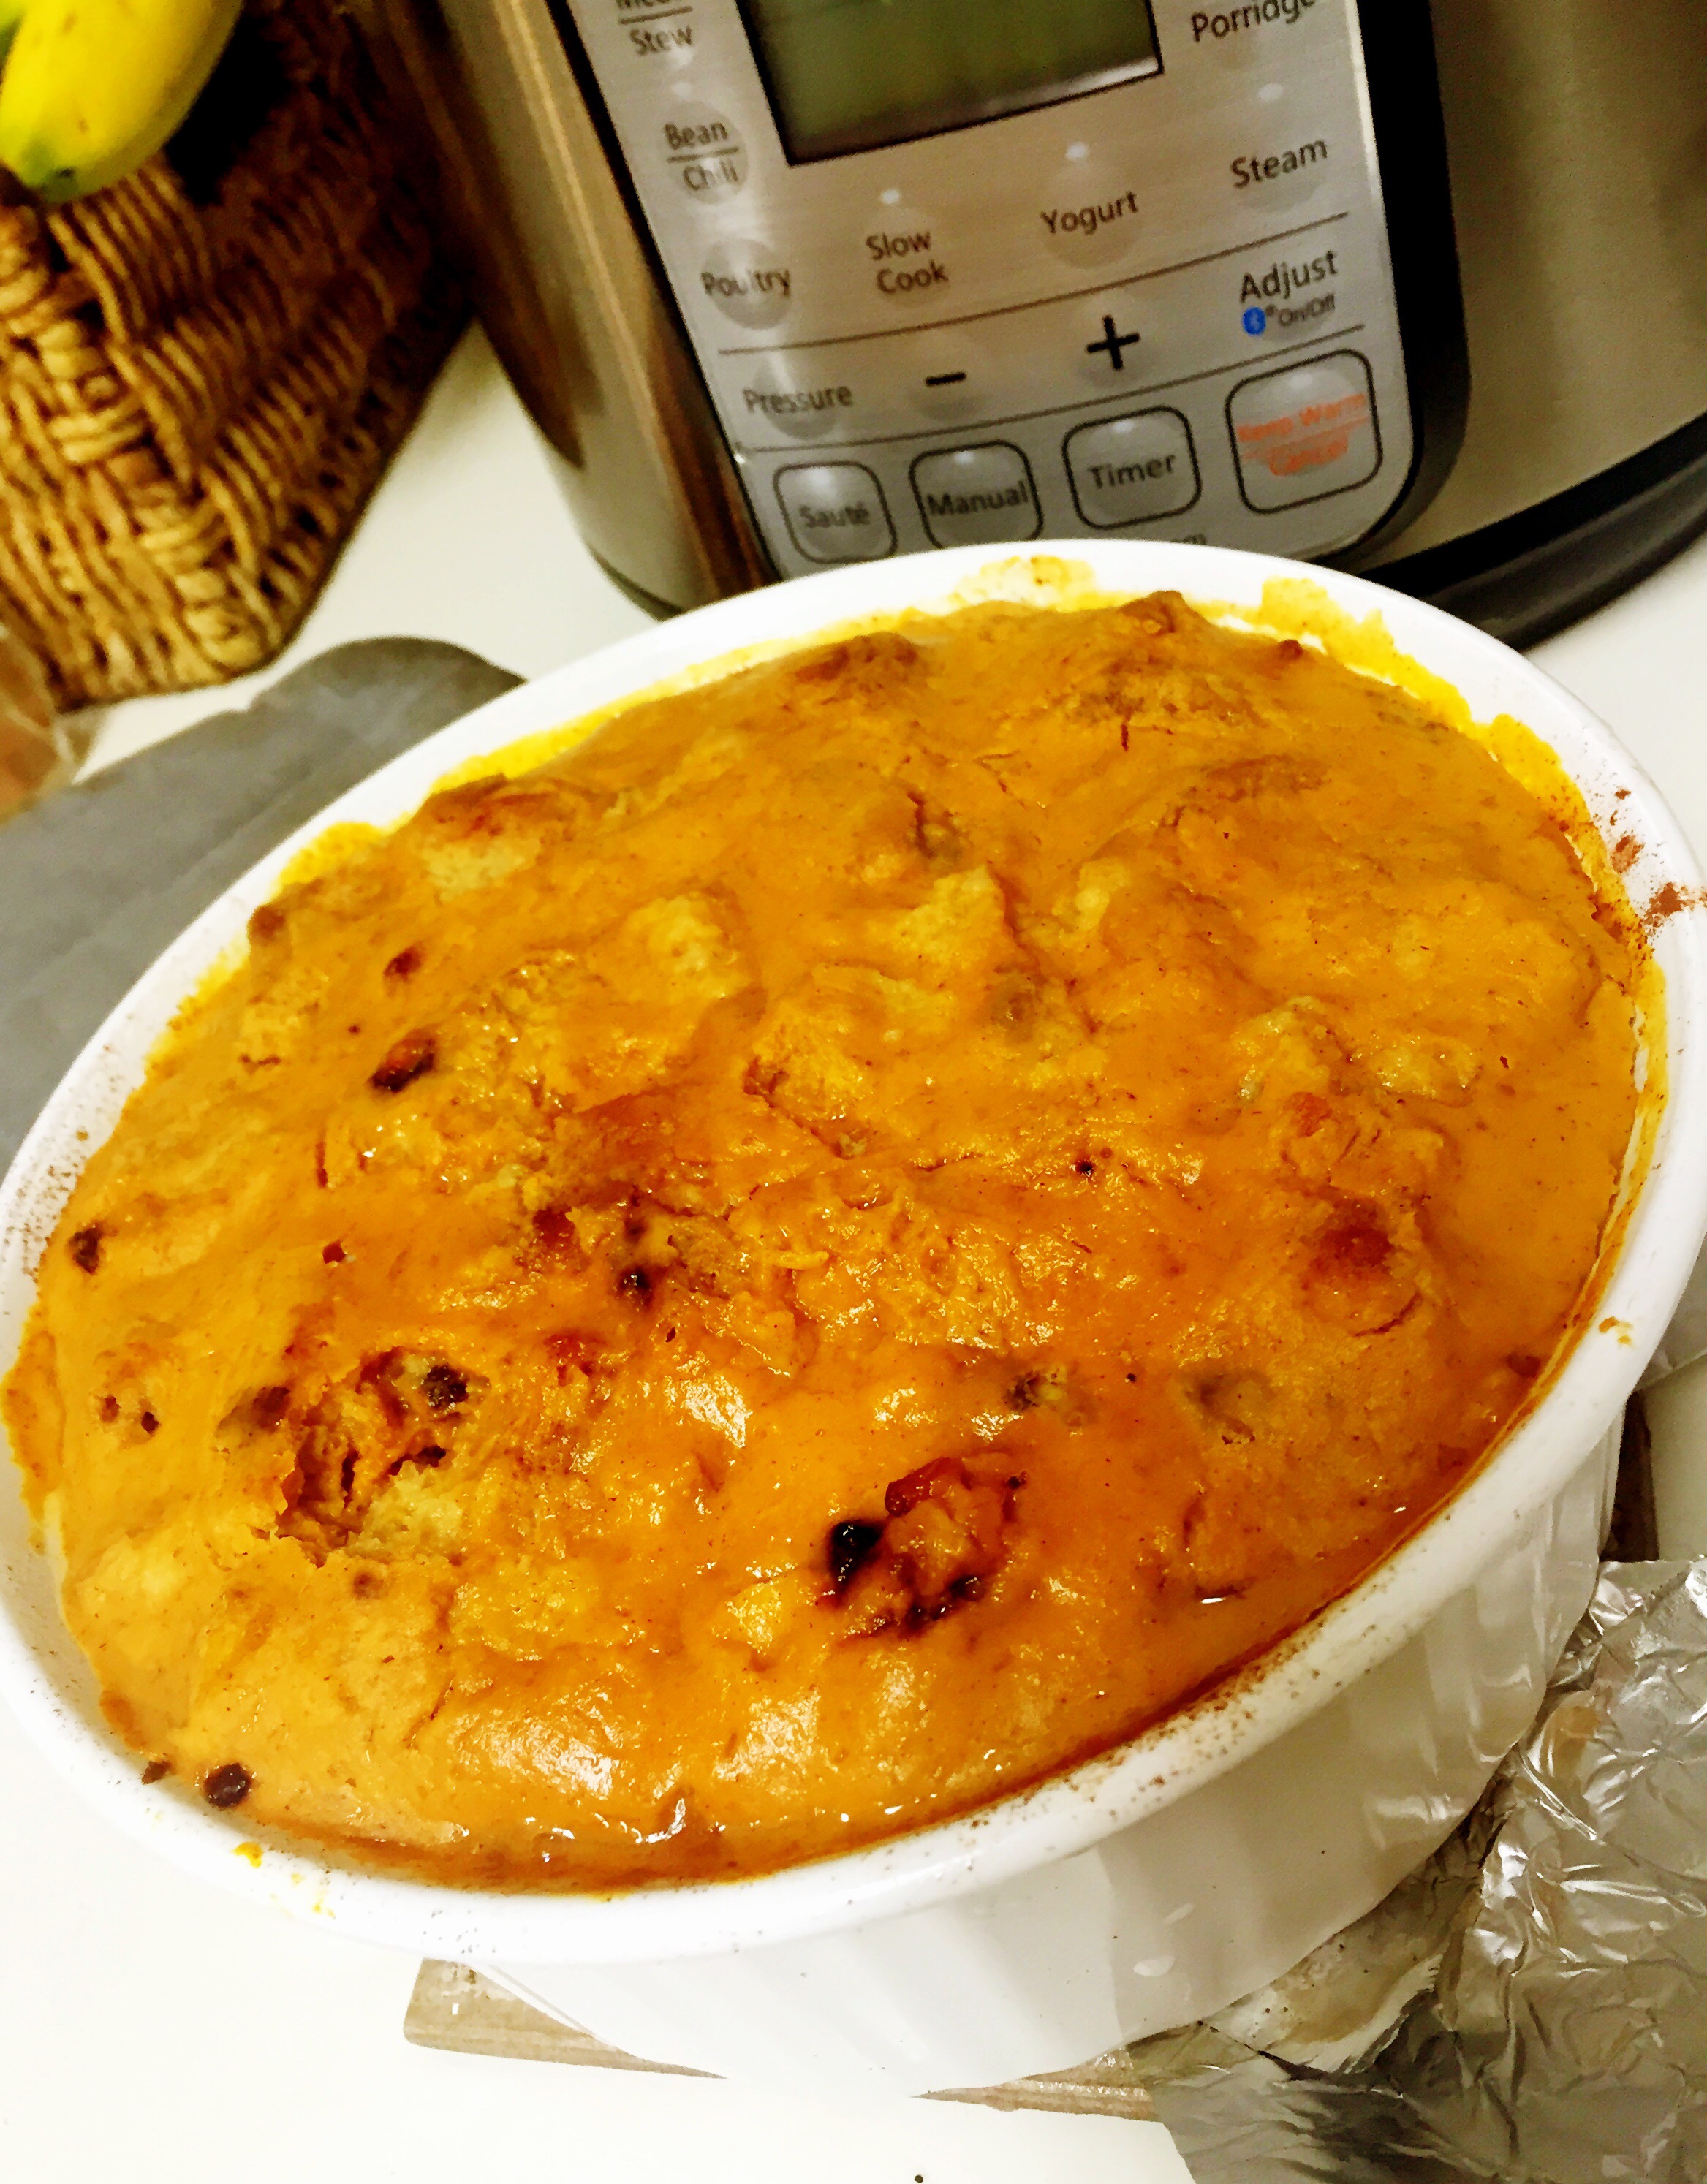
Let it naturally release for about 5-10 minutes and then manually release the pressure to open the lid. Carefully remove it using the sling pieces (the steamimg_8881.jpeg below is super hot).

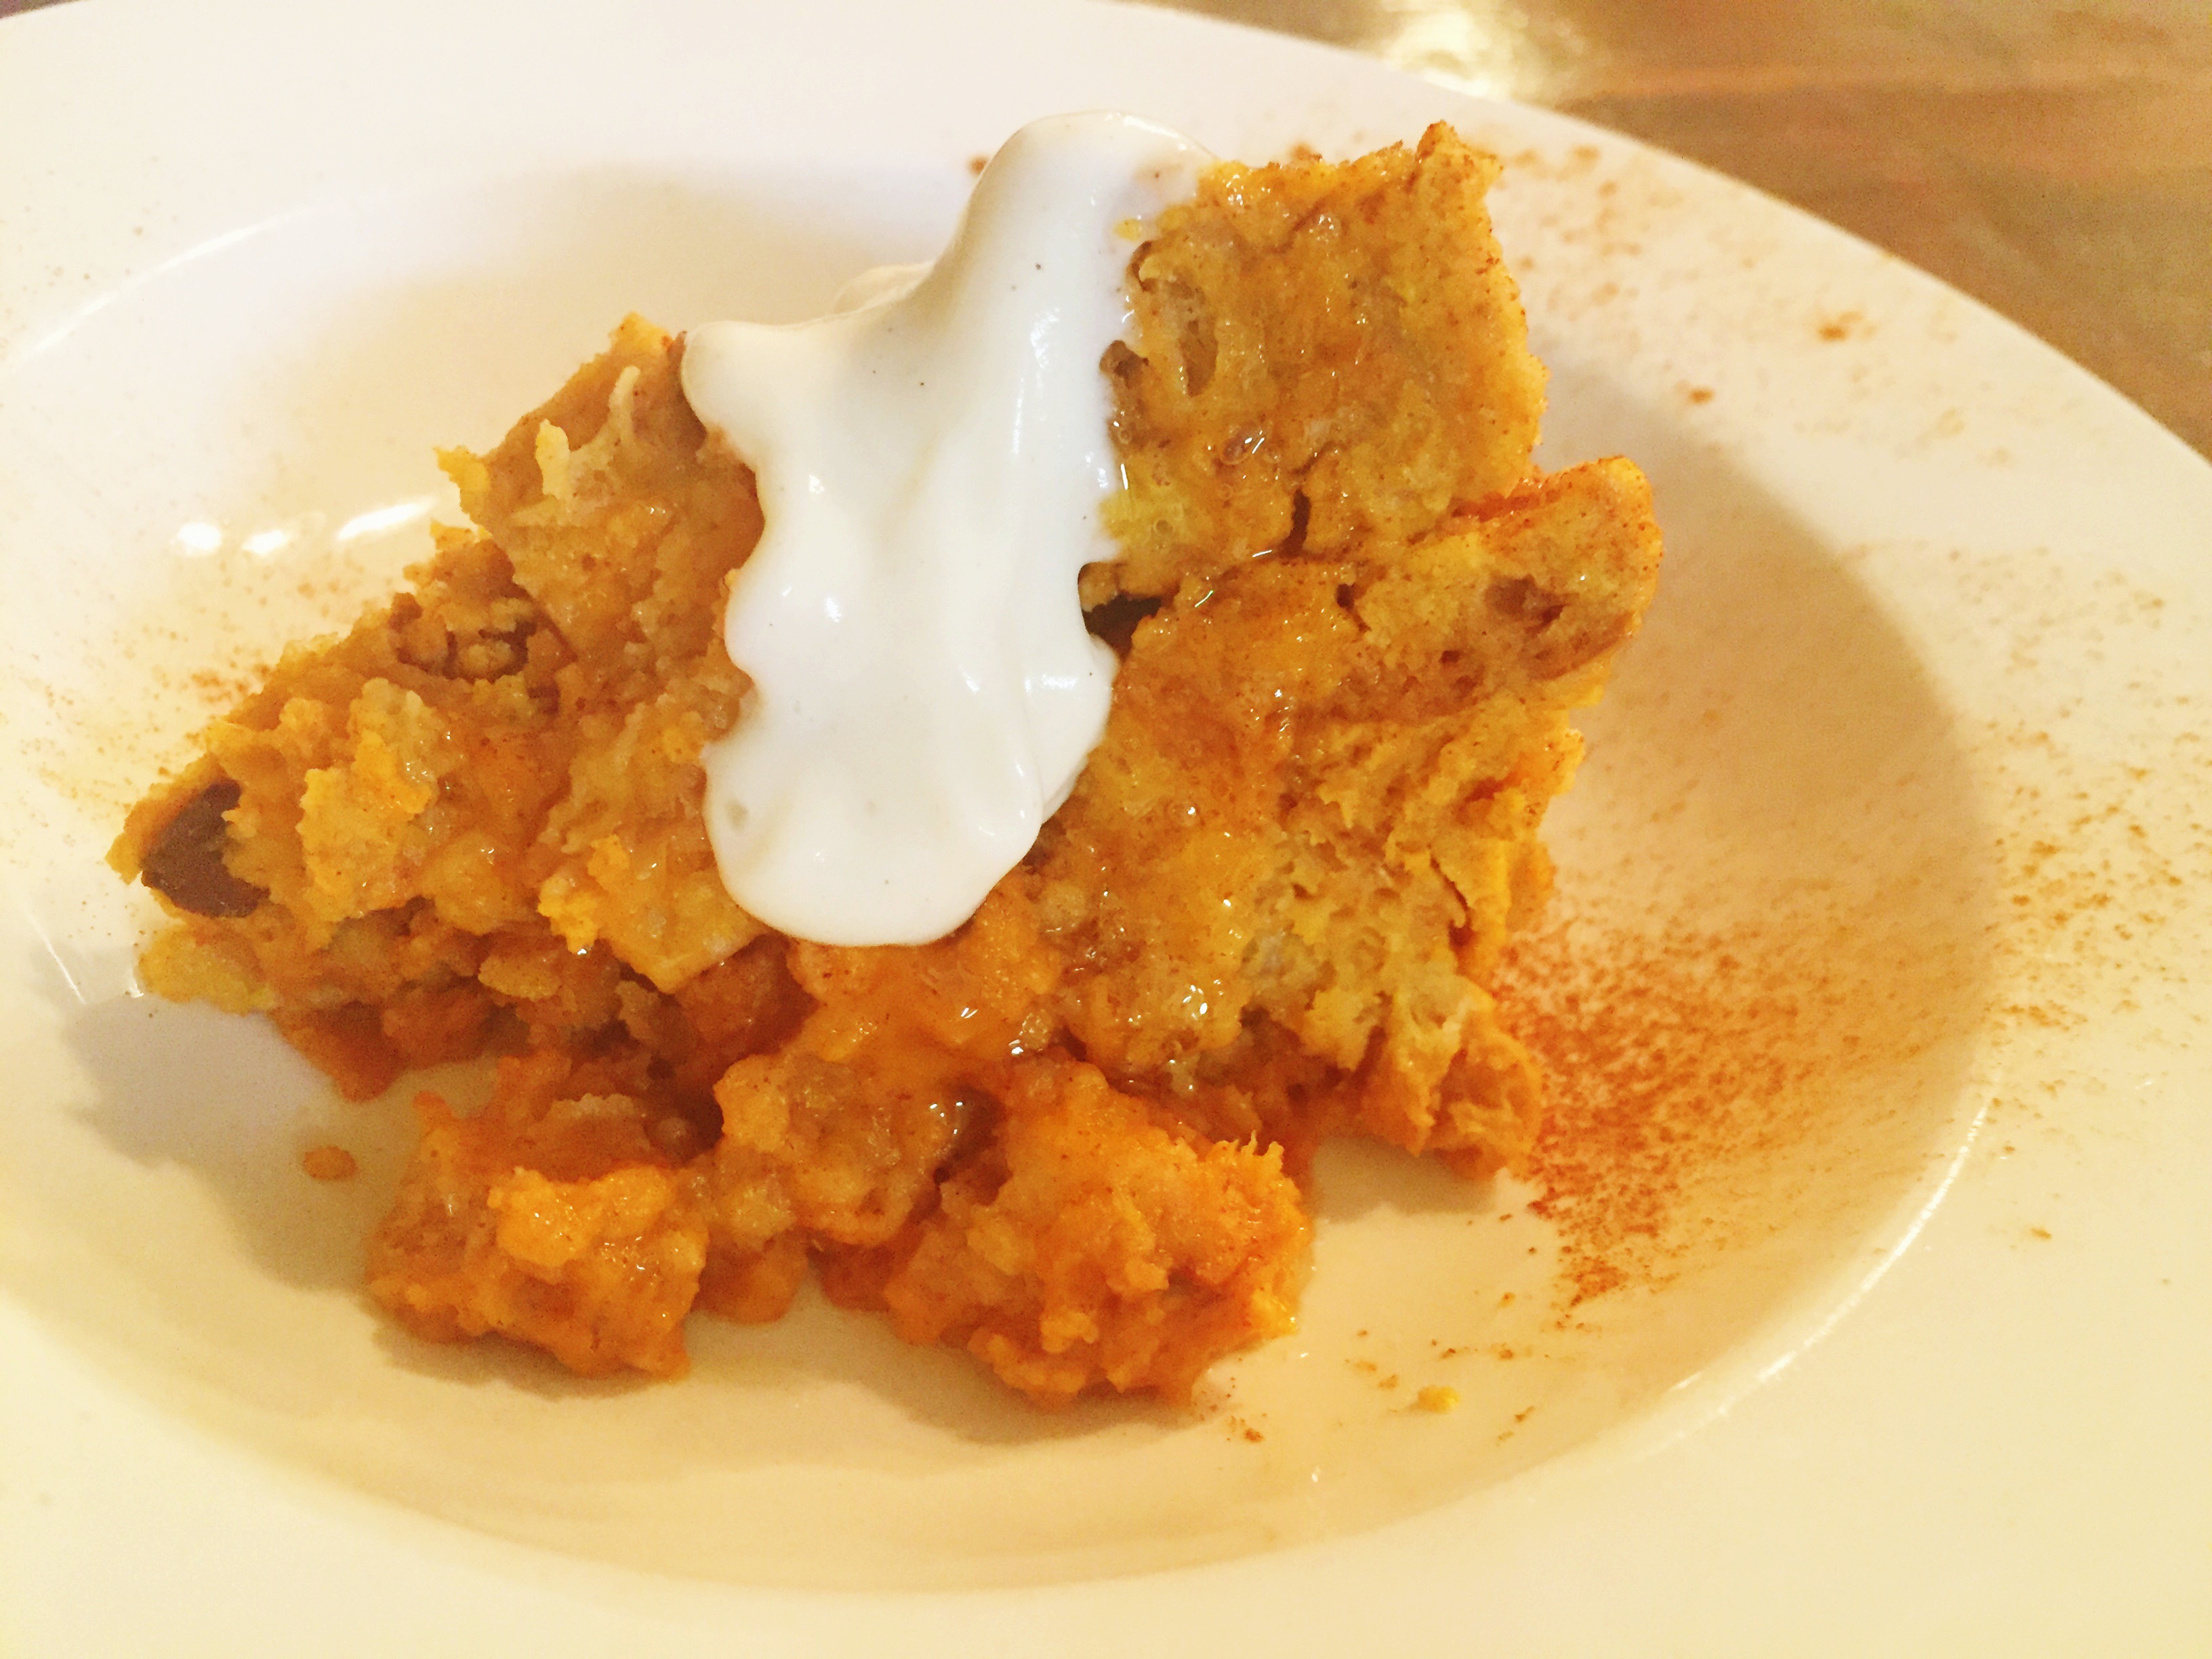
Uncover and serve topped with whipping cream or organic yogurt. We used vanilla soy yogurt as a dairy free option (due to allergies we can only have dairy when baked. I used real cream in the recipe but you could sub if needed). The yogurt flavor compliments it best in my opinion.

Excellent for dessert or even a yummy breakfast!

dinner simplified: the instant pot

 So I’ve heard just about everyone I know raving about this thing, but I have been a skeptic. With our upcoming move, we are making long lists of things (and appliances) we will live without, but our life on the road also comes limited cooking options. We will have a nice little kitchen, but giving up my slow cooker and rice cooker made me cringe. How was slaving over dinners each night and regressing in that convenience going to help us with our goals for simple living and more family time?

The instant pot may be our new best friend. The verdict is still out. It has been a bit intimidating, I’ll admit, but I know if I sit back and let this thing scare me it won’t do us any good. So we jumped in with 2 feet. The first 4 hrs we had it made soft boiled eggs, chicken breast, oatmeal and rice…..and it was all fantastic!

Cons:

1) I’m rather (hugely) disappointed in the app with recipes that comes with this model. There are about 20 things to make and with our diet even fewer options. I am going to start documenting my own and adding my own into the app so that should not be a deal breaker.

2) My biggest hangup so far is the time it takes to come to full pressure and actually start the ‘short cooking time.’ I find the more that is in the pot, the longer it takes to heat, so my 9 minute pot of soup tonight took 30 minutes to get to full pressure. Not super duper speedy, but it was still convenient to dump it all in and let it go.

Pros:

1) the ability to dump it in and walk away is priceless when chasing 3 little boys around.

2) When traveling, the versatility and efficiency of this will be amazing! It’s a slow cooker, rice cooker, pressure cooker and extra burner all in one.

3) throwing in completely frozen meat and ending up with perfect results is nothing short of miraculous. Dinner time always sneaks up on me, and this has saved me from having to plan ahead or sacrifice healthier options.

I will post recipes as we go. Stay tuned! What are your favorite recipes and tips?

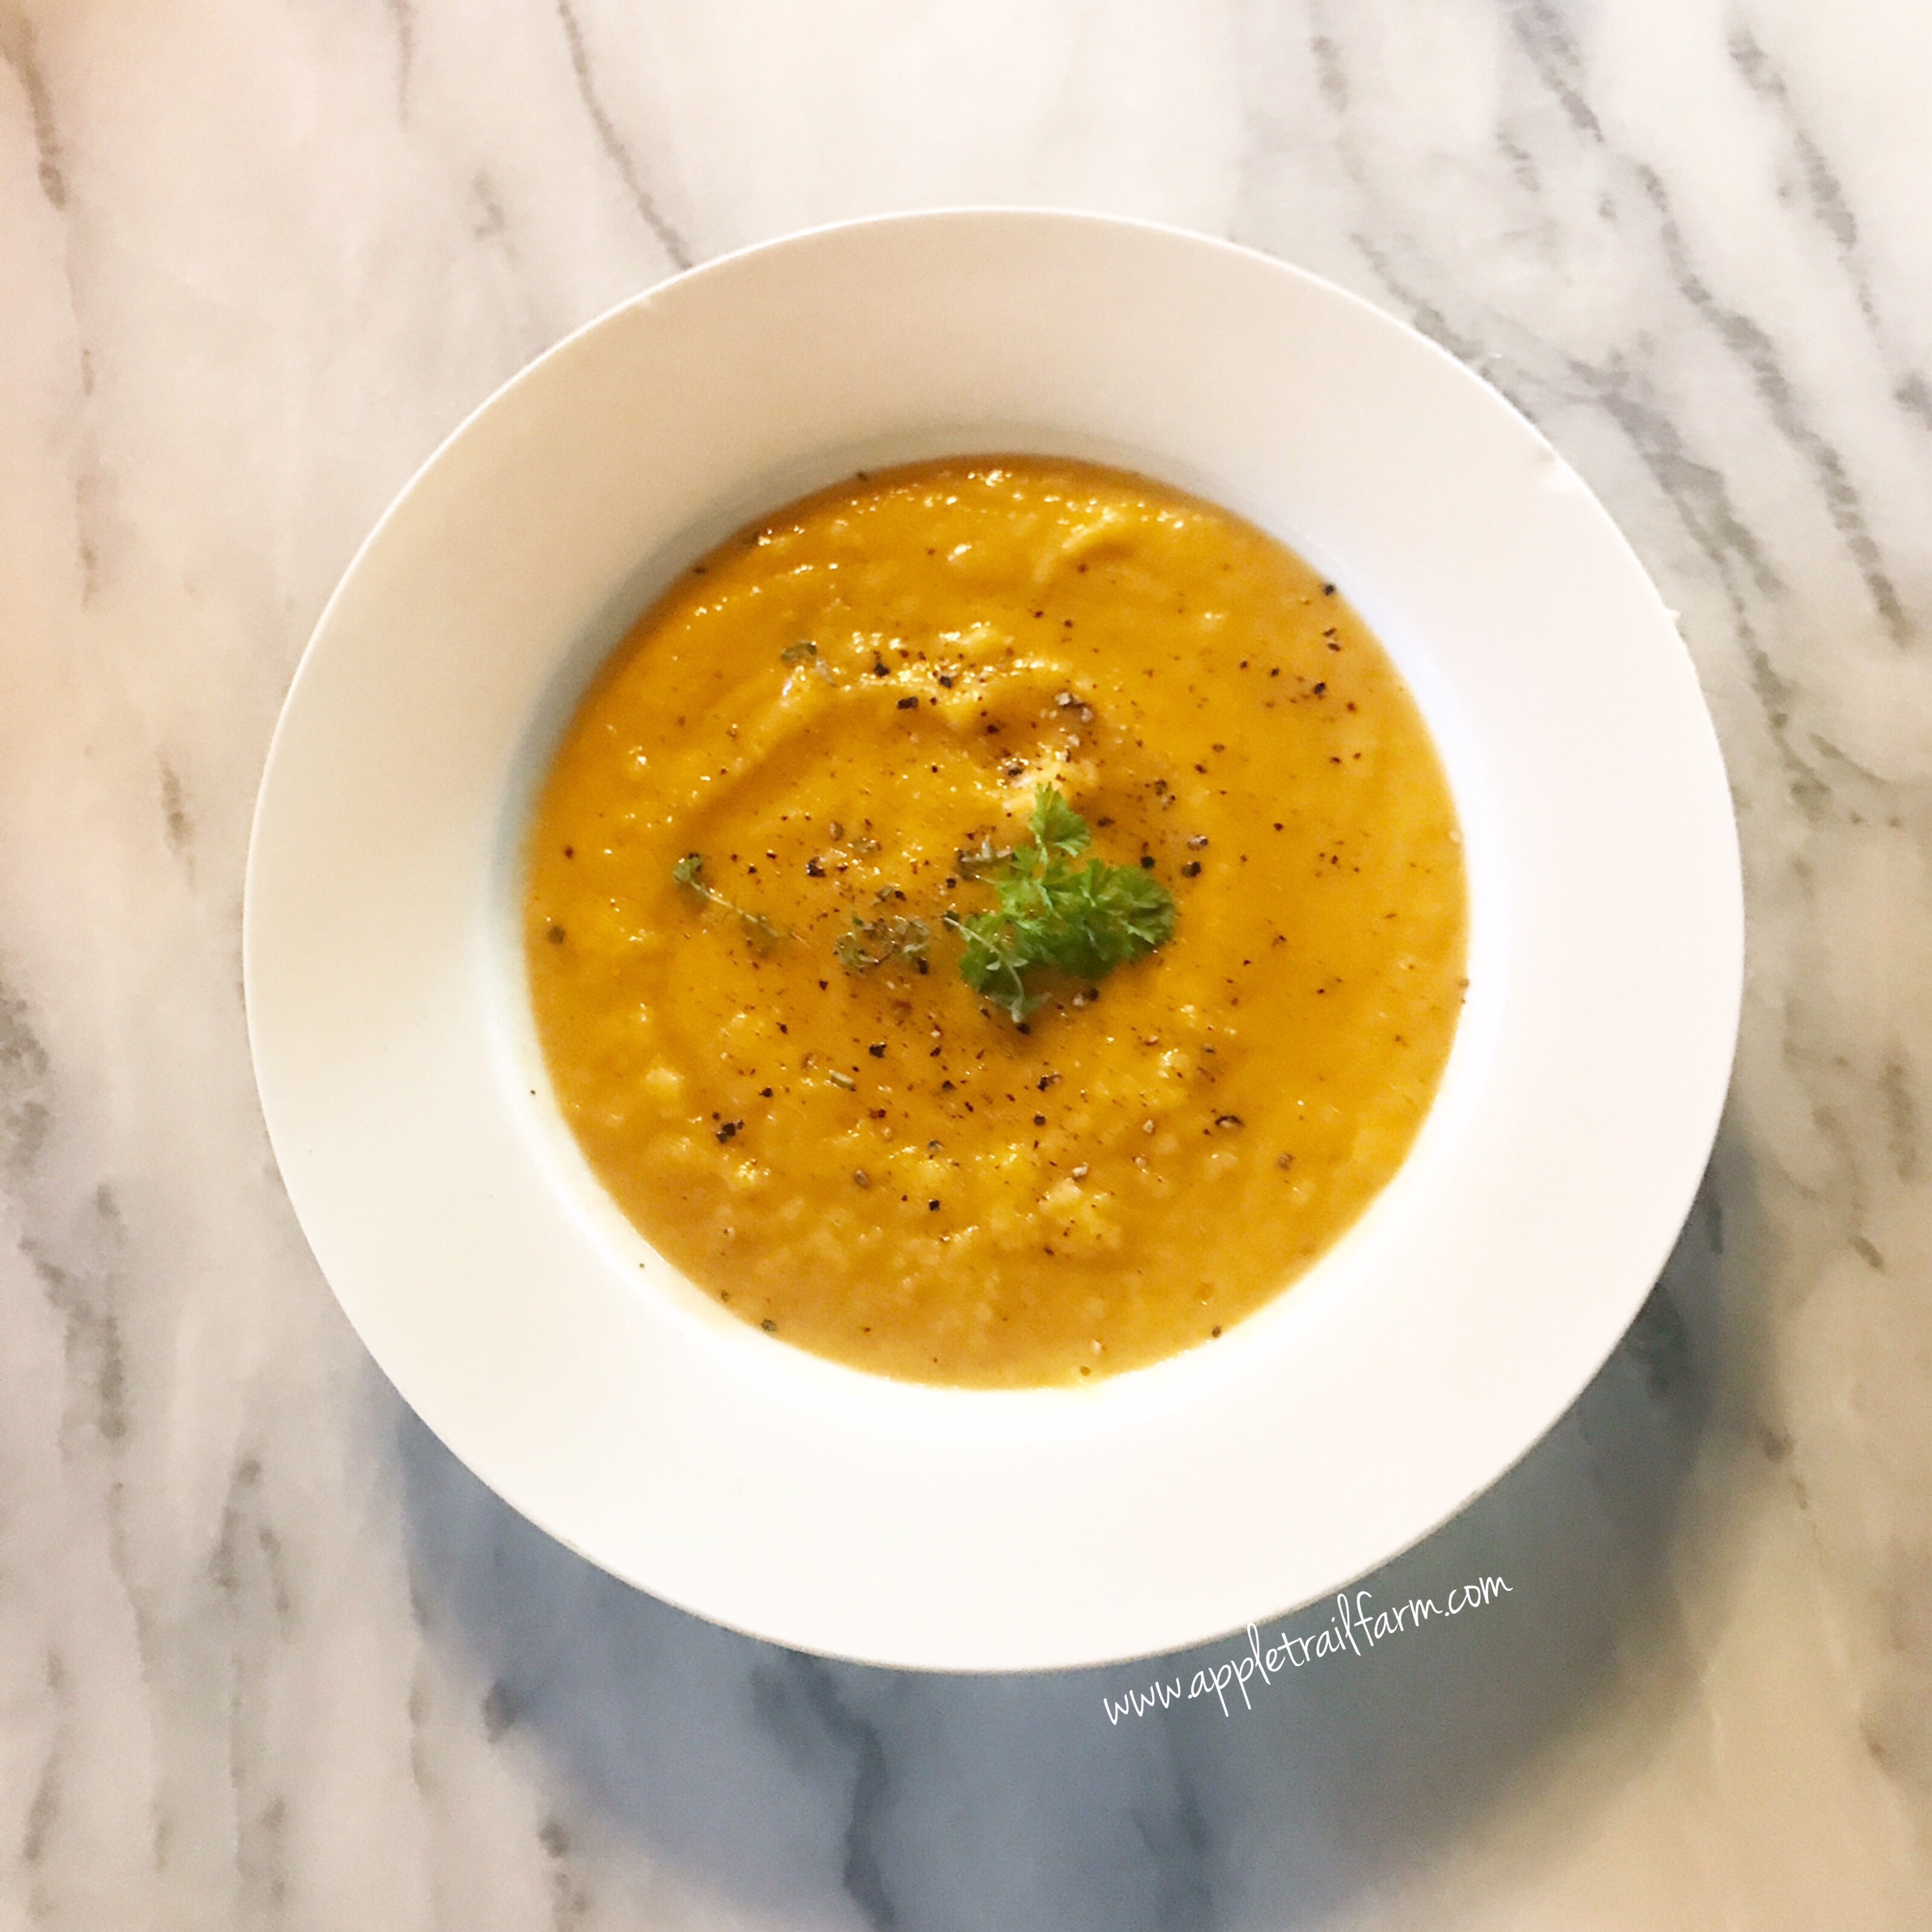
Sweet Potato Pumpkin Soup

I can’t get enough of real food, clean, allergen free soup and stew recipes. It is such a wonderful healthy comfort food when the weather is cold, but also packs full of immune boosting ingredients to help keep us functioning optimally. To be honest, I don’t remember where this recipe originated since I modified it based on a recipe I found many many years back, but it has become a favorite in our family and gets rave reviews from guests. It’s healthy (spare the cream) and the perfect flavors of fall and winter for a stand alone meal or as an appetizer to any dish.  Enjoy!

  • 1 tablespoon coriander seeds, crushed
  • 2 teaspoons cumin
  • 2 teaspoons dried oregano
  • 1 teaspoon fennel seeds
  • 1/4 teaspoon crushed red pepper

(Or substitute spices with doTERRA essential oils – 1 drop coriander, 2 drops cumin, 1 drop oregano, 1 drop fennel, 2 drops black pepper) *most essential oils cannot be ingested so please do not do this with another brand. These have been tested for safety.

  • 2 cloves garlic
  • 1/4 teaspoon salt
  • 1/2 teaspoon black peppercorns, ground
  • 1 tablespoons olive oil
  • 1 can (15 oz) pumpkin
  • 2 large sweet potatoes, cooked and peeled
  • 1 yellow onion, chopped
  • 1 large box or jar chicken broth  (or veggie broth if you want it vegetarian) – homemade bone broth is excellent base for all your soups and stews
  • 1/4 tsp. nutmeg
  • 1/4 tsp. white pepper
  • 1/2 cups heavy cream or 1 stick butter (optional)

Cook sweet potatoes (I prefer cooking them in the instant pot), allow to cool enough to peel, remove skins.

In a spice grinder, grind all spices together into a coarse powder. (or just use the oil drops)

Sautee onion and crushed garlic in olive oil over medium heat until onion is soft.

Combine sweet potatoes, pumpkin, spices, cooked onion/garlic and chicken stock in blender. (may have to divide into batches if making a large quantity)

Once blended, pour mixture into large pot on stove and cook over medium heat until thoroughly heated.  Consistency can be adjusted with more/less broth.  (Heavy whipping cream and/or a small amount of sour cream can be added for extra yummy & creamy soup, but not necessary)

Pour heated soup into bowls and garnish with sour cream and fresh parsley if desired.

this is the year

truck_family_hit_roadThis is going to be a BIG year. I know, everyone says that come January 1, but for us, this really is going to be a BIG year. We’ve been waiting for 2016 for a LONG time, though we didn’t always know it was 2016 we were waiting for. Now it’s here, and now we know!

I’d be lying if I said we weren’t scared. There’s a comfort in the familiar, but something deep inside us is not happy with staying there. We know life is more than the routine, than the familiar, than sitting at a desk day in and out while the kids grow up when we’re not looking – while we’re off at work and engrossed in the habits that so easily suck our time away from what really matters.

Just two years ago we had no idea 2016 was the year. It seemed like a distant dream of ‘one day’ that may never be attainable. Funny how God works when we don’t even know what is going on. I have found a passion in helping others discover ways to use natural options for better wellness that we never imagined would also become a lifestyle and calling for us. Circumstances beyond our control kept leading us to the next thing and the next thing, God has worked out all kinds of details that were in the way before, and now here we are!

There are SO many unknowns {that is where fear creeps in}, but we are trusting that the God who got us this far will light the path when needed. Ok, enough with the vagueness:: here are some of the things going down in 2016 and to say we are excited is an understatement!

  • E is retiring from a 20 year career in AUGUST and we will be free to move where we choose for the first time in our life together!
  • We are renovating a 1973 31′ airstream that will be our next home {yes, for all FIVE of us}, and have to have it ready by the time we leave!
  • We will finally escape the desert —-> destination unknown!
  • We will travel around seeing parts of the country we haven’t yet been able to explore, visit friends and family across the country, get to share our love of essential oils while we travel, and visit many of you who are a part of our amazing team!
  • We are homeschooling our oldest child and will take that to the road. No better way to learn than to get out and see the world!

The next 8 months are going to be the ‘prepare to launch’ phase for us. The ‘simple’ life we’ve been longing for does not come easily. We have a lot of STUFF to get rid of. Hard decisions to make. Time to put the action behind our dreams.FRESHSO many details to still work out, but we hope you guys follow along with our journey and adventures. Life with these 3 amazing littles is never boring, and mobilizing it to a 2 room camper will guarantee plenty of ‘adventure.’ Having my husband join us 24/7 is a blessing I could never have imagined, but for anyone who is married, you know that will come with a whole new round of challenges as we figure out new roles and hopefully master time management.

We know a lot of you have done similar things – thanks for the inspiration! We know it can be done, so we’ll see where the roads lead us! Here’s to a crazy ride in 2016!

authentic tiramisu

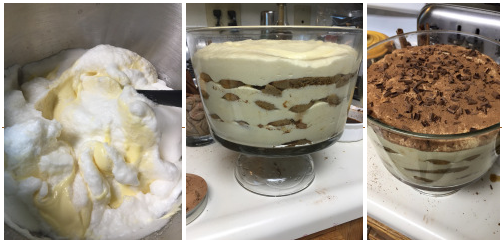
Screen Shot 2016-01-05 at 3.01.52 PMThis stuff is AH-MAZING! Because I need to remember this, here is what I did and how I did it for next time.

NOTE:: this is NOT EVEN REMOTELY ALLERGEN FREE or healthy, but if you can have eggs, dairy and wheat, it’s to die for

  • 2 packages lady fingers (though if I can find the authentic cookies instead of the spongy stuff they sell here it will make this dish even better)
  • 2 cups (16 oz) cold brewed espresso
  • 2 Tbsp cocoa powder (divided)
  • 1/4 cup Brandy
  • 6 eggs (separated into yolks and whites)
  • 2 containers (16 oz total) of Marscapone cheese
  1. Make the espresso the night before and store in the fridge. You HAVE to have this super strong high quality coffee or espresso – regular coffee just won’t cut it. Cold press was so easy (fill about 1/3 of the press w grounds and 2/3 water) to get that strength.
  2. Next day, take out eggs and Marscapone and bring to room temp
  3. Pour espresso into a shallow dish. Add in brandy and sprinkle with 1 Tbsp cocoa powder
  4. in a CLEAN and cold bowl, whisk egg whites and 1 Tbsp sugar until stiff peaks form. I learned the hard way you can NOT whisk egg whites in the bowl that has any of the yolk in it, so make sure to do the whites first in the clean bowl.

    {On a side note, the semi-foamy sweet egg white flop made some killer french toast soak, but this is much faster and easier if you do it right the first time}

  5. Gently transfer over to new bowl (so you can keep using the kitchen aid bowl), then whip egg yolks with 3 Tbsp sugar until foamy. blend in all Marscapone until smooth and creamy. Then gently fold In the egg whites mixture until blended
  6. Dip lady fingers quickly into espresso mix and cover bottom of dish. Layer with the cream mix and alternate until done. Top with Cocoa powder and chocolate shavings and refrigerate 4 hrs or overnight!

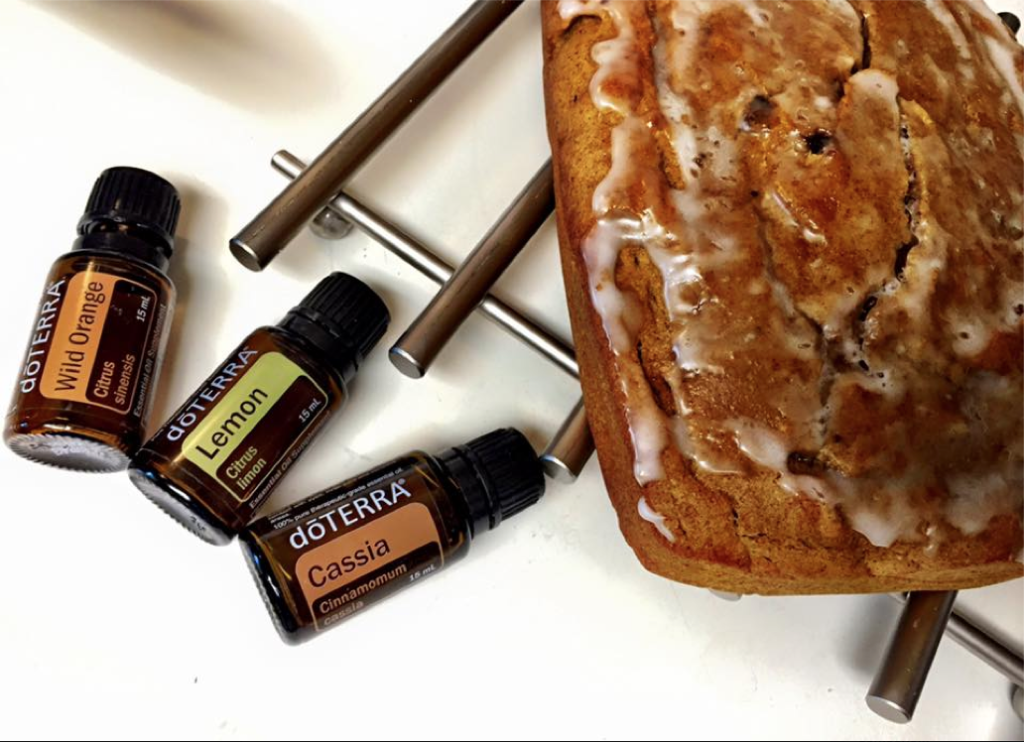
Gluten Free Pumpkin Bread with Wild Orange Glaze

Gluten Free Pumpkin Bread with Wild Orange Glaze

slightly adapted from this awesome recipe from Brandie at http://www.spoonandsaucer.com/gluten-free-pumpkin-bread/?crlt.pid=camp.ySpC6lN1AjBf

I honestly would LOVE to make this again with her eggnog glaze, but the SO Delicious coconut eggnog that I love is not easily available here, so I may have to wait until we go out of town and then bring a cooler to stock up (it’s worth it, folks).Screen Shot 2015-11-05 at 1.54.33 PM

* This recipe is a double batch because you will be MAD if you make only one loaf. Trust me.

Pumpkin Bread
  • 3 cups Bob’s Red Mill Gluten Free 1:1 Baking Flour
  • 2 tablespoons pumpkin pie spice (I ran out, so I did 1 Tbsp pumpkin pie spice, then added some fresh ground nutmeg, 2 tsp cinnamon, some ginger, clove and allspice)
  • 4 teaspoons baking powder
  • 1 teaspoon kosher salt
  • 4 large eggs
  • 3/4 cup applesauce
  • 1/4 cup oil
  • 1 drop Cassia Essential Oil**
  • 6-8 drops Lemon Essential Oil**
  • 3/4 cup granulated sugar
  • 1/4 cup brown sugar
  • 1 cup pumpkin puree
Wild Orange Glaze
  • 1/2 cup powdered sugar
  • 1 tablespoon water (or more as needed)
  • 2 drops Wild Orange Essential Oil**
Instructions
GF Pumpkin Bread
  1. Preheat oven to 350F
  2. Grease 2 loaf pans.
  3. In a large bowl, mix dry ingredients (flour through salt) with a whisk until well combined.
  4. In a separate medium bowl, whisk together all the wet ingredients until well combined.
  5. Add the wet ingredients to the dry, and mix just until there are no dry clumps, being careful not to overmix.
  6. Pour the mixture into your greased loaf pan, and bake for appx an hour, or until golden brown, and a knive or toothpick comes out clean.
  7. Remove from the oven, and cool on a wire rack.
Wild Orange Glaze
  1. Put the powdered sugar in a cup, and add the water.
  2. Whisk until the glaze is thick, and smooth and add in the Wild Orange oil.
  3. Drizzle on the bread, and let it sit until the glaze has dried out a bit.
  4. Slice and enjoy!** I use only 100% pure therapeutic Grade Essential Oils that are batch tested for purity and safe for internal use. Contact me if you would info on where to get these essential oils.