Gluten Free Stirfry

I often make meals that are healthy and meals that taste good, but they do not always align at the same time 😂 I try.

Tonight my 7 year old said as he was eating, ‘this tastes better than cake,’ so I figured this is worth writing down. This recipe is gluten free, dairy free, nut free and soy free and is both Whole 30 and Keto friendly.

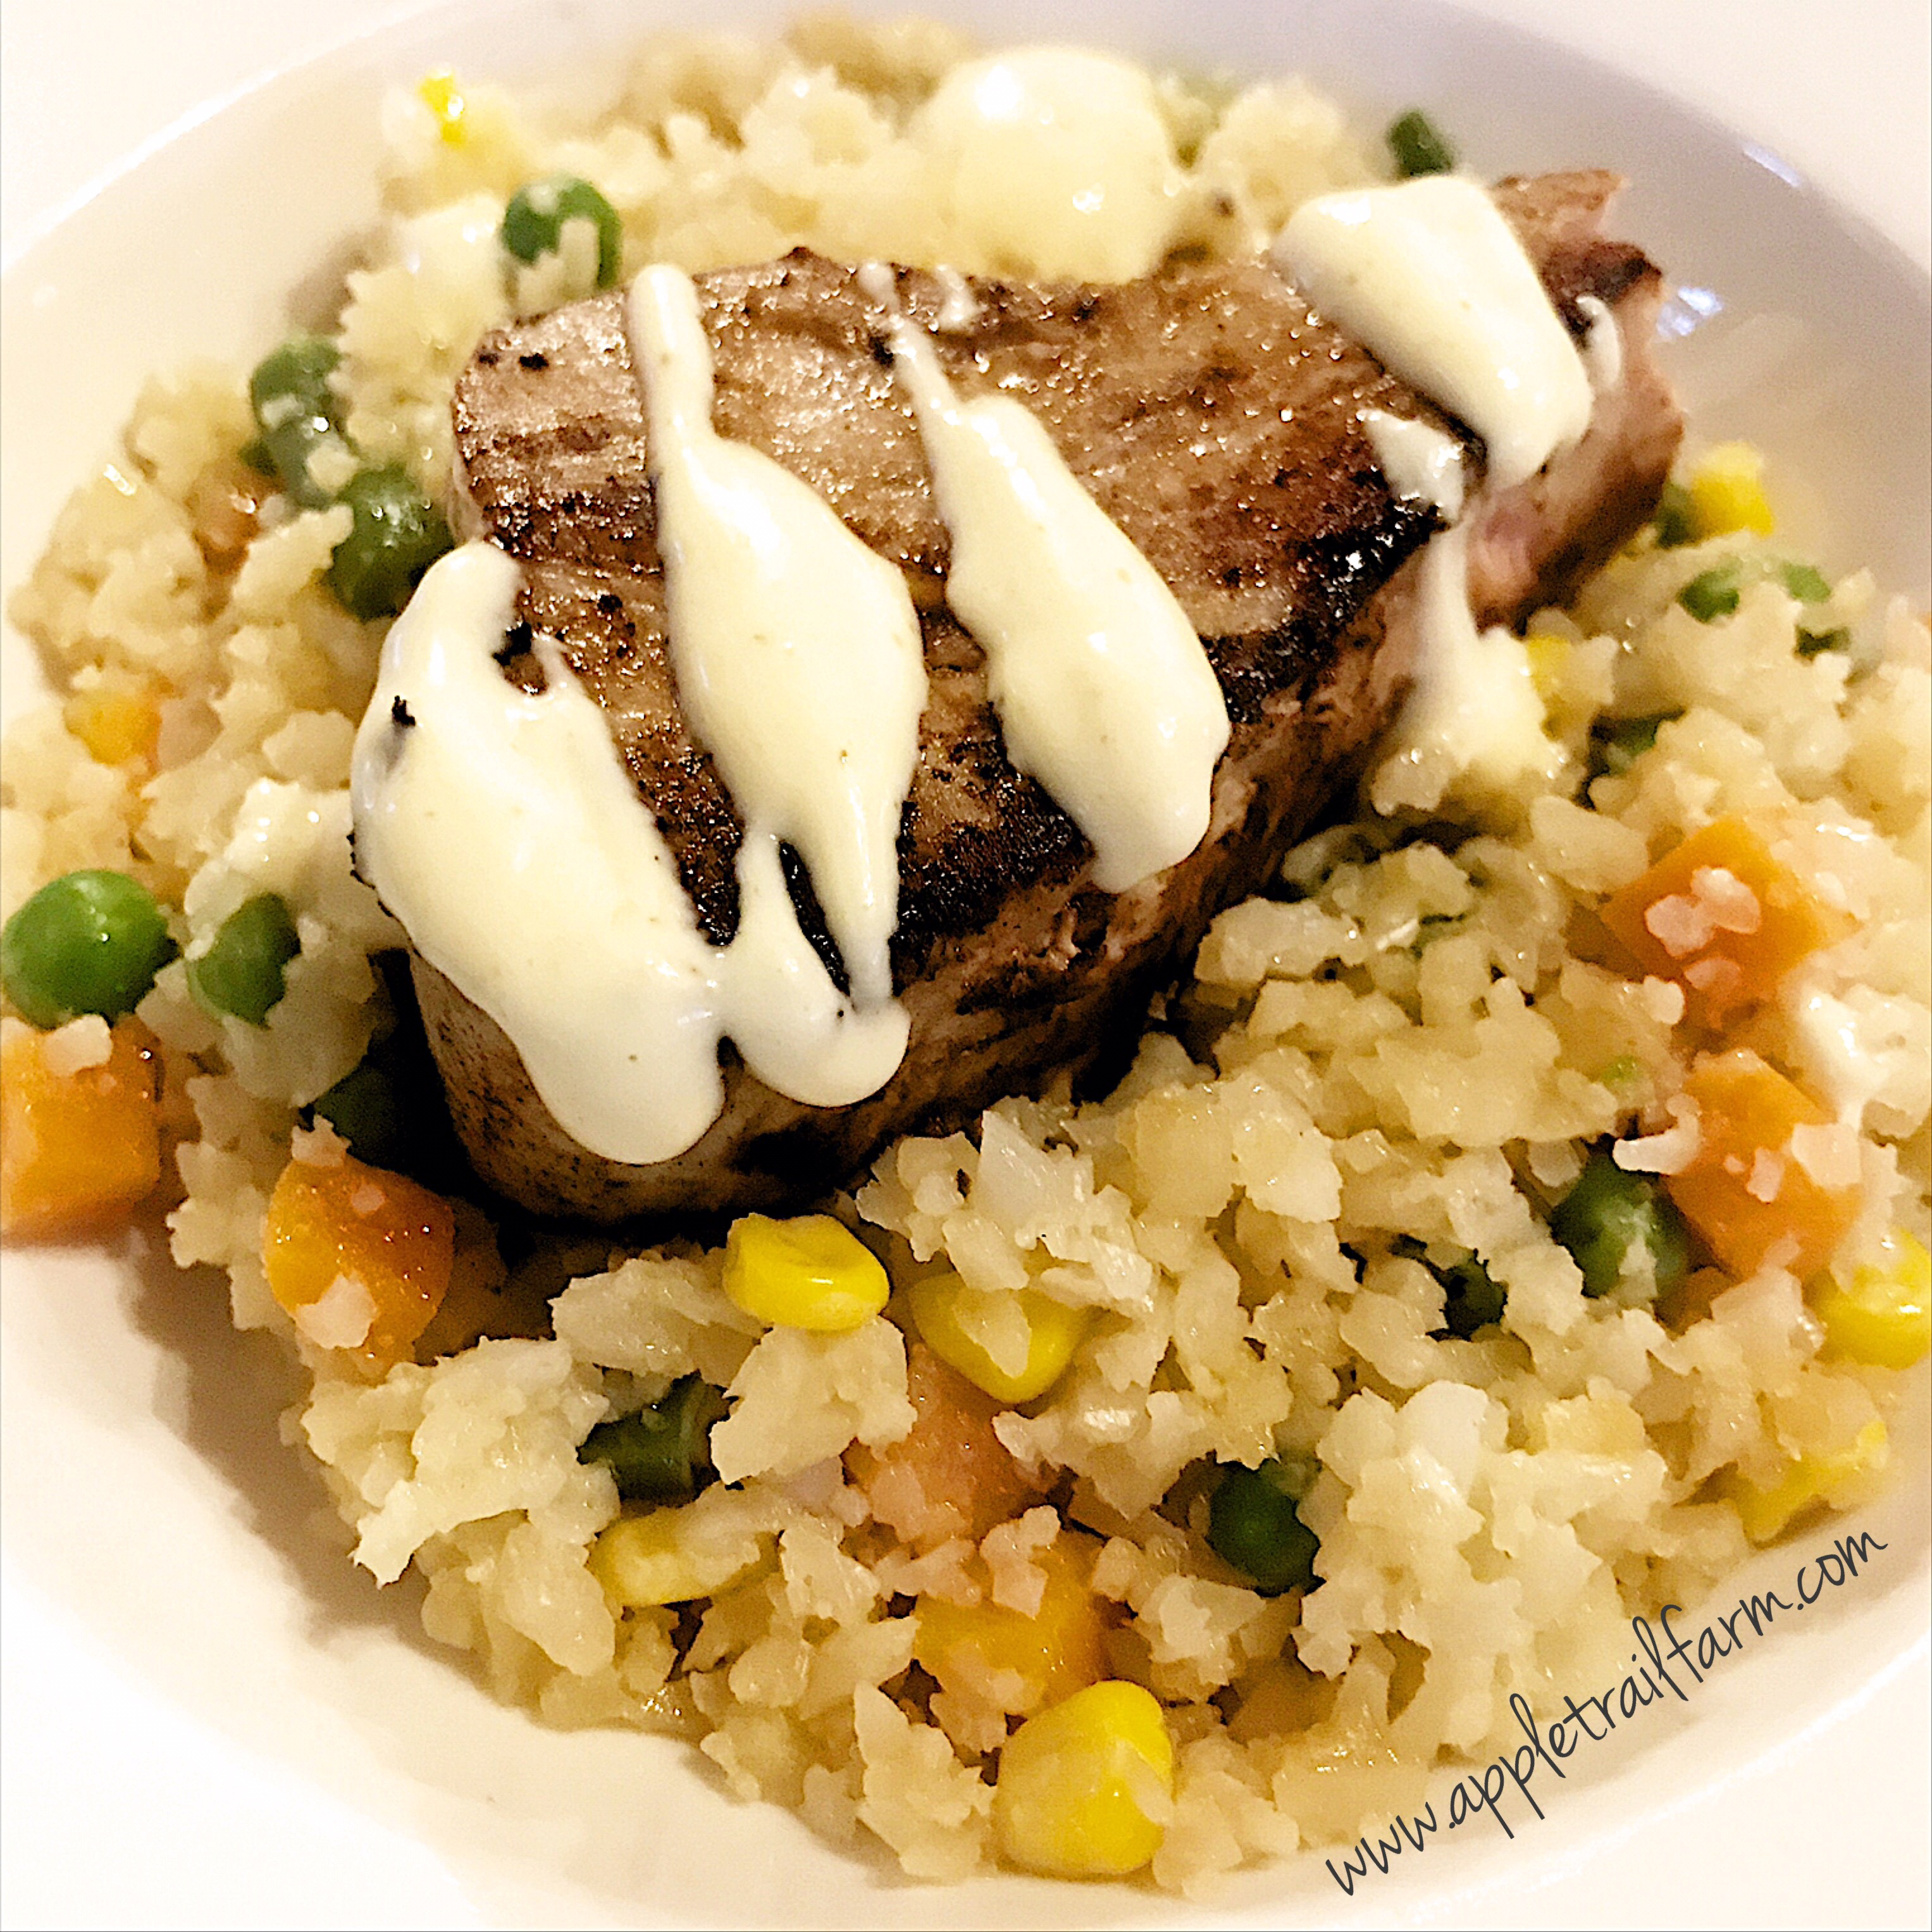
I have been transitioning to cauliflower rice for obvious nutritional and health benefits, and am loving these super easy stir fry bowls. I’ve done chicken & broccoli but tonight’s rendition was Ahi Tuna steaks over the stirfry and it was GONE in a flash with rave reviews from all 3 boys. Super super simple.

PREP AHEAD:

Marinade Wild Ahi Tuna steaks a few hours ahead of time with a drizzle of olive oil (I use my fav Rosemary Thyme Infused oil) Coconut Aminos, and crushed garlic. Put in fridge.

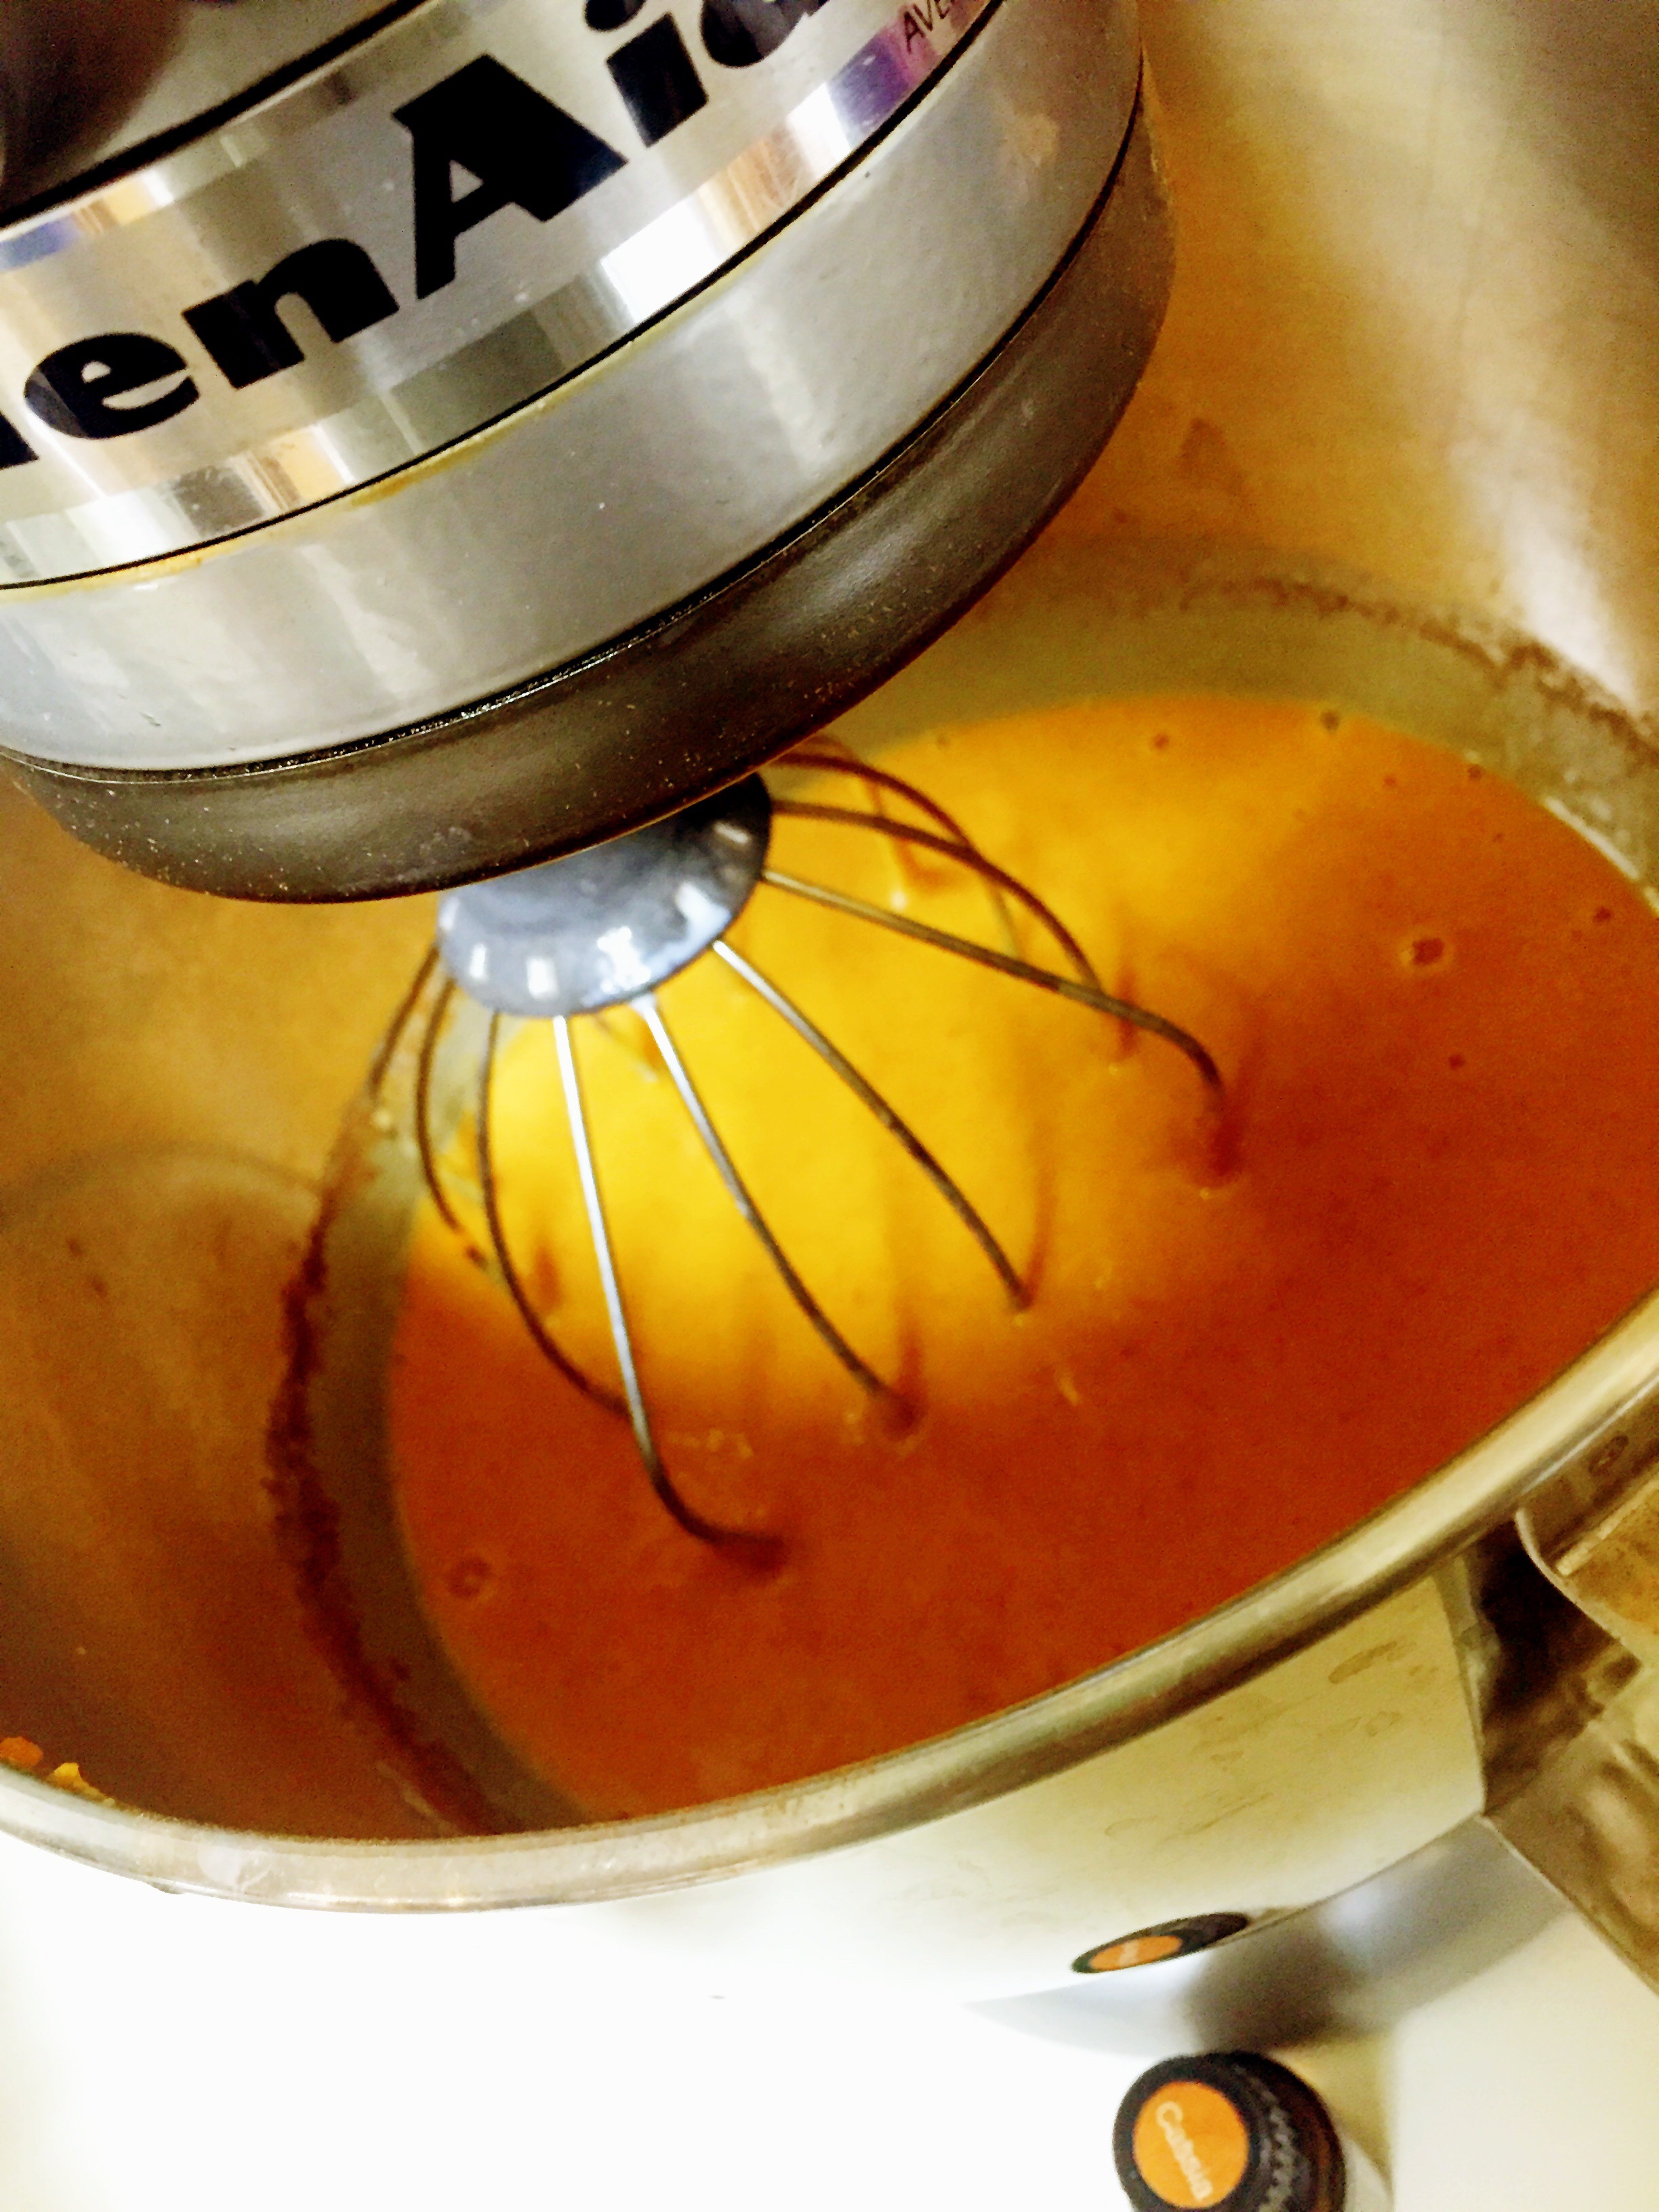
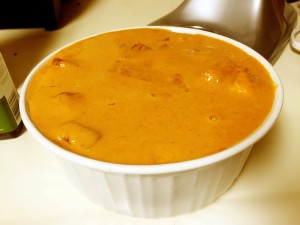
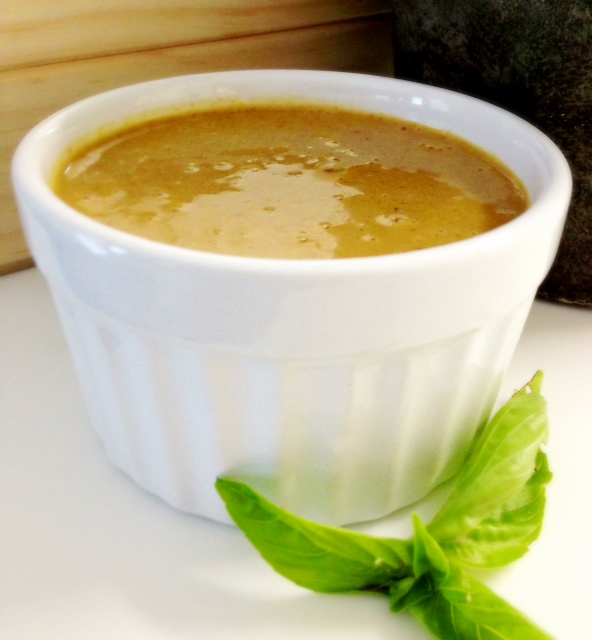
Prepare homemade mayo if you do not have any (this is a soy free 4 ingredient super clean condiment that tastes WAY better than anything you get in a store)

  • 1 egg
  • 2 tsp lemon juice
  • 3/4 cup LIGHT TASTING olive oil (do NOT use regular or it will be disgusting)
  • 1 Tbsp spicy brown mustard

Season with a dash of salt and blend all in a cup with immersion blender until nice and thick and creamy

Set in fridge and save for later

——-

When ready to eat:

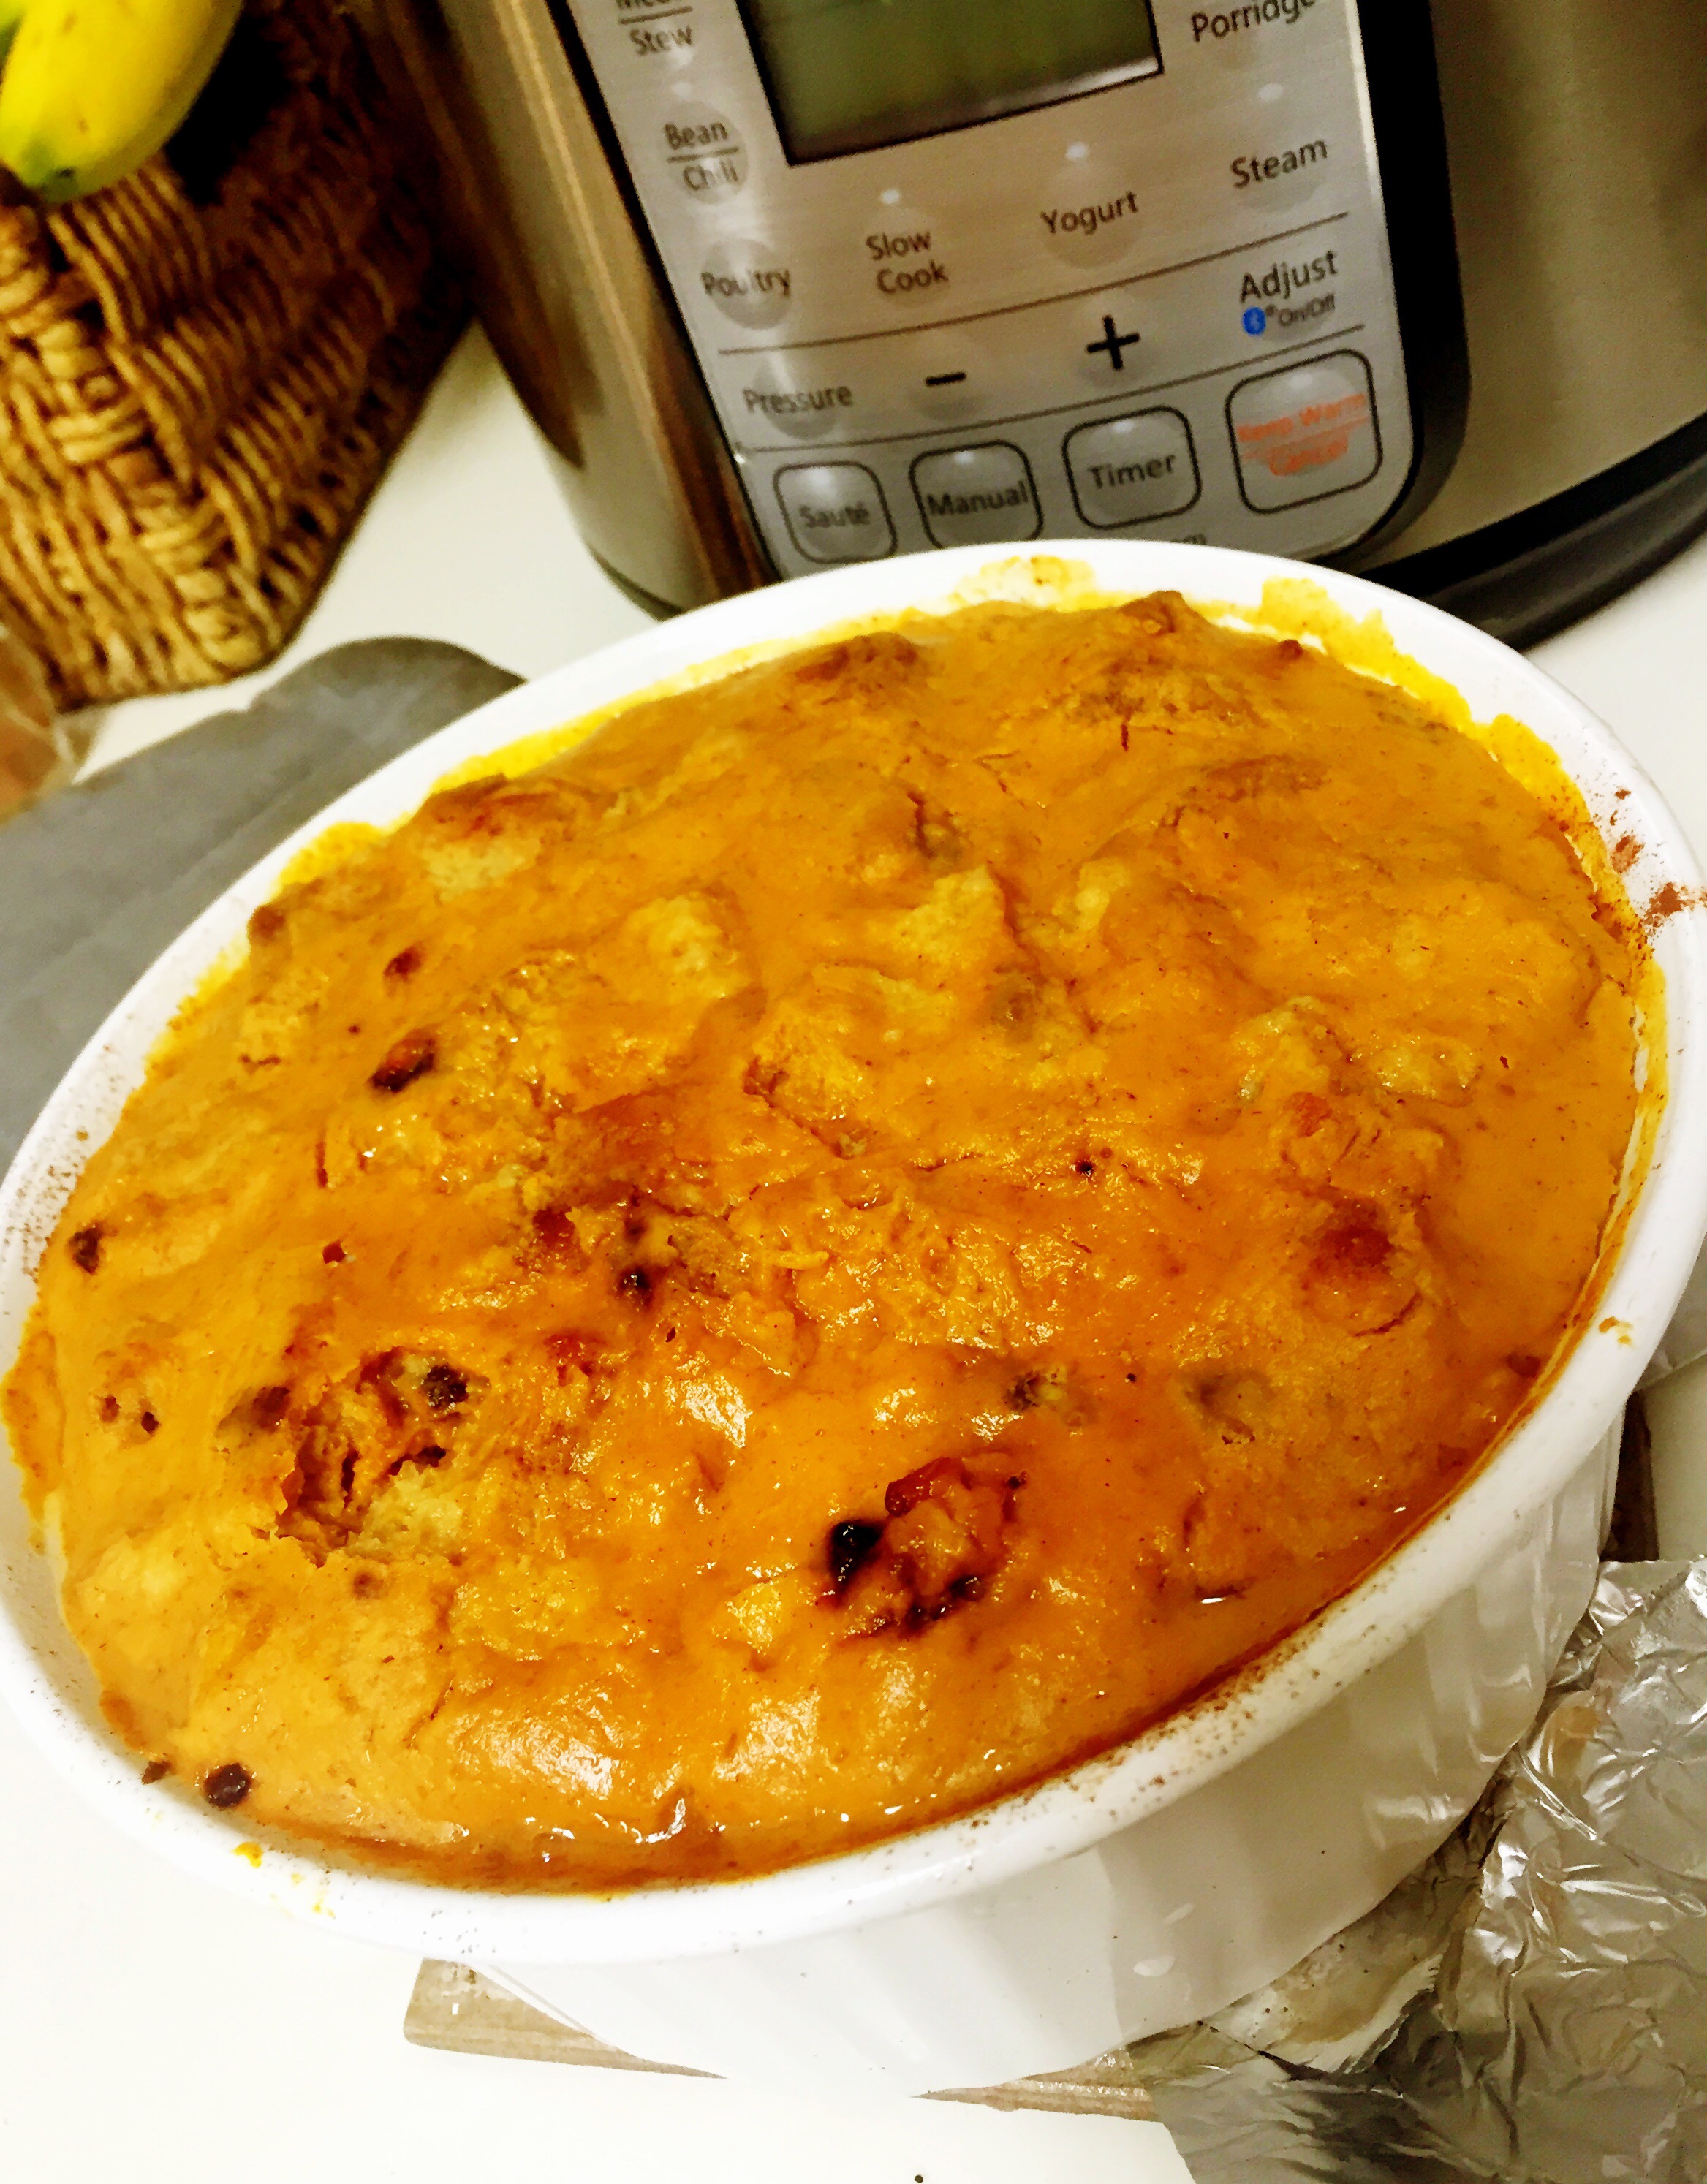
Use any riced cauliflower of your choice (I have used several brands all with great results, but love the Green Giant with no additives or even seasoning). Pour out desired amount in an oven safe dish and add in a bag of frozen organic mixed vegetables or chop and pre-cook fresh veggies until soft and then add to cauliflower mix.

This is so easy it’s not really a recipe, but the simple seasonings make it go from blah to amazing. Stick the frozen cauliflower rice and veggies in oven or on stove until cooked through and hot.

When almost done, heat skillet over med/high heat and sear/cook the marinated tuna steaks (or can do the same thing with chicken). Depending on thickness I usually do 2.5 min per side for the tuna so they are still med rare.

Before serving, drizzle on coconut aminos over ‘rice’ and veggie mix, salt and pepper.

Top with Ahi Tuna steak and drizzle the ‘mayo sauce’ over the top. Enjoy!

Seal Beach

Beach hopping continues! We drove up the coast about an hour to our new destination: Seal Beach! Our campsite here is actually not a campground, but an RV park. We are quickly learning there is definitely a difference between the two! Since we are just starting out, we did not realize (what is probably common knowledge for full timers) that RV parks in general do not allow tents or have campfire pits (which by this time was actually a welcome change). We are at the Seabreeze RV park which is extremely nice, clean and uncomfortably quiet. I’m not entirely sure there is anyone here – maybe just a bunch of empty RVs parked here for the summer? Either way – it’s our first time having FULL hookups!!! We are a bit excited to finally be able to use the sinks without apprehension (though still trying to conserve and be responsible) 😉

Seal Beach is a cute little beach town sandwiched between Huntington Beach and Long Beach just south of LA.

Since we LOVE food and love to find great local places, we often look to YELP to scout out the highest reviewed non-chain (when possible) place to eat that uses real, fresh food that can be made allergen free and safe for the kiddos. Our search in this area landed us at Cesar’s Bistro…

This little spot is AMAZING – we’d highly recommend it. The service was fantastic and it felt like we had known our server forever by the time we left. They were very accommodating to the allergies and had excellent gluten free options since a lot of their ‘breads’ were home made with corn. Check out the presentation here! This is the Caribbean pulled pork and the salad was something I’d come back for alone – so much flavor!

Had to finish off the meal with sweet plantains, of course.

Definitely check this place out if you’re in the area!

marshmallow dreams


Funny the questions that have been popping into my head about people who travel and live full-time at campgrounds. Tonight the thought struck me that they probably get really tired of campfires. {gasp} I know it seems like such an awesome part of outdoor life, but in reality, smoke and sticky marshmallows surely lose their charm night after night, right?

Good news is that for us, they are still magical and every bit an essential part of this camping life. (Though I quickly learned not to leave the airstream windows open next to the fire ?).

My boys have an obsession with burning their marshmallows to a crisp and declaring it ‘perfectly done!’

You may wonder how S’mores work for kids with food allergies. We have come up with 2 alternatives that are not just acceptable, but in my opinion far surpass the traditional S’more…

1) Sharf brand gluten free shortbread cookies. These paired with toasted marshmallows are so good, you usually forget the chocolate, but the Enjoy Life Dairy Free Chocolate Chunks make an excellent addition if you remember to put them on.

2) Betty Crocker’s Gluten Free Brownies  (this one is still their fav of all the gf brownie mixes). Bake up a batch and top it with your roasted marshmallow for a really indulgent campfire treat!

There’s no way we’ll be able to make this a nightly event, but since we are just starting out you’d better bet the boys are LOVING some evening camp fires and marshmallows!

dairy free gluten free mac-n-cheese

I wish I had a video of the dancing that ensued in the kitchen when my boys found out I was going to attempt a ‘safe’ mac-n-cheese. When you go your whole life allergic to dairy and wheat, you don’t get this as a dinner staple….or at all. My 6 year old had never had it, but when we ordered food and a local place accidentally delivered a side of mac-n-cheese that my 4 year old (not allergic kid) devoured. Their curiosity was peaked for this ‘kid’ food staple.

So I finally decided making a ‘cheesy’ sauce with no cheese couldn’t be that hard, right? While we usually try and change our diet rather than sub food, we have incorporated some shredded Daiya brand ‘cheese’ into a few dishes and the boys feel like they are getting something cheesy (quesadillas are their fav)

So for this Mac-n-cheese I started with a pack of organic gluten free rice/corn blend fusilli (who doesn’t love the spirals!!).

 Here is the recipe for the ‘cheese sauce’ though I apologize – I never really measure anything.

Start by melting the butter over med heat until liquified, then adding in the gf flour to make a rue.

Once this paste is formed, add in the Daiya shreds and let them melt and add in flax milk to cream it up. Whisk the blend until smooth and creamy.

 Add in salt to taste, the grated nutmeg (bc everything cheesy is better with nutmeg) and remove from heat. Stir in 2 drops of dōTERRA black pepper oil for an amazing flavor boost.

Drain pasta and drizzle on some Rosemary & Thyme infused olive oil. Top with cheese sauce and watch your dairy free kids smile with delight and gobble it up!

We kicked it up a notch my adding in some natural sausage – browned and crumbled into the mix. You can sneak in chopped spinach as well!

gluten free instant pot quinoa breakfast bowl

This is hands down my new favorite quick and healthy breakfast. Have I mentioned how much I LOVE our instant pot? 

For this breakfast bowl…

STEP 1: start your breakfast meat cooking (optional). We love the Jones Farm Natural Maple Sausage Links and cook up a batch of those while the rest is preparing

STEP 2: make quinoa in your instant pot (if you have the Bluetooth instant pot there is a recipe script on the app). If not, add:

  • 2 cups quinoa (rinse it first)
  • 3 cups water
  • A few shakes of sea salt

Close and lock the lid, select manual and drop it to 1 minute

Let it release naturally after 10 minutes

When pressure releases, fluff with fork and drizzle with rosemary & thyme infused olive oil

STEP 3: We routinely make soft boiled eggs with the instant pot. It is SO easy with perfect results every time!

Insert your rack into the instant pot. Add about 1/2-1 cup water and however many eggs you want to boil

Close and lock lid. Set to 4 minutes on manual. If you like them really soft boiled, cancel it when the cook time is done and manually release the pressure. Otherwise, let it naturally release in 10 min and they are more like medium boiled eggs (no runny yolk).

Once pressure is released, put eggs into cool bowl of water with ice to stop the cooking. The shells are a breeze to peel this way too.

Peel your eggs

STEP 4: prep your veggies. I love adding chopped spinach and/or avocado but you can do whatever you’d like

ASSEMBLY: scoop some of the rosemary & thyme flavored quinoa into a bowl. Add in a few peeled eggs, your sausage, chopped veggies and sprinkle with Parmesan or sharp cheddar (optional). Add in some fresh grated sea salt, lots of freshly grated black pepper and dig in!


GF raw Blueberry Bars with Wild Orange and Cinnamon Oil 

I’m always cooking and flavoring our food with essential oils, so I am super excited about this recipe for these raw, gluten-free treats from dōTERRA! These may be a new staple in our house!
  
INGREDIENTS:

Base Layer

  • 1 1/2 cups oat flour
  • 4 tbsp water
  • 2 tbsp coconut oil
  • 2 tbsp maple syrup
  • 2 tbsp molasses
  • 1 drop Cinnamon essential oil

Blueberry Layer

  • 4 cups organic blueberries (Frozen is fine but be sure to thaw first; also, fresh will give you a more vibrant color.)
  • 3 cups GF oat flour (I use my vitamix to grind up GF rolled oats)
  • 1/2 cup maple syrup
  • 5 tbsp coconut oil
  • 2-5 drops Wild Orange essential oil

DIRECTIONS:

Bottom Layer: Melt coconut oil in microwave and combine with other ingredients, adding the Cinnamon essential oil last. Mix well. Press mixture into a layer an 7×11 pan. Place pan in refrigerator to firm up.

Blueberry Layer: Puree blueberries in a food processor. Melt coconut oil and combine all remaining ingredients, adding the Wild Orange essential oil last. 

Press blueberry layer evenly on top of bottom layer. Dust with unsweetened cocoa power like we did or leave them blue and bare-y. Place in fridge to chill until desired consistency is reached.

http://doterrablog.com/raw-blueberry-bars-with-wild-orange-and-cinnamon-essential-oil/

Gluten Free Irish Soda Bread


This bread is good any way you slice it. I compiled ideas from several recipes and this is what I came up with… We started making this for St Patrick’s Day 2009 and it has been a favorite ever since! Since this one is not easily adapted to be dairy free, we have avoided it for the kids until this year. Now that we are able to do baked egg and milk, we converted this to a gluten-free variation this week. The texture is a bit more dense, but the flavor is still spot on!

IRISH SODA BREAD

1/2 cup white sugar

2 cups white flour***

2 cups wheat flour***

***[for gluten free, sub these for 4c gluten free complete flour mix]

2 tsp. baking powder

1 1/2 tsp. baking soda*

3/4 tsp. salt

1 cup currants

1/2 cup craisins

1/2 cup pecans [nut-free sub for sunflower seeds]

1 Tbsp flax seed, pecans

1 Tbsp. caraway seeds

2 eggs lightly beaten

1 1/4 cups buttermilk

1/2 cup sour cream

1/2 cup plain yogurt**

**(can substitute yogurt/sour cream) If using ALL sour cream, decrease baking soda by 1/2 tsp. If using ALL yogurt, increase baking soda by 1/2 tsp.

1. Preheat oven to 350 degrees F (175 degrees C). Grease a 10 inch round cast iron skillet (or could use round baking or cake pan)

2. In a mixing bowl, combine flour, sugar, baking powder, baking soda, salt, raisins and caraway seeds. In a small bowl, blend eggs, buttermilk, sour cream and yogurt. Stir the liquid mixture into flour mixture just until flour is moistened. Knead dough in bowl about 10 to 12 strokes. Dough will be sticky. Place the dough in the prepared skillet or pan and pat down with a dusting of wheat flour. Cut a 1 in. by 6 in. deep “X” into the top of the bread before baking.

3. Bake in a preheated 350 degrees F (175 degrees C) oven for appx 50 min or until brown and pulling away from sides of the pan. Turn bread onto a wire rack to cool.

Breakfast casserole

Our lives have taken a step in an exciting direction with the discovery that our oldest can have eggs as long as they are baked into something and thoroughly cooked! We LOVE eggs, and I feel like some mornings, breakfast just isn’t complete without them. For years we just made due, but I have recently been able to incorporate a breakfast casserole and my little one is ecstatic!

This is so easy and versatile – it takes about 45 min to bake so it’s great to get up and throw in early before they all get crazy and hangry.

Here’s a picture of our casserole today before it has been baked. It was a great way to clean out the fridge from the random meats, sides and veggies from the week!
Ingredients:

You can literally throw anything into this! Here is what we usually do:

  • Pre cook a roll of natural sausage or breakfast meat
  • Add chopped (pre-cooked) potatoes or even throw in a layer of frozen fries or tots
  • Chop in veggies you have in the fridge (mushrooms, spinach, zucchini and onions are our favorites)
  • Add cheese if you can have that. We aren’t quite there but sometimes I mix in some dairy free Daiya cheddar shreds
  • Mix about 8-12 eggs until they are whipped up, adding in some cream or milk of choice, salt and pepper (I love adding in 1-2 drops of dōTERRA Black Pepper essential oil)
  • Because we still need a binder with our eggs to make them safer, I add in about 1/4 cup gluten free bisquick to the egg mix

Grease a 9×13 casserole dish and grease the bottom. Throw in your meat, potatoes, veggies and then pour your egg mix on top to set it all!

Bake at 350 for appx 45 min or until egg part is thoroughly cooked! It’s a huge hit every time!


Instant Pot gluten free pumpkin bread pudding

This is sooooo good. I had heard of people making pumpkin pie and bread puddings in their instant pot, so I decided to merge the two and see what happened. It was a huge hit!

Disclaimer: this is NOT a super fast cooking recipe

Here’s what I used:

  • 6-8 pieces of Udi’s gluten free cinnamon raisin bread
  • 4 eggs
  • 2 Tbsp melted butter
  • 1/2 cup organic sugar
  • 1 Tbsp organic cinnamon
  • 1 tsp organic vanilla
  • Dash salt
  • Dash nutmeg
  • 2 drops cassia essential oil
  • 1 can organic pumpkin purée
  • 1 cup of whole milk or 1/2 milk, 1/2 cream
  • 2 cups of water (for steam in instant pot)

Grease the inside of a baking dish that will fit in your instapot (I used a 1 1/2 qt stoneware dish).

Cube bread and fill dish. Drizzle melted butter over the bread cubes (this step can be omitted if you want it a little more cake-like).

In my kitchen aid, I beat 4 eggs with the sugar until mixed, added vanilla, cinnamon, nutmeg, salt & cassia. Mix well and stir in 1 can pumpkin purée, then pour in milk and mix until blended.

Pour pumpkin mixture over bread cubes and let is sit for a few minutes or tap it down to let it absorb into the bread and let some air bubbles out.
img_8876.jpeg
Cover the dish with foil and make a foil sling to make it safer and easier to lift the pot when it is done. (This is basically just a long strip of foil folded into a 1-2 inch thick ribbon and placed around the pot so you can grab it and lift it out at the end).

Insert the steamer rack and pour in 2 cups of water into the instant pot. Set the dish into the pot and set it on manual for 35  minutes at high pressure.

Let it naturally release for about 5-10 minutes and then manually release the pressure to open the lid. Carefully remove it using the sling pieces (the steamimg_8881.jpeg below is super hot).

Uncover and serve topped with whipping cream or organic yogurt. We used vanilla soy yogurt as a dairy free option (due to allergies we can only have dairy when baked. I used real cream in the recipe but you could sub if needed). The yogurt flavor compliments it best in my opinion.

Excellent for dessert or even a yummy breakfast!

Gluten Free Pumpkin Bread with Wild Orange Glaze

Gluten Free Pumpkin Bread with Wild Orange Glaze

slightly adapted from this awesome recipe from Brandie at http://www.spoonandsaucer.com/gluten-free-pumpkin-bread/?crlt.pid=camp.ySpC6lN1AjBf

I honestly would LOVE to make this again with her eggnog glaze, but the SO Delicious coconut eggnog that I love is not easily available here, so I may have to wait until we go out of town and then bring a cooler to stock up (it’s worth it, folks).Screen Shot 2015-11-05 at 1.54.33 PM

* This recipe is a double batch because you will be MAD if you make only one loaf. Trust me.

Pumpkin Bread
  • 3 cups Bob’s Red Mill Gluten Free 1:1 Baking Flour
  • 2 tablespoons pumpkin pie spice (I ran out, so I did 1 Tbsp pumpkin pie spice, then added some fresh ground nutmeg, 2 tsp cinnamon, some ginger, clove and allspice)
  • 4 teaspoons baking powder
  • 1 teaspoon kosher salt
  • 4 large eggs
  • 3/4 cup applesauce
  • 1/4 cup oil
  • 1 drop Cassia Essential Oil**
  • 6-8 drops Lemon Essential Oil**
  • 3/4 cup granulated sugar
  • 1/4 cup brown sugar
  • 1 cup pumpkin puree
Wild Orange Glaze
  • 1/2 cup powdered sugar
  • 1 tablespoon water (or more as needed)
  • 2 drops Wild Orange Essential Oil**
Instructions
GF Pumpkin Bread
  1. Preheat oven to 350F
  2. Grease 2 loaf pans.
  3. In a large bowl, mix dry ingredients (flour through salt) with a whisk until well combined.
  4. In a separate medium bowl, whisk together all the wet ingredients until well combined.
  5. Add the wet ingredients to the dry, and mix just until there are no dry clumps, being careful not to overmix.
  6. Pour the mixture into your greased loaf pan, and bake for appx an hour, or until golden brown, and a knive or toothpick comes out clean.
  7. Remove from the oven, and cool on a wire rack.
Wild Orange Glaze
  1. Put the powdered sugar in a cup, and add the water.
  2. Whisk until the glaze is thick, and smooth and add in the Wild Orange oil.
  3. Drizzle on the bread, and let it sit until the glaze has dried out a bit.
  4. Slice and enjoy!** I use only 100% pure therapeutic Grade Essential Oils that are batch tested for purity and safe for internal use. Contact me if you would info on where to get these essential oils.

What’s for dinner? …on-the-fly Shepherd’s Pie

I love recipes that I can make up as I go. Maybe it’s because I don’t always have the exact same ingredients on hand or maybe it’s because I don’t like having to follow directions, but if you’re in a bind and have some ground meat on hand, you can make what I like to call “on-the-fly Shepherd’s Pie” 🙂

STEP 1: cook up a pound or two of (preferably local grass-fed…..we ordered 1/4 cow from a local farm, but that is for another post) ground beef in a large oven-safe skillet and boiling some potatoes while your meat is browning. Pre-heat your oven to 400 degrees.

STEP 2: Once the meat browns, this is where the fun begins – dump in a little of this and a little of that to season it up and make a base for your shepherd’s pie. I like to add in things like:

  • some sherry wine
  • chopped organic tomatos
  • chopped onion
  • chopped garlic
  • dash of cinnamon
  • dash of nutmeg (these give ground beef such a yummy unique flavor)
  • sea salt, pepper
  • about a cup of water
  • some organic ketchup to thicken
  • some oregano, basil, thyme

STEP 3: let it all cook a little until it’s nice and saucy, then throw in whatever vegetables you happen to have on hand (you can even use frozen if you so desire). I added a cup or two of chopped carrots & green beans, but seriously you can use a lot of things (green beans, zucchini, etc) Let it all cook more until veggies begin to soften. Taste the sauce and make sure it’s yummy.

STEP 4: At this point you can drain and mash up your potatoes to throw on top, or keep them separated. I kept the potatoes separate and drizzled them with lemon essential oil infused olive oil and fresh rosemary.

STEP 5: I then whipped up a quick batch of gluten-free bisquick dough (ok so this part is a bit cheating if you’re going for 100% ‘real’ food, but if you want you can just mash & use the potatoes) and spooned/spread it right on top of my meat & veggie sauce on the skillet and threw it all in the oven for about 15 minutes until it forms a light and fluffy crust.

This is a super tasty, very forgiving, warm comfort food dish for the changing season! It’s also dairy-free, gluten-free (if you want), nut-free and easily adaptable! I apologize for the lack of pic, but everyone was super hungry 🙂 Will catch it next time!

Allergen Free Pumpkin Spice Breakfast Cookies

So these look a lot like my 3 ingredient breakfast cookies, but have a flavor all of their own! It has finally dropped below 80 degrees here in Southern California and fall is in the air (at least in my mind) so time to pull out PUMPKIN EVERYTHING! WOOOHOOO!

I decided to try a pumpkin version of the oat cookies and since I am OUT of bananas (big problem in this house) I had to experiment with some other ingredients. Check out these yummy pumpkin spice breakfast cookies. They aren’t overly allergen free pumpkin spice cookiessweet, but my kids didn’t seem to complain (had to snap a quick pic before they were gone) and they were just the pumpkin spice flavor I was craving 🙂

Allergen Free Pumpkin Spice Breakfast Cookies (dairy, wheat, egg, nut free)

  • 2 1/2 cups Rolled Oats (recommend Bob’s Red Mill GF if you need a gluten-free version)
  • 1 cup organic pumpkin puree
  • 1/2 cup apple sauce
  • 2 tsp organic vanilla extract
  • 1 Tbsp cinnamon
  • appx 1/4 tsp each of ground ginger, nutmeg, cloves
  • 3/4 cup organic brown sugar

Throw all ingredients into a stand mixer and mix until a nice blended dough forms. Drop ‘dough’ onto greased cookie sheet and bake at 350 degrees for 10 minutes. Enjoy with a nice hot cup of coffee or a pumpkin spice latte (recipe coming soon)!

gluten free/dairy free pickup truck birthday cake

My project today was all about BIRTHDAYS! With 2 family birthdays these past few weeks today we celebrated with a gluten free & dairy free pickup truck cake!

truck_bdaycakeI just used a gluten free cake mix for the base and then added in some of our favorite Enjoy Life Chocolate Chips to the batter for more flavor and personality! Followed that with some quick and easy marshmallow fondant, and shaped a truck cake that was supposed to look like daddy’s truck (my husband is re-building his great grandfather’s ’68 GMC). So thankful for all the gluten free resources out there now and that even with food allergies my boys can enjoy some fun birthday cakes!


3 ingredient breakfast cookies!

We love making these for so many reasons….here are just a few
1) they are delicious
2) my 3 year old can make them
3) my boys LOVE to eat them
4) they satisfy my preggo cravings for something sweet
5) they have 3 basic ingredients!

breakfast cookiesSo here you go….enjoy

Breakfast Cookies


put ingredients in stand mixer and blend until soft sticky ‘dough’ consistency. At this point you can also throw in some mini chocolate chips, coconut flakes, craisins, whatever you feel like. We like to sprinkle in Enjoy Life Allergen Free Mini-Chocolate Chips.

Drop by spoon-full on greased cookie sheet and bake at 350 for about 10-12 minutes!

Allergy Friendly Chicken Satays with Peanut-Free Sauce

This is one of my all time favorite recipes, something we created after spending our honeymoon in Thailand.  We could NOT get enough of their food!  This is an extremely mild American-ized version of a classic Thai satay.  Enjoy!

peanut free peanut sauceThai Chicken Satays with Sunbutter (or Peanut) Sauce

  • 20  chicken tenderloins
  • 20  bamboo skewers (optional)

Marinade

  • 1 can coconut milk
  • gluten free teriyaki sauce  (appx 1/4 – 1/2 cup?) (see my amazon store for where to buy)
  • honey  (appx 2 Tbsp)
  • 2 cloves garlic
  • steak seasonings or your fav seasoning mix  (sprinkle it over marinade)
  • lime juice  (appx 2 Tbsp)

mix all marinade ingredients.  Pour over chicken tenderloins in a sealed container or ziplock bag and marinate at least 4-6 hours (preferably overnight).

at least 1 hour prior to cooking, soak bamboo skewers in water to prevent scorching on grill

The most amazing peanut sauce in the world. Due to my son’s severe peanut allergy we now make this with Sunbutter vs. Peanut butter to make it allergy friendly

  • 1/3 – 1/2 cup Sunbutter (if no allergy, use fresh ground honey roasted peanut butter)
  • 1/4 cup chicken broth (I like to add this at the end so I can thin it only as much as it needs)
  • 2 Tbsp dijon or spicy brown mustard
  • 1 Tbsp. gluten free teriyaki sauce
  • 2-4 Tbsp. honey (to desired sweetness)
  • a few drops of hot sauce or chili pepper sauce (as desired)
  • 1/2 tsp. fresh ground ginger
  • 2 cloves garlic
  • 1 tbsp. lime juice

before cooking chicken, make sauce
mix natural peanut or sunflower nut butter, chicken stock, teriyaki sauce, dijon mustard, honey, chili sauce, garlic, ginger and lime juice together in mini food processer until creamy.  Adjust thickness with chicken stock and heat with chili sauce as desired.
Store in refrigerator until ready to serve.

————————-

Skewer each tenderloin and grill to desired doneness, brushing with reserved marinade to keep moist while cooking. TIP: arrange chicken skewers so that the ‘handle’ rests on top of the tenderloin next to it on the grill to further prevent them from scorching. Can also grill chicken directly without skewering.  Serve with peanut sauce and jasmine rice! For entertaining, it’s also great with an appetizer of home made mango salsa. Delicious both hot or cold!