Cinco De Mayo Fiesta Menu

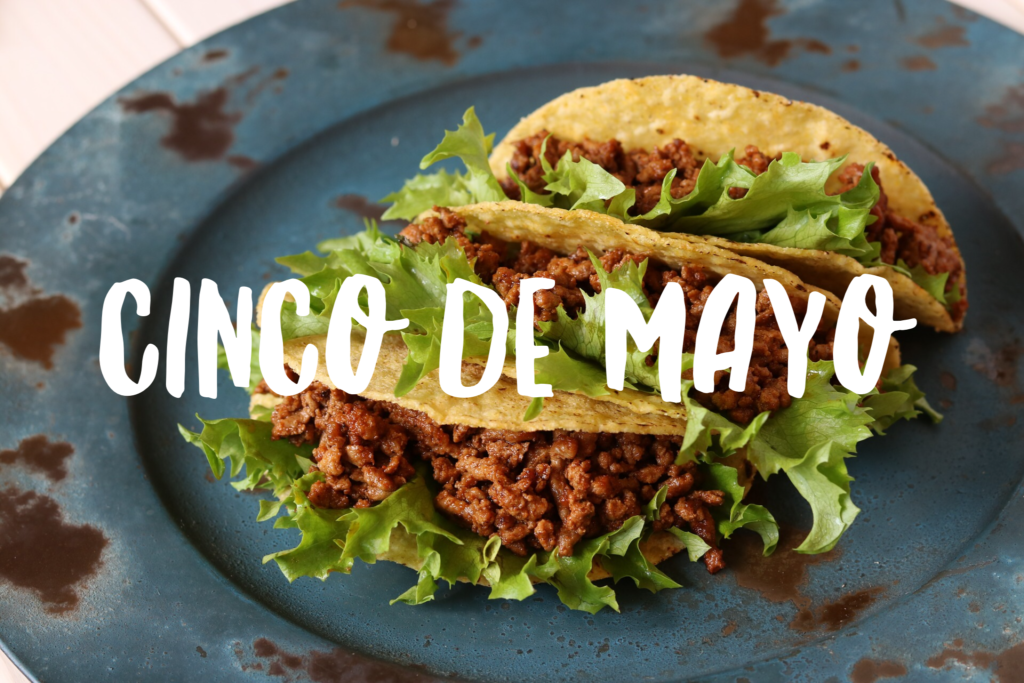
FLASHBACK TO 2009!! I found this old post from our Cinco de Mayo fiesta 8 years ago and had to resurrect it. This was SUCH a fun party if you’re looking for some Cinco de Mayo fun this weekend!

If only I knew where my photos were from that year…..sigh.

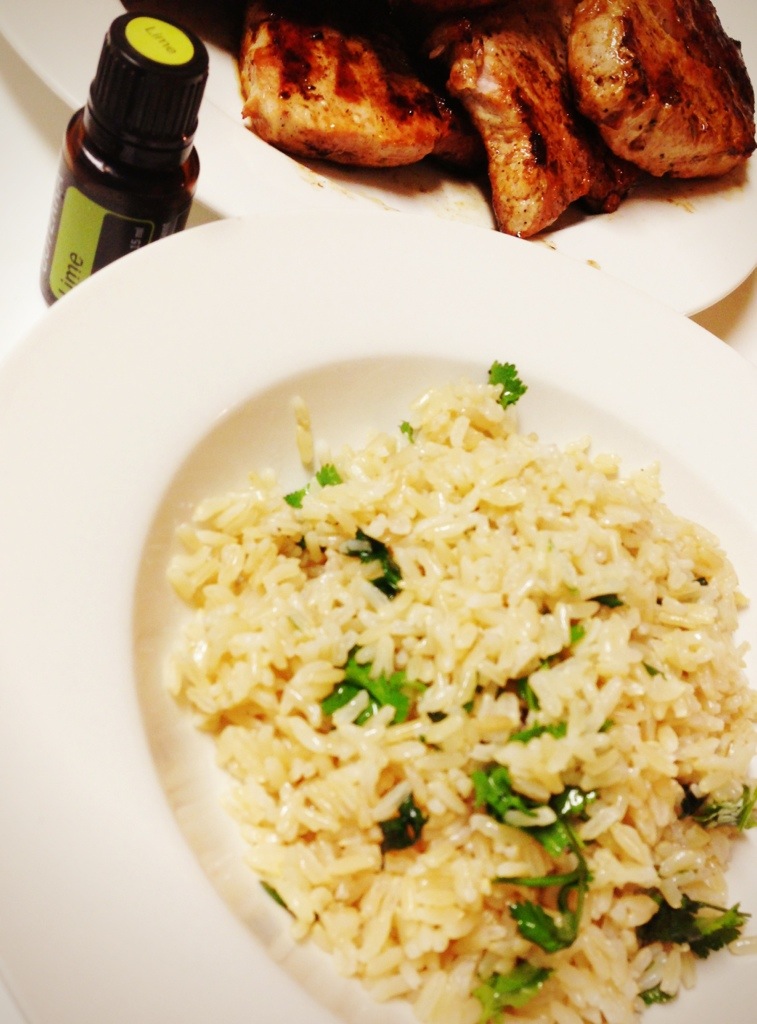
Thankfully we’ve also come a ways in eating REAL food and there is so much of this that can be done with great ingredients, so lose the Lime Tostitos, Velveeta and the Diet Coke with Lime 😉
CincodeMayovvvvvvvvvvvvvvvvvvvvvvvvvvvvvvvvvvvvvvvvvvvvvvvvvvvvvvvvvvvvvvvv
~~~~~~~~~~~~~~~~~~~~~~~~~~~~~~~~~~~~~~~~~~~~~~~~~
One day left before the big Nacho Libre Fiesta and I think I’ve narrowed down the menu.  If you’re thinking of doing a Cinco de Mayo party at all this week here are some recipes and menu ideas I’ve rounded up that may be helpful.  We will have about 20 guests total.  I’ll post a follow-up next week to show how things went!

Taco Bar

  • Carne Asada (steaks thinly sliced and set in this marinade for 24+ hours)
  • Shredded Chicken (chicken breasts in Chipotle Lime marinade for 24+ hours)
  • Ground Beef with the organic taco seasoning
  • Crumbled Mexican Queso Fresco
  • Shredded White Blend Mexican Cheeses
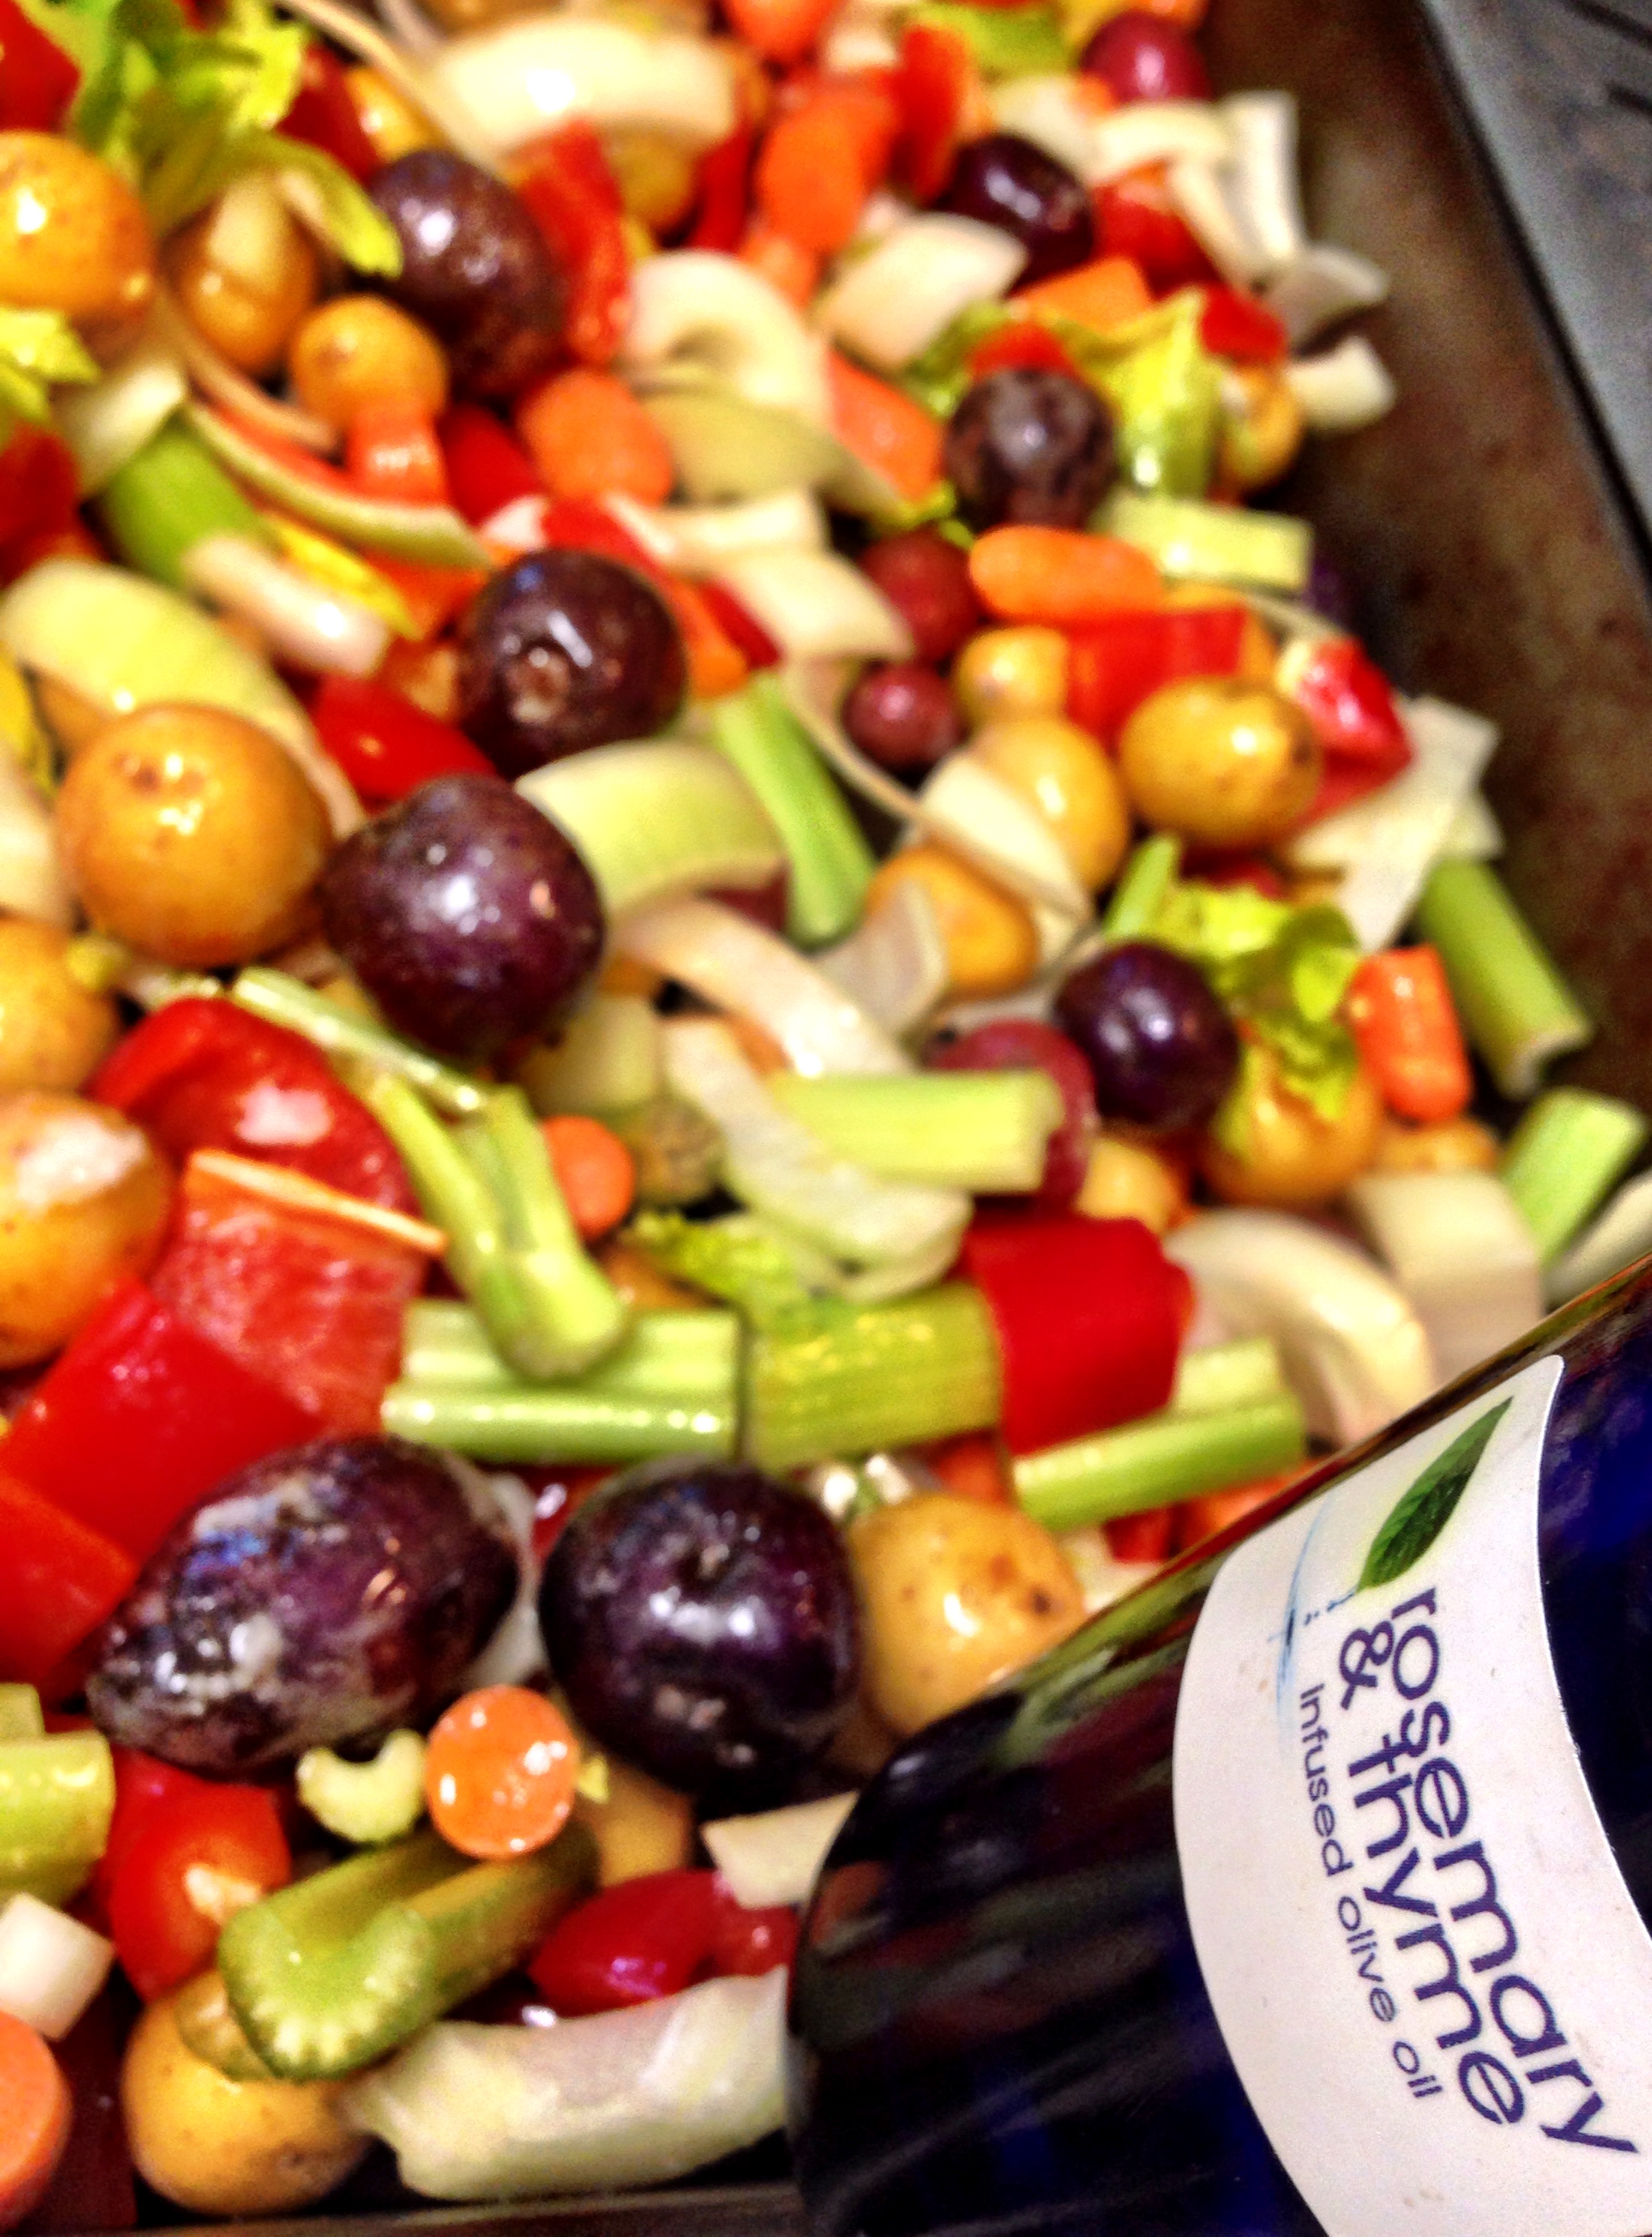
  • Tomatoes, Onions, Lettuce, Cilantro
  • Corn and Flour tortillas from our local Mexican market
    (check and see if you have a local Mexican food market – the quality is MUCH better & they are generally cheaper)

Chips/Salsa Station

  • tortilla chips
  • Black Bean & Roasted Corn salsa
  • tomatillo salsa
    (tomatillos (halved, face down) and corn roasted under broiler, tiny bit of jalepeno, lime juice, onion, garlic, salt, pinch of sugar)
  • mango salsa
    (1 diced mango, can sweet corn, chopped red onion, chopped tomato, cilantro, lime juice, pinch of sugar)
  • guacamole
  • So-bad-for-you chili cheese dip (block of velveeta melted with 1 can hormel chile no beans)

Sides

  • Elote (mexican corn on the cob) as featured in Nacho Libre
  • Black Bean Cakes
  • Tostones (fried plantains) with garlic salt (best if plantains are still a bit green but just starting to yellow)

Desserts

Drinks

  • Margaritas
  • Diet Coke with Lime
  • Fresh squeezed Ginger Lemonade

Anyone else doing any Cinco de Mayo festivities?

Wild orange and cassia gluten free coconut French toast

This is the best French toast, and so so easy. We use gluten free bread because of food allergies and coconut milk gives this the perfect sweet touch while keeping it dairy free!


Here’s the recipe:

  • 1 loaf gluten free bread (or bread of your choice)
  • 2 eggs
  • 2 small cans of organic coconut cream 
  • 2 tsp cinnamon powder
  • Dash vanilla extract
  • 2 drops doTERRA wild orange essential oil
  • 2 drops doTERRA cassia essential oil

Mix all ingredients (except for the bread)? in a stand mixer and blend until smooth. Soak each piece of bread in mixture until coated and pan fry in coconut oil. 

For an extra sweet treat, top with cream cheese and maple syrup!

It’s that easy. Enjoy!

GF raw Blueberry Bars with Wild Orange and Cinnamon Oil 

I’m always cooking and flavoring our food with essential oils, so I am super excited about this recipe for these raw, gluten-free treats from dōTERRA! These may be a new staple in our house!
  
INGREDIENTS:

Base Layer

  • 1 1/2 cups oat flour
  • 4 tbsp water
  • 2 tbsp coconut oil
  • 2 tbsp maple syrup
  • 2 tbsp molasses
  • 1 drop Cinnamon essential oil

Blueberry Layer

  • 4 cups organic blueberries (Frozen is fine but be sure to thaw first; also, fresh will give you a more vibrant color.)
  • 3 cups GF oat flour (I use my vitamix to grind up GF rolled oats)
  • 1/2 cup maple syrup
  • 5 tbsp coconut oil
  • 2-5 drops Wild Orange essential oil

DIRECTIONS:

Bottom Layer: Melt coconut oil in microwave and combine with other ingredients, adding the Cinnamon essential oil last. Mix well. Press mixture into a layer an 7×11 pan. Place pan in refrigerator to firm up.

Blueberry Layer: Puree blueberries in a food processor. Melt coconut oil and combine all remaining ingredients, adding the Wild Orange essential oil last. 

Press blueberry layer evenly on top of bottom layer. Dust with unsweetened cocoa power like we did or leave them blue and bare-y. Place in fridge to chill until desired consistency is reached.

http://doterrablog.com/raw-blueberry-bars-with-wild-orange-and-cinnamon-essential-oil/

Breakfast casserole

Our lives have taken a step in an exciting direction with the discovery that our oldest can have eggs as long as they are baked into something and thoroughly cooked! We LOVE eggs, and I feel like some mornings, breakfast just isn’t complete without them. For years we just made due, but I have recently been able to incorporate a breakfast casserole and my little one is ecstatic!

This is so easy and versatile – it takes about 45 min to bake so it’s great to get up and throw in early before they all get crazy and hangry.

Here’s a picture of our casserole today before it has been baked. It was a great way to clean out the fridge from the random meats, sides and veggies from the week!
Ingredients:

You can literally throw anything into this! Here is what we usually do:

  • Pre cook a roll of natural sausage or breakfast meat
  • Add chopped (pre-cooked) potatoes or even throw in a layer of frozen fries or tots
  • Chop in veggies you have in the fridge (mushrooms, spinach, zucchini and onions are our favorites)
  • Add cheese if you can have that. We aren’t quite there but sometimes I mix in some dairy free Daiya cheddar shreds
  • Mix about 8-12 eggs until they are whipped up, adding in some cream or milk of choice, salt and pepper (I love adding in 1-2 drops of dōTERRA Black Pepper essential oil)
  • Because we still need a binder with our eggs to make them safer, I add in about 1/4 cup gluten free bisquick to the egg mix

Grease a 9×13 casserole dish and grease the bottom. Throw in your meat, potatoes, veggies and then pour your egg mix on top to set it all!

Bake at 350 for appx 45 min or until egg part is thoroughly cooked! It’s a huge hit every time!


Instant Pot gluten free pumpkin bread pudding

This is sooooo good. I had heard of people making pumpkin pie and bread puddings in their instant pot, so I decided to merge the two and see what happened. It was a huge hit!

Disclaimer: this is NOT a super fast cooking recipe

Here’s what I used:

  • 6-8 pieces of Udi’s gluten free cinnamon raisin bread
  • 4 eggs
  • 2 Tbsp melted butter
  • 1/2 cup organic sugar
  • 1 Tbsp organic cinnamon
  • 1 tsp organic vanilla
  • Dash salt
  • Dash nutmeg
  • 2 drops cassia essential oil
  • 1 can organic pumpkin purée
  • 1 cup of whole milk or 1/2 milk, 1/2 cream
  • 2 cups of water (for steam in instant pot)

Grease the inside of a baking dish that will fit in your instapot (I used a 1 1/2 qt stoneware dish).

Cube bread and fill dish. Drizzle melted butter over the bread cubes (this step can be omitted if you want it a little more cake-like).

In my kitchen aid, I beat 4 eggs with the sugar until mixed, added vanilla, cinnamon, nutmeg, salt & cassia. Mix well and stir in 1 can pumpkin purée, then pour in milk and mix until blended.

Pour pumpkin mixture over bread cubes and let is sit for a few minutes or tap it down to let it absorb into the bread and let some air bubbles out.
img_8876.jpeg
Cover the dish with foil and make a foil sling to make it safer and easier to lift the pot when it is done. (This is basically just a long strip of foil folded into a 1-2 inch thick ribbon and placed around the pot so you can grab it and lift it out at the end).

Insert the steamer rack and pour in 2 cups of water into the instant pot. Set the dish into the pot and set it on manual for 35  minutes at high pressure.

Let it naturally release for about 5-10 minutes and then manually release the pressure to open the lid. Carefully remove it using the sling pieces (the steamimg_8881.jpeg below is super hot).

Uncover and serve topped with whipping cream or organic yogurt. We used vanilla soy yogurt as a dairy free option (due to allergies we can only have dairy when baked. I used real cream in the recipe but you could sub if needed). The yogurt flavor compliments it best in my opinion.

Excellent for dessert or even a yummy breakfast!

dinner simplified: the instant pot

 So I’ve heard just about everyone I know raving about this thing, but I have been a skeptic. With our upcoming move, we are making long lists of things (and appliances) we will live without, but our life on the road also comes limited cooking options. We will have a nice little kitchen, but giving up my slow cooker and rice cooker made me cringe. How was slaving over dinners each night and regressing in that convenience going to help us with our goals for simple living and more family time?

The instant pot may be our new best friend. The verdict is still out. It has been a bit intimidating, I’ll admit, but I know if I sit back and let this thing scare me it won’t do us any good. So we jumped in with 2 feet. The first 4 hrs we had it made soft boiled eggs, chicken breast, oatmeal and rice…..and it was all fantastic!

Cons:

1) I’m rather (hugely) disappointed in the app with recipes that comes with this model. There are about 20 things to make and with our diet even fewer options. I am going to start documenting my own and adding my own into the app so that should not be a deal breaker.

2) My biggest hangup so far is the time it takes to come to full pressure and actually start the ‘short cooking time.’ I find the more that is in the pot, the longer it takes to heat, so my 9 minute pot of soup tonight took 30 minutes to get to full pressure. Not super duper speedy, but it was still convenient to dump it all in and let it go.

Pros:

1) the ability to dump it in and walk away is priceless when chasing 3 little boys around.

2) When traveling, the versatility and efficiency of this will be amazing! It’s a slow cooker, rice cooker, pressure cooker and extra burner all in one.

3) throwing in completely frozen meat and ending up with perfect results is nothing short of miraculous. Dinner time always sneaks up on me, and this has saved me from having to plan ahead or sacrifice healthier options.

I will post recipes as we go. Stay tuned! What are your favorite recipes and tips?

authentic tiramisu

Screen Shot 2016-01-05 at 3.01.52 PMThis stuff is AH-MAZING! Because I need to remember this, here is what I did and how I did it for next time.

NOTE:: this is NOT EVEN REMOTELY ALLERGEN FREE or healthy, but if you can have eggs, dairy and wheat, it’s to die for

  • 2 packages lady fingers (though if I can find the authentic cookies instead of the spongy stuff they sell here it will make this dish even better)
  • 2 cups (16 oz) cold brewed espresso
  • 2 Tbsp cocoa powder (divided)
  • 1/4 cup Brandy
  • 6 eggs (separated into yolks and whites)
  • 2 containers (16 oz total) of Marscapone cheese
  1. Make the espresso the night before and store in the fridge. You HAVE to have this super strong high quality coffee or espresso – regular coffee just won’t cut it. Cold press was so easy (fill about 1/3 of the press w grounds and 2/3 water) to get that strength.
  2. Next day, take out eggs and Marscapone and bring to room temp
  3. Pour espresso into a shallow dish. Add in brandy and sprinkle with 1 Tbsp cocoa powder
  4. in a CLEAN and cold bowl, whisk egg whites and 1 Tbsp sugar until stiff peaks form. I learned the hard way you can NOT whisk egg whites in the bowl that has any of the yolk in it, so make sure to do the whites first in the clean bowl.

    {On a side note, the semi-foamy sweet egg white flop made some killer french toast soak, but this is much faster and easier if you do it right the first time}

  5. Gently transfer over to new bowl (so you can keep using the kitchen aid bowl), then whip egg yolks with 3 Tbsp sugar until foamy. blend in all Marscapone until smooth and creamy. Then gently fold In the egg whites mixture until blended
  6. Dip lady fingers quickly into espresso mix and cover bottom of dish. Layer with the cream mix and alternate until done. Top with Cocoa powder and chocolate shavings and refrigerate 4 hrs or overnight!

Gluten Free Pumpkin Bread with Wild Orange Glaze

Gluten Free Pumpkin Bread with Wild Orange Glaze

slightly adapted from this awesome recipe from Brandie at http://www.spoonandsaucer.com/gluten-free-pumpkin-bread/?crlt.pid=camp.ySpC6lN1AjBf

I honestly would LOVE to make this again with her eggnog glaze, but the SO Delicious coconut eggnog that I love is not easily available here, so I may have to wait until we go out of town and then bring a cooler to stock up (it’s worth it, folks).Screen Shot 2015-11-05 at 1.54.33 PM

* This recipe is a double batch because you will be MAD if you make only one loaf. Trust me.

Pumpkin Bread
  • 3 cups Bob’s Red Mill Gluten Free 1:1 Baking Flour
  • 2 tablespoons pumpkin pie spice (I ran out, so I did 1 Tbsp pumpkin pie spice, then added some fresh ground nutmeg, 2 tsp cinnamon, some ginger, clove and allspice)
  • 4 teaspoons baking powder
  • 1 teaspoon kosher salt
  • 4 large eggs
  • 3/4 cup applesauce
  • 1/4 cup oil
  • 1 drop Cassia Essential Oil**
  • 6-8 drops Lemon Essential Oil**
  • 3/4 cup granulated sugar
  • 1/4 cup brown sugar
  • 1 cup pumpkin puree
Wild Orange Glaze
  • 1/2 cup powdered sugar
  • 1 tablespoon water (or more as needed)
  • 2 drops Wild Orange Essential Oil**
Instructions
GF Pumpkin Bread
  1. Preheat oven to 350F
  2. Grease 2 loaf pans.
  3. In a large bowl, mix dry ingredients (flour through salt) with a whisk until well combined.
  4. In a separate medium bowl, whisk together all the wet ingredients until well combined.
  5. Add the wet ingredients to the dry, and mix just until there are no dry clumps, being careful not to overmix.
  6. Pour the mixture into your greased loaf pan, and bake for appx an hour, or until golden brown, and a knive or toothpick comes out clean.
  7. Remove from the oven, and cool on a wire rack.
Wild Orange Glaze
  1. Put the powdered sugar in a cup, and add the water.
  2. Whisk until the glaze is thick, and smooth and add in the Wild Orange oil.
  3. Drizzle on the bread, and let it sit until the glaze has dried out a bit.
  4. Slice and enjoy!** I use only 100% pure therapeutic Grade Essential Oils that are batch tested for purity and safe for internal use. Contact me if you would info on where to get these essential oils.

Rosemary & Thyme Roasted Veggies

roasted veggiesThese are SO good. I never thought I’d get this excited about veggies, but seriously these are really that good….and easy.

1) Take whatever veggies you have in the fridge. I often like to use carrots, celery, tiny potatoes, grape tomatoes, onion, red peppers, okra, broccoli, etc etc. Remember: eat the rainbow! The more color and variety the better!

2) Chop them into bite sized pieces.

3) Spread them out in a large baking dish (the flatter the better) and coat them with my all time favorite rosemary & thyme infused olive oil. Toss them around until they are coated and lightly salt them with sea salt.

4) Bake at 400 for about an hour or until they are slightly toasted and crispy. You’ll want to shake them up and make sure they get really well cooked (I like them slightly burnt). Drizzle a tiny bit more of the rosemary & thyme oil on at the end and salt to taste. ENJOY!

Even the kiddos gobble these up. They’re the perfect way for anyone to devour a pan full of veggies, even if they supposedly don’t like veggies 🙂

{DIY} laundry detergent

About the time I had started using essential oils, I came across a killer deal on a super green cloth diaper friendly laundry detergent, so I bought a TON of it. I was so proud of myself for scoring that deal. Since then I have wanted to try making my own several times, but just had no need for it! I FINALLY (after almost 2 years) have run out of my stash, so this was my project! My first attempt I followed a traditional recipe that used borax and that was a big NO GO on my little ones sensitive skin. I made a massive batch, and had to give most of it away!
laundry_detergentMy REVISED detergent is now borax FREE and it seems to be working quite well so far. Here are the ingredients that I have switched to for our homemade laundry detergent

  • 2 cups washing soda
  • 1 cup baking soda
  • 1/2 cup of course sea salt or epsom salt
  • 1/2 cup of Biokleen oxygen bleach
  • 1 bar of castille soap finely grated (a cuisinart with a finer grater attachment works great to do this quickly)
  • 10 – 20 drops each of lavender and wild orange essential oils (I’ll change this up each time just for fun)

Dump it all into a container, mix it up, add in the essential oils, and there you go! Use about 1-2 Tbsp with each load, add in white vinegar with 2 drops of essential oil as the liquid fabric softener and run the load!


Rosemary & Thyme ‘cheesy’ popcorn

This is addictive. I am warning you. I am a popcorn fanatic and this is hands down my favorite ‘recipe’ for popcorn to date.
nutritional_yeast_pop
Here’s how to make the popcorn:

1) start out with a good quality popcorn kernel. Make sure you choose organic NON-GMO popcorn since most ‘corn’ out there is not. I like this organic popcorn from Arrowhead Mills (affiliate) from Amazon and can get it on subscribe and save delivered straight to my door whenever I want (my love for that service is documented in another post).

2) pop the popcorn on the stove

**For those who have never done this, here is a how-to on popping over the stove…
Get a nice large stock pot with a lid and cover the bottom of the pot with an oil of your choice and pour in kernels until the cover the bottom and are coated in oil (don’t skimp on the oil – make sure it sufficiently coats them all). Many people love using organic coconut oil. I have still had better results with a good quality extra virgin olive oil, but to each his own.

Have a large bowl ready and sitting next to the stove so when it starts popping you can quickly transfer it out. Cover your pot (a see-through lid is excellent for this process so you know what’s going on inside) and turn it on high heat. Let it sit until the popcorn starts rapidly popping and make sure to lift it slightly off the heat and shake it vigorously so as not to burn the bottom and let the unpopped kernels fall to the bottom. If the pot fills up, carefully (as not to burn yourself) lift part of the lid…just enough to let some of the popcorn fall out into your bowl and then keep going until it’s all popped. This can take some practice, so don’t give up if it isn’t perfect the first time. It is an art worth mastering!!

So dump all the fresh popcorn into your large bowl and now we can move on….

3) butter and salt the popcorn to your liking. Again, the quality of ingredients makes a big difference, so if possible use real, organic butter and a good quality sea salt. If you’re worried about the calories rising before your eyes, you can skip the butter step and go straight to the rosemary & thyme olive oil. If not, the flavor is amazing with both 🙂

4) take your rosemary & thyme infused olive oil (if you don’t already have this on hand, see instructions below) and drizzle it liberally on the popcorn. Toss it and do it again. Take a few pieces just to make sure it’s delicious.

**Since you’ll want to make this popcorn regularly (and I use this infused oil on just about every dish that leaves the kitchen now), do yourself a favor and make sure you have a batch of my rosemary and thyme infused olive oil stocked in your kitchen. Trust me – you’ll want this on hand. You can make it up in single use batches, but you’ll kick yourself for not making a whole vat of it. Just drop about 8 drops of each into an 8 oz GLASS container of EVOO.

**DISCLAIMER** You can NOT ingest many essential oils on the market. I don’t want you to get really sick, so don’t try this with any that are not safe for internal use. For more information on getting your own essential oils, feel free to contact me on the about page.

5) grab your nutritional yeast and start shaking it on. By this time you’ve already buttered and salted the popcorn to your liking so this is just icing on the cake. I like to coat and toss the batch several times so that each piece has it’s fair share of nutritional yeast 🙂 I like this Braggs Nutritional Yeast (affiliate), but there are some other good ones out there too.

Nutritional Yeast has a delicious ‘cheesy’ flavor and is loaded with good B vitamins which are essential to our health. For vegans (or those like us who are allergic to dairy and can’t enjoy and real cheese), this gives an excellent flavoring option. You can learn more about the benefits of Nutritional Yeast here.

6) this is entirely optional, but I love to crush fresh dried herbs on top just to make it that much more beautiful and delicious. I have had an abundance of dried cilantro lately and it gives a nice compliment to the flavors. You can sprinkle on any dried herbs that you’d like.

7) go hide in a corner so that your family doesn’t completely devour the entire bowl and leave you without. haha. j/k but be prepared to make another batch. it goes fast!

Beef Bone Broth

OK so I have made my own stock before with chicken and turkey, but I was more intimidated to make beef bone broth. With the chilly temps today and a few little ones needing an extra immunity boost, I knew it was time to just jump in and get this going! Our pediatrician highly recommended that we incorporate homemade bone broth into our diets on a regular basis, so here we go! I followed a lot of the steps from this recipe from Nourished Kitchen http://nourishedkitchen.com/beef-stock-recipe/

I started out with 9 lbs of assorted organically raised beef bone parts. I consulted the farmer directly on this since I figured he’d be a pretty good resource. I had a bag of oxtails, a few feet (cross-cut), several split marrow, a hefty beef shank with a little meat on it, and a few other things I should have written down. So I pulled out my massive roasting dish, set the oven to 400 degrees, drizzled olive oil down and put all that in the oven for a bit.

The best thing is to save a bag full of veggie ‘scraps’ for your broth as you chop veggies for meal prepping. I hadn’t been saving them up to this point, so for my first attempt I just chopped a few bunches of organic celery and used the ends and leafy parts, threw in a bag of organic carrots, several organic onions and about a pint of organic mushrooms. Roasting veggies makes them taste AMAZING, so why not do that with the stock, right? I threw all these chunked up veggies onto the top of the bones and let it all roast together. I left them in for about an hour and a half (until I knew I had to move on to the next step and still make it to bed at a decent hour).

20141102-065958.jpg
This is the part I don’t have an exact science for, since the bones and amounts that I have are so different each time. I have a massive stock pot so I pulled that out onto the stove and then got out my large crock pot as a back-up simmering station.

I divided all of the roasting pan goodies into the stock pot and crock pot, filled them both up with water and brought it to a boil. Once it was boiling, turned it down to a simmer and added in 2 Tbsp of organic apple cider vinegar and a dash of cinnamon (because I cannot make a beef dish without it lately). I’m obsessed with cinnamon.

Do NOT add salt to your bone broth, as it will condense down and can become too much as the stock thickens. Better to add it to the final dishes as needed when you actually use the broth.

So it has been there on a low simmer all night and the house smells yummy.

20141102-074436.jpg
Can’t wait to sip some of this for our lunch today! It is good straight up with a dash of seasoning, or I add it as the base for ALL of my home made soup recipes which we make frequently…especially in these chilly months! Let me know how yours turns out!

Owie Spray

Today I needed to whip up a batch of Owie spray for the kids. This is a must-have in any house with little ones, but especially this house full of boys!!

Owie_bottle
OWIE SPRAY:
7 drops melaleuca
7 drops lavender
7 drops frankincense
3 drops helichrysum
2 drops myrrh

Put into a 2 oz glass spray bottle and top off with fractionated coconut oil.

(This recipe is approximately a 2% dilution which is fairly standard and what I generally start with for use with our family. You can increase or decrease the increments of each oil if you desire a stronger blend or need more dilution)

BENEFITS

  • melaleuca: fantastic cleansing properties
  • lavender: soothing and calming to the skin
  • frankincense: supports healthy cellular repair function, reduces the appearance of blemishes and rejuvenates the skin
  • helichrysum: supports healthy tissue repair and reduces blemishes
  • myrrh: soothing to the skin; promotes a smooth, youthful-looking complexion

Cilantro Lime and Wild Orange Brown Rice

20140128-201541.jpg

As if the oils weren’t amazing enough for their therapeutic benefits, there are several that you want to have on hand in the kitchen for instant flavor twists on the most basic recipes.

Tonight’s plain dinner was instantly transformed by throwing some cilantro into our brown rice and then adding about 3 drops of dōTERRA lime oil and drizzling on my dōTERRA wild orange infused olive oil. Instant flavor that perfectly complimented our garlic lime pork chops and pineapple!

Real meal plans week #1

Ok here is this week’s meal planning menu board using real dairy, egg, wheat, nut free food.

Posting in case I need to get these ideas again later, or maybe someone else out there needs ideas too!

20140124-174416.jpg

Here are some of the recipes (though I have modified a few for our family).

MONDAY – http://paleomg.com/summer-squash-meatball-casserole/

TUESDAY – http://www.foodnetwork.com/recipes/jamie-deen/roasted-carrot-and-basil-soup-with-grilled-cheese-dunkers-recipe/index.html

WEDNESDAY – http://paleomg.com/indian-chicken-and-rice-paleo-recipe/

THURSDAY – http://m.allrecipes.com/recipe/71808/brazilian-black-bean-stew