detox foot & armpit mask


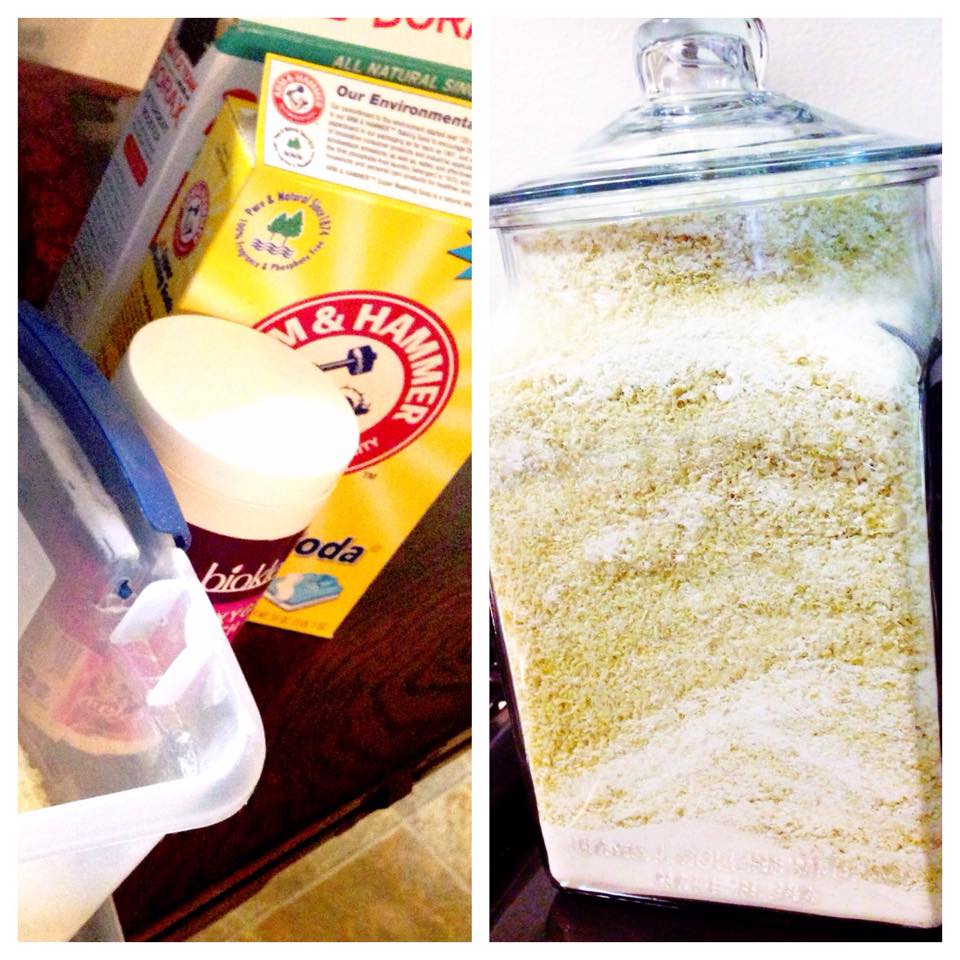
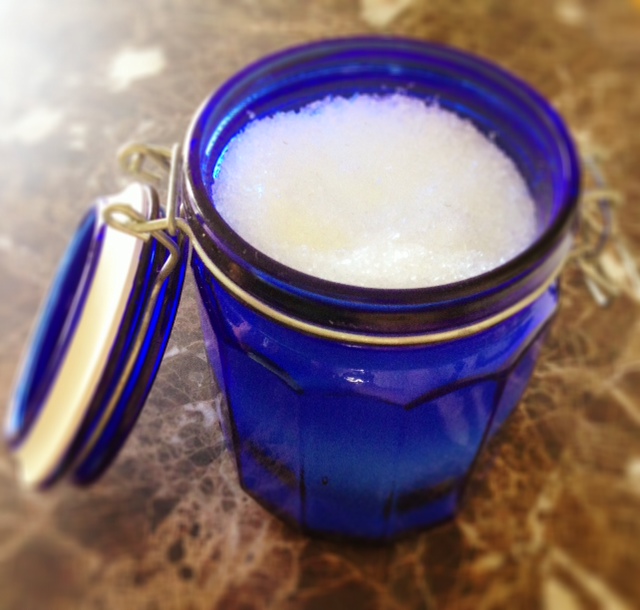
Many people love bentonite clay + apple cider vinegar masks on their face, but did you know you can also use these to detox other areas of your body? I like to keep a small glass jar upstairs with the 2 ingredients and a wooden chopstick. Makes whipping up a batch of this stuff so quick and easy.

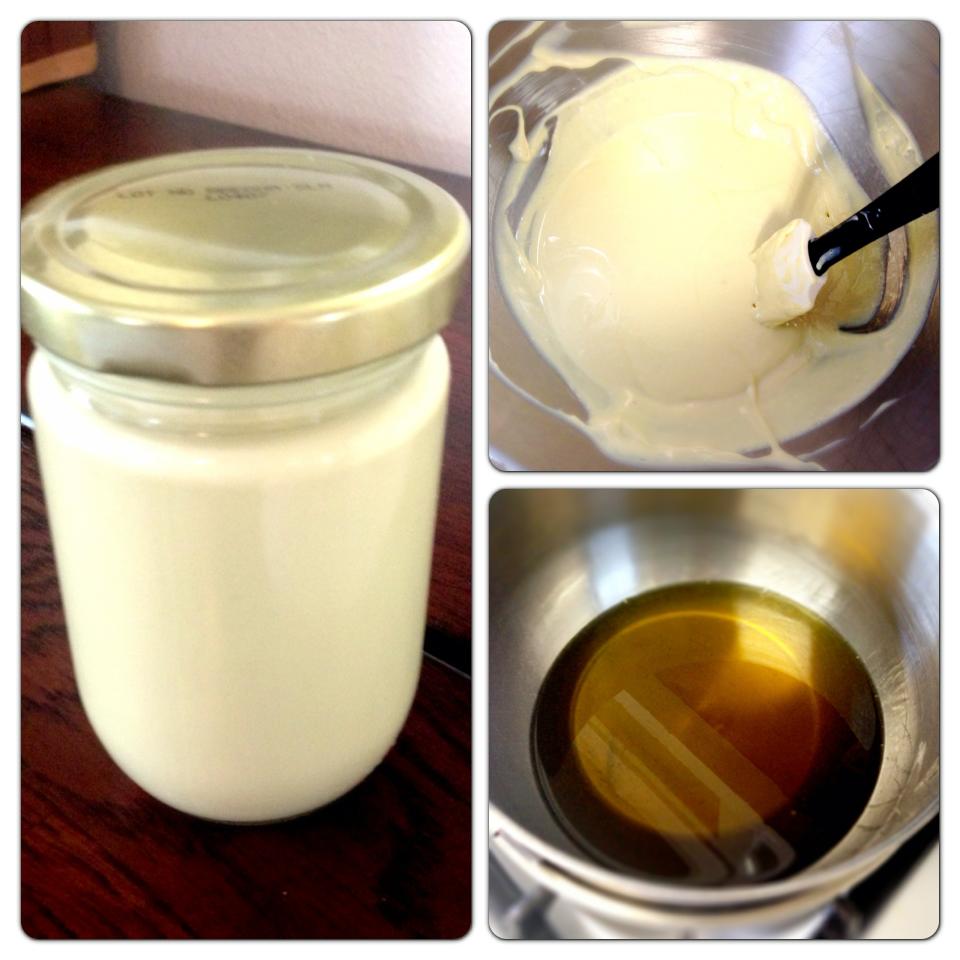
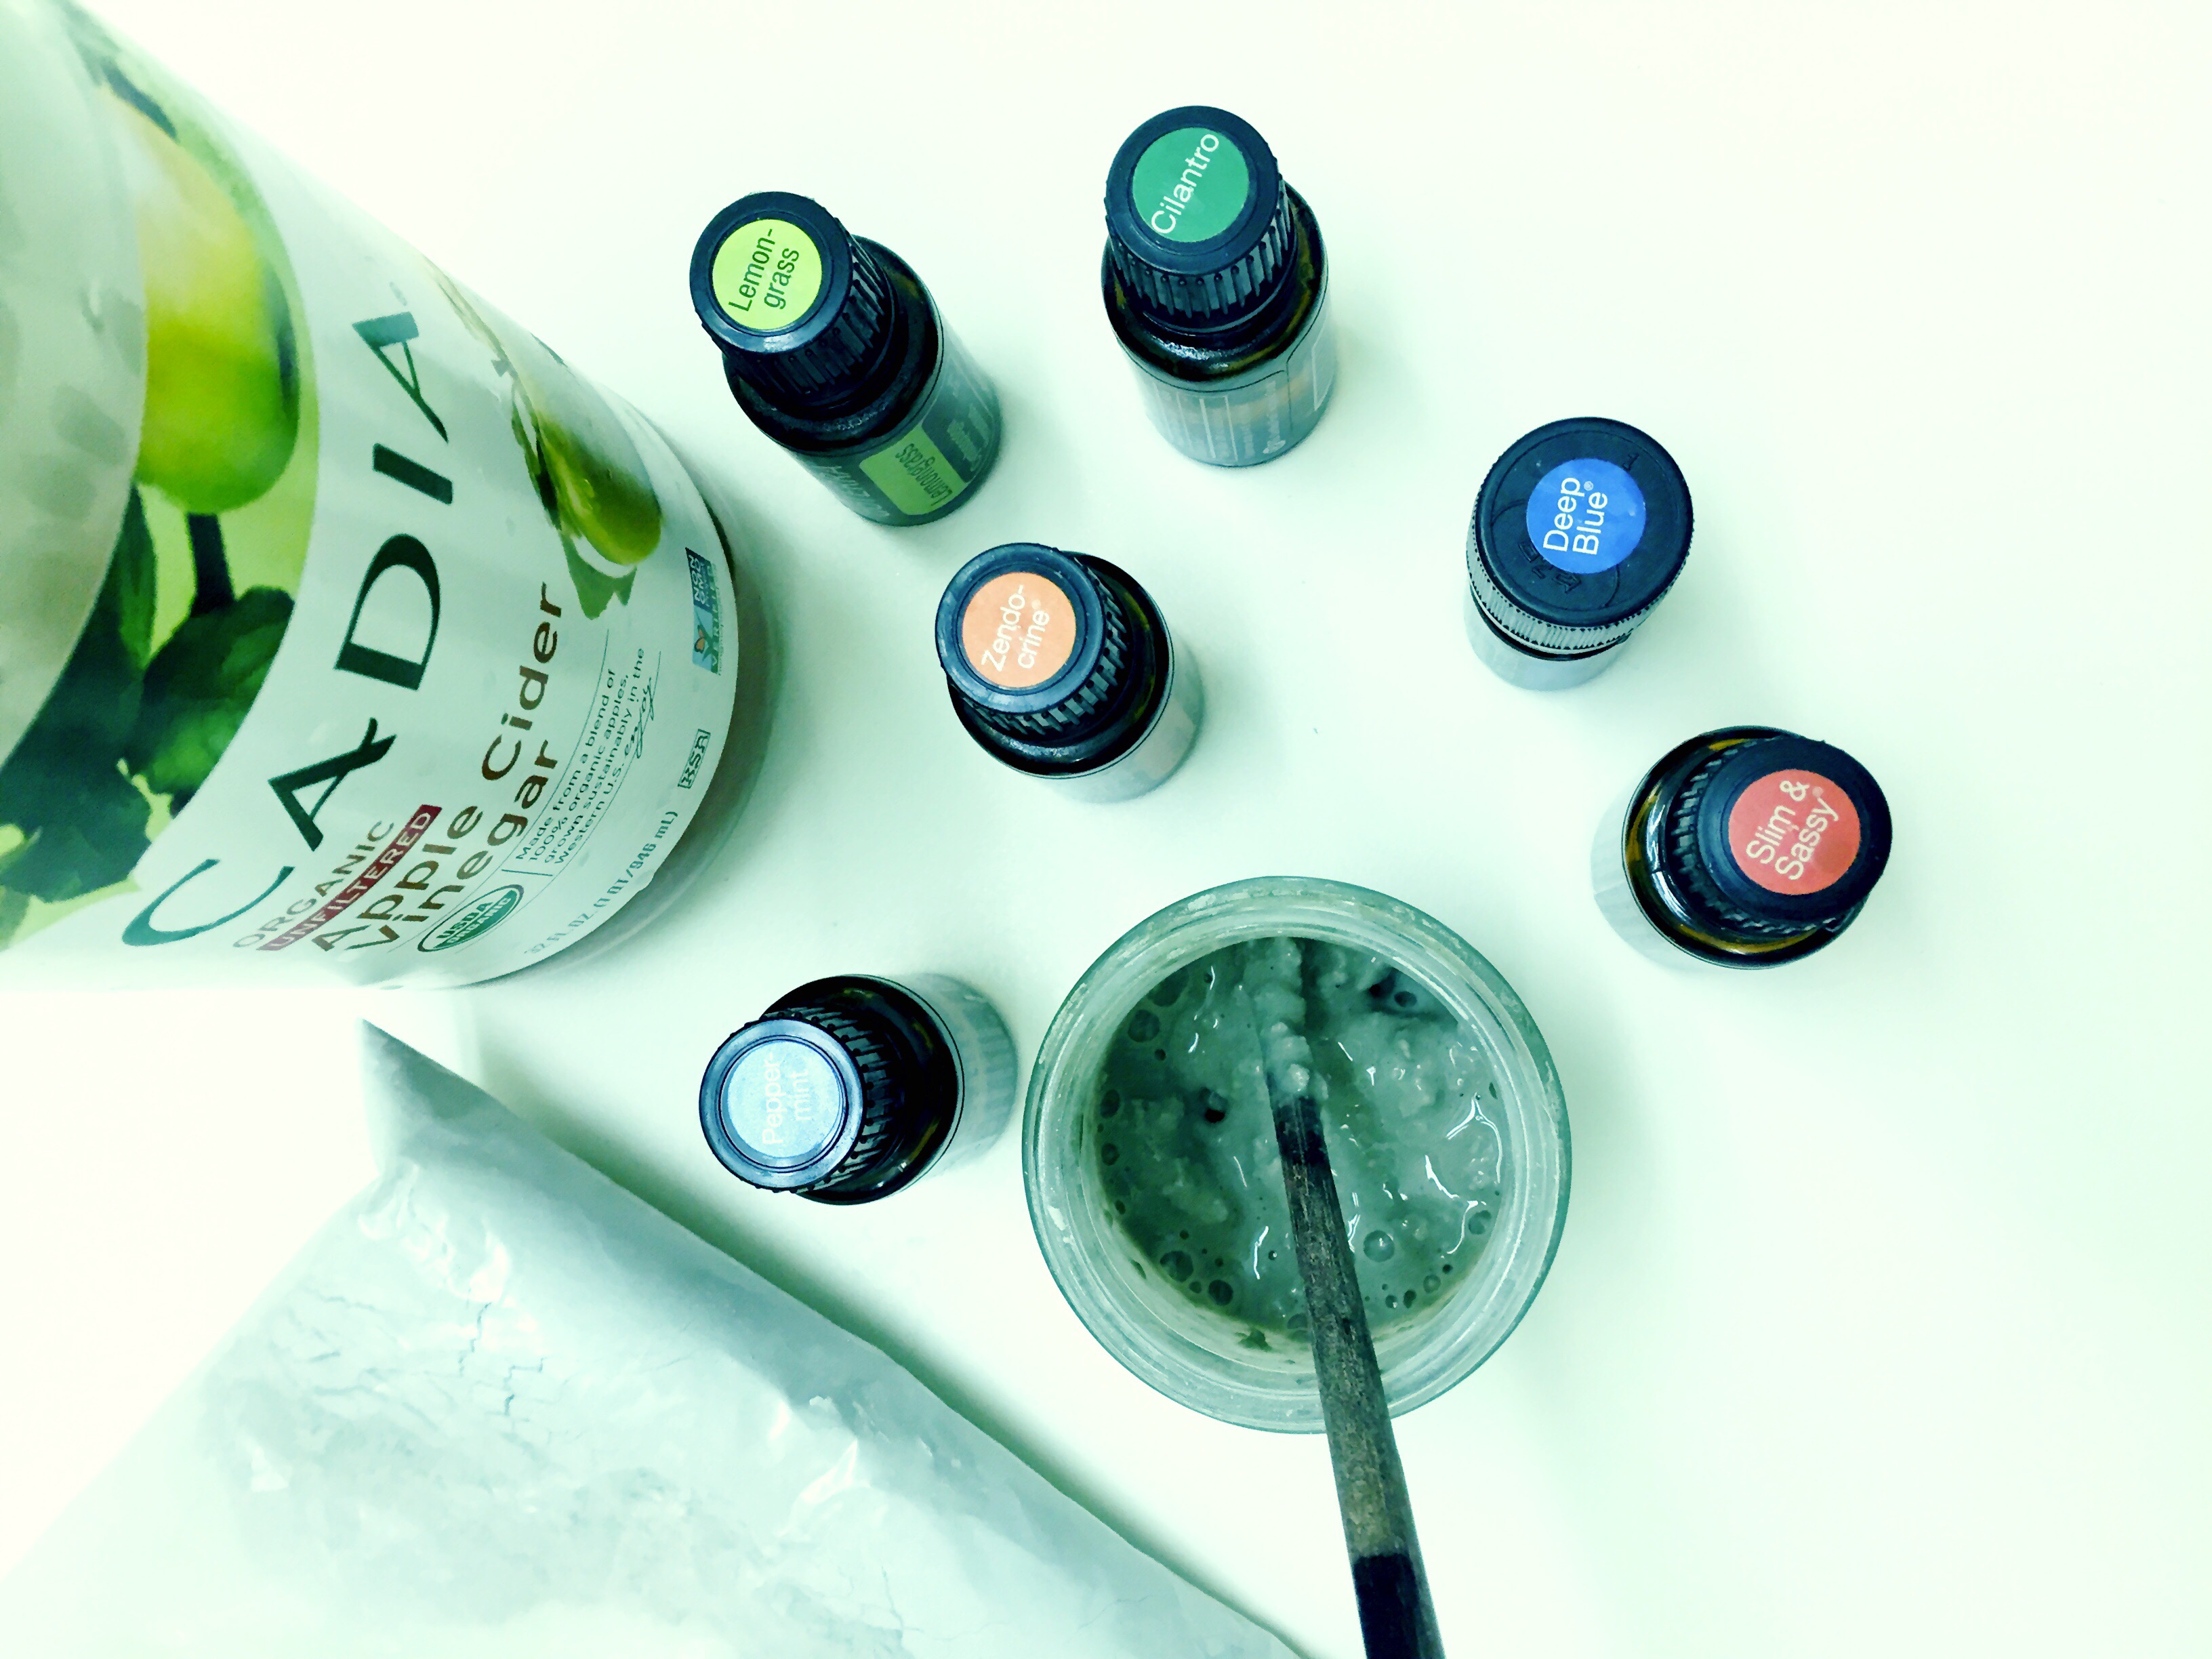
Pour a few Tbsp of bentonite clay into my 4 oz jar, add in organic ACV until it gets smooth and stir it well with the wooden stick (do not use metal with the bentonite clay).
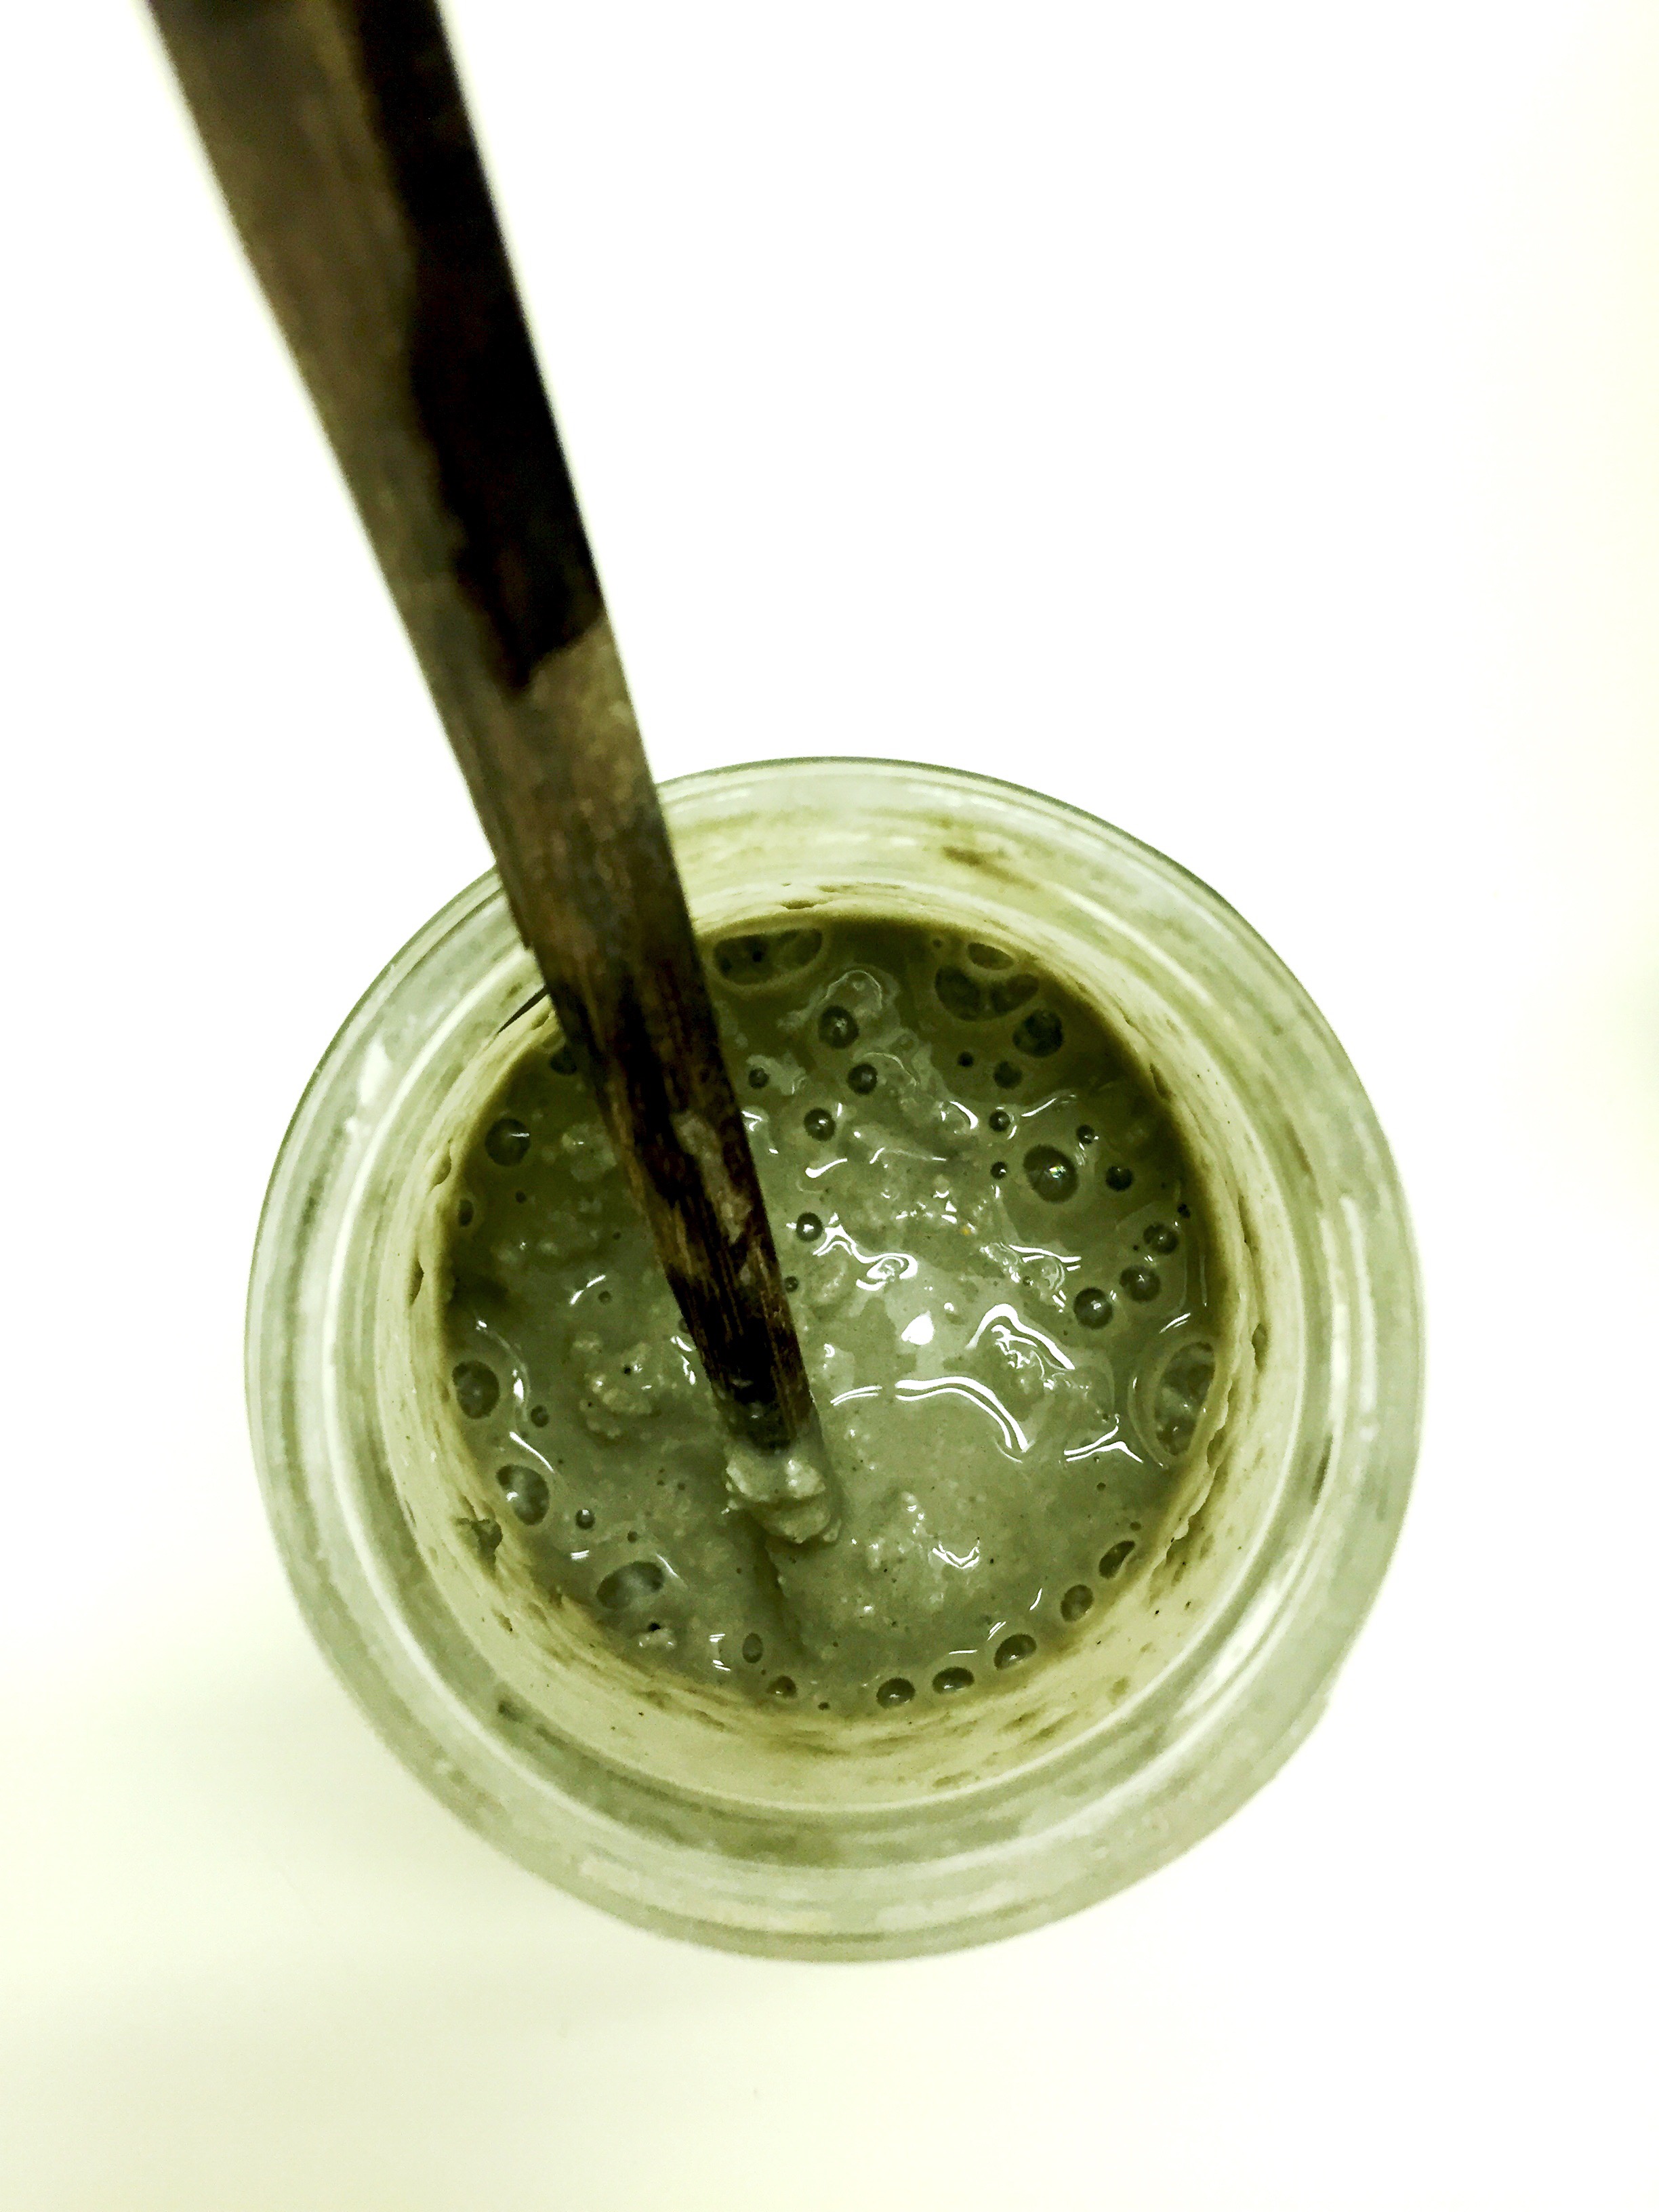
It will get nice and smooth and bubbly – way better than mixing it with water! My favorite essential oil to mix in is dōTERRA’s Zendocrine detoxification blend. It is an amazing blend of tangerine, rosemary, geranium, juniper berry and cilantro essential oils!

These oils are fantastic to support cleansing of the endocrine system (great for your skin) and cilantro is also excellent for heavy metal cheating.

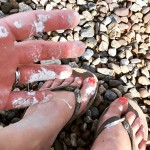
Add in 2-3 drops of the Zendocrine oil to your wet clay mixture, cover your feet. Prop them up and sit back with a good book and let it dry before washing all those toxins and inpurities out!

This is also GREAT for an armpit detox!! Pulling out those toxins and odors can be very beneficial, especially when switching to natural deodorants.

Some other fun oils to try as add-ins::

  • Deep blue to sooth tired feet and sore muscles
  • Slim and sassy to boost metabolic function and detox
  • Lemongrass and peppermint for a fresh and cooling pick-me-up
  • Cilantro to pull out heavy metals

Have fun with these & Let me know how you like it!

airstream renovation: flooring

Something is FINALLY happening on the inside!! I think at the end of all this maybe we will have time to better organize our updates, but for now just trying to keep up with it so we can have some of this written down and documented. This week we’ve made some big strides!

We installed the floors early this week. We went with TrafficMASTER allure after reading a lot of reviews on what to use and not use in a travel trailer. It is so crazy the things you have to factor in and consider when taking your ‘home’ into all different climates and also moving it around constantly. It is like having to build everything to be able to withstand an earthquake at all times. So fun. Anyway, the floors we went with a floating plank style but since we could not use real wood bc of climate control, moisture and weight issues we went with the Allure vinyl plank. Here’s what went down (literally)

It is crazy how much the lighting changes the shade of this floor, but in most light it is more of a neutral unfinished tone than the golden hue. We wanted it to be warmer than a grey driftwood, but still light and very neutral.

Pros: easiest floor we have ever installed. So so so easy. Literally press it down and a pair of heavy duty clippers or box cutters did the trick to make the cuts. It looks great – has a nice texture and we loved the color options. It is super easy to clean and seems very durable as little ones have already dropped tools and heavy objects on it with no ill result (big plus).


Cons: installing it in a travel trailer voids the warranty or any type of guarantee it may otherwise have. In reading the fine print, it actually recommends installing it in a cool dark place. Well that makes life rather boring. Short story:: it can’t take the heat.

So the day after we celebrated our beautiful new floors it hit triple digits here in the high desert. Blaring hot sun with no reprieve. By mid day with it closed up and stored the floors were already having issues 🙁 we have several spots that buckled and warped with the high temps. Thankfully as it cooled again that night some of it went back down, but we are going to have to go through and glue down several parts of our nice new and NOT cheap floating vinyl floor….which is a bummer.


It still looks good. It will still work, but despite all the rave reviews we had read, we will NOT likely be recommending this flooring to anyone renovating an RV or travel trailer bc of this. Unfortunately most other flooring options would be just as bad or worse so we feel we still have a good choice, but definitely not impressed at it warping in spots on day 1. Hoping it will be a fairly easy fix and we will not have more issues with it moving forward. Overall we are still happy to have it in and excited to move on to the next step: building in the furniture!

airstream renovation :: part 4

This has been the most stressful, but rewarding phase yet. It’s about to start getting REAL! I have to give a shout-out to my super talented husband who managed to get all of the electrical wiring in the right place & tested, the spray foam in (despite a few challenges) and then completely cleaned up and ready for walls in a relatively short amount of time. If anyone is wondering what we’re doing in our ‘spare’ time – this is it….night and day aside from our normal work hours. The kids have been troopers and are really starting to get into it too as it’s getting to the point they can pitch in and help more.

Getting this thing water tight and all the last little rivets, caulking and cracks filled took a long.long.long time. Once we finally got everything in, set and sealed, it passed the water test! We then had to finalize the placement of all the electrical wiring. Trying to decide the exact spot that you want an outlet when you don’t even have walls in yet to work with is a challenge. I learned that I am very visual and my spacial orientation is lacking when it comes to envisioning where this all will end up. Talk about stress! Making sure you have every wire in the right spot and set before you’re about to foam it all in with NO undo button will definitely make you break a sweat. We had some intense days of making sure this thing was 100% ready for the spray foam.

Speaking of the foam…..now that it’s behind us, I’m sure it is awesome and will be a great asset to our comfort in the future. Up to this point, it has been nothing but a pain in the a$$. As you know, this stuff grows as it cures, and when you only have 1.5″ space and no wiggle room, the expanding qualities are nothing short of awful. Thankful that we have excellent safety gear on hand, and after many many many hours of ‘trimming’ it back down, we are about 99% DONE with the insulation phase!

The final step of this phase is salvaging the old aluminum wall panels. Man these things were rough. We have washed each of the panels several times, sanded them down and coated them with the best primer we could get our hands on. They look amazing compared to where they came from! We’ll hopefully be wrapping the walls up this week!!

Next steps: lights and switches installed, walls painted, A/C & generator installed & then we’ll get to lay the flooring!!!

me and kombucha

I’ll never forget the first time I had kombucha. I was browsing a health food store (which is one of my favorite mindless activities to do) and I was thirsty. I scanned the wall of awesome designed bottles touting life changing health benefits, and picked up something randomly labeled kombucha. 10 minutes later I’m driving down the road, pop it open and take a swig. GROSS! It was intense. I don’t like or drink beer and it really tasted like some kind of funky beer to me. I scanned the label while pulling onto I-5 and realized it did contain alcohol. CRAP! I quickly put the lid back on and threw it under the seat thinking this would surely be the day I got pulled for a random car search. Tthey would never believe that I was just thirsty and fell for a cool label on a drink and had no idea what it was.
IMG_8897
So that happened & at least I knew that whatever kombucha was – I didn’t like it. I did aquire a taste for the coconut probiotic drinks though, and could see the benefits when I would consume them on occasion. Several years after my initial kombucha experience I decided to open my mind again and tried another one. Not sure if it changed or if I am just way more of a hippy now, but I really kind of liked the taste and knew it had some amazing gut health benefits which gave me more reason to give it a chance.

Fast forward to today and you’ll find a large jar housing our scoby (my 6 year old named it ‘Ron’) on the kitchen counter and an entire kombucha brewing shelf in the work room housing our 2nd brew and our scoby hotel.

No doubt if you’ve visited my house for any reason lately, you’ve not left until you tried one of my latest creations. I find it really funny to insist that visitors (even ones I just met) try my kombucha. So proud of that stuff!

As to not bore you further when I’m sure you just want the how-to {DIY} stuff, I’ll break that down in other posts and link it up here for you soon. You’re welcome.

{DIY} laundry detergent

About the time I had started using essential oils, I came across a killer deal on a super green cloth diaper friendly laundry detergent, so I bought a TON of it. I was so proud of myself for scoring that deal. Since then I have wanted to try making my own several times, but just had no need for it! I FINALLY (after almost 2 years) have run out of my stash, so this was my project! My first attempt I followed a traditional recipe that used borax and that was a big NO GO on my little ones sensitive skin. I made a massive batch, and had to give most of it away!
laundry_detergentMy REVISED detergent is now borax FREE and it seems to be working quite well so far. Here are the ingredients that I have switched to for our homemade laundry detergent

  • 2 cups washing soda
  • 1 cup baking soda
  • 1/2 cup of course sea salt or epsom salt
  • 1/2 cup of Biokleen oxygen bleach
  • 1 bar of castille soap finely grated (a cuisinart with a finer grater attachment works great to do this quickly)
  • 10 – 20 drops each of lavender and wild orange essential oils (I’ll change this up each time just for fun)

Dump it all into a container, mix it up, add in the essential oils, and there you go! Use about 1-2 Tbsp with each load, add in white vinegar with 2 drops of essential oil as the liquid fabric softener and run the load!


{DIY} essential oil bath salts

This is SUCH an easy {DIY} project that not only has great therapeutic properties while relaxing and de-stressing your body, but also makes great gifts for friends and family. Keep these salts in mind as the holidays are quickly approaching!

{DIY} bath salts with essential oilsTo make your own bath salts, simply use the following ratio:

  • 1 cup salt
  • 5-10 drops essential oils (depending on how strong you want it)

STEP 1: choose which salt you want to use. The coarser the salt, the slower it will dissolve. Some great options are epsom salts and dead sea salts. I frequently use the epsom salts as they are easy to find, inexpensive, provide a great detox and the magnesium sulfate is great for your health. You can use a combination of salts as well.

STEP 2: Pick the essential oil or blend that you want. There is an endless variety! Here are some of my favorites:
Lavender (relaxation), dōTERRA Balance Blend (grounding), Geranium (skin), Cypress (healthy circulation), dōTERRA Citrus Bliss Blend or any Citrus Oils (invigorating, but still great for night bath), Peppermint (great foot soak), dōTERRA Elevation Blend (smells AMAZING and lifts mood)

STEP 3: Mix the salt and oils together thoroughly until it’s well blended

STEP 4: Pour into glass jar or container for storage. Thrift stores are awesome for this sort of thing! You can get endless varieties of glass bottles with character (dark glass is best for long term storage of any essential oil products). Make a cute tag, tie some twine or ribbon on and you have a unique gift!

Step 5: Fill your bath and throw in several scoops of your scented bath salts! Relax and enjoy!

VARIATIONS:
1) You can drop in a few drops of food coloring (if you don’t care about keeping it ‘all natural’ for a nice color effect. mix it into the salt and stir until thoroughly blended.
2) Add some dried flower petals, herbs or spices for some extra color and texture, though keep in mind they will float in the tub when used!

{DIY} baby onesie makeovers

This week I decided to do something to prepare for this next baby’s arrival since he could show up any time now! Having boy #3 doesn’t leave you with much to shop for, so instead I decided to give some old onesies new life using some fabric scraps I already had (cost = $0). These are really simple and such a fun way to customize some things for a little one! Also a great use of ‘old’ clothes given new life – recycling at it’s finest!

photo(1)These all had previous designs that were a little boring and outdated, so I simply picked some new ones that would cover what was already there. (and NO we haven’t finalized a name for this baby yet, but figured an “E” would be a safe bet) ; )

4 steps to a {DIY} Onesie makeover

  • Print out a template using any clip art silhouettes or font in the size that you want, cut the shape out and trace it onto fabric heat transfer paper (this is the one I use)
  • Iron the transfer paper onto your fabric scrap and cut the shape out
  • Position the shape (heat transfer side down obviously) on your onesie where you want it and iron it in place according to the product instructions.
  • Outline the design with a simple stitch for extra reinforcement and to prevent any peeling and fraying. (this may be optional, but I haven’t tried it without the stitching so not sure how it would hold up through washings?)

This also works GREAT for custom burp cloths, blankets, etc!

{DIY} hand sanitizer

Making your own hand sanitizer is so simple using 100% dōTERRA essential oils!

diy hand sanitizerMy vote for the best oil to use in hand sanitizer is definitely dōTERRA’s OnGuard Blend. This oil blend has an amazing cinnamon spice smell, and boosts your immune system while protecting against environmental threats.

Here’s the recipe::

  • 1 oz pure aloe vera gel
  • 1 oz purified water
  • 2 oz high-proof vodka, grain alcohol or gin (can use witch hazel extract for an alcohol free version)
  • 12-15 drops dōTERRA OnGuard essential oil blend

You can also add a few capsules of vitamin E oil to the mix to soften skin even further!
Mix all ingredients into a 4 oz glass pump bottle. Shake well to ensure it’s properly blended!

This is a great alternative to commercial hand sanitizers. Here is a typical list of ingredients from a store bought brand:
water, isopropyl alcohol, aloe barbadensis leaf juice, caprylyl glygol, glycerin, isopropyl myristate, tocopheryl acetate, acrylates/C10-30 Alkyl Acreylate Crosspolymer, Aminomethyl Propanol, Frangrance (Parfum), Blue 1 (Cl42090), Yellow 5 (Cl 19140)

Fewer chemicals and additives and much better for your skin! What a bonus to boost immunity while sanitizing your hands!

How to actually get rid of fruit flies

In case anyone is having a problem with fruit flies – if you haven’t tried this it works really well. I put apple cider vinegar (or u can use wine, but who wants to waste that!) a little honey and a squirt of dawn (to break surface tension) in a jar. Sometimes I throw in some fruit scraps. Tape a piece of paper to make a funnel with a small opening at bottom and the fruit flies get in and can’t get out. I’ve had more success with this than anything else!fruitflytrap

Quick Tip:: {DIY} natural fabric softener

This is so simple it shouldn’t be called {DIY}, but if you’re still buying commercial fabric softener you can stop now!

Jlavender fabric softenerust fill the liquid fabric softener spot on your washer with white vinegar, and add 2-3 drops of your favorite essential oil. I love lavender EO to freshen the laundry. Not only does this soften your clothes, but the scent of real lavender fills your house while washing, which also greatly helps to reduce the stress of laundry day 🙂

Even more importantly, it keeps this list of chemicals out of your fabric and off of your skin:
(ingredients in Liquid Ultra Downy Spring Lavender Scent, taken directly from Proctor & Gamble. view pdf here)

  • diethyl ester dimethyl ammonium chloride,
  • Fragrance (synthetic)
  • Starch
  • Ammonium chloride
  • Calcium chloride
  • Formic acid
  • Polydimethylsiloxane
  • Liquitint colorant Purple
  • Benzisothiazolinone
  • diethylenetriamine pentaacetate

Another great way to save money, reduce chemicals and avoid unnecessary irritants and allergens in your home!

How to eat real food…really: MEAL PLANNING!

So this idea is rather basic, but makes or breaks my success every week without fail. If I fail to plan, our meals are such a struggle and it’s tempting to throw something less than healthy on the table to get it done fast! I’ve learned (ok, am STILL learning) the hard way that there is much less work and stress involved with planning ahead and the meals are much better, healthier and balanced! Eating real food is not hard when you know ahead of time what you’re going to do!

meal planning menu boardI’ve tried everything out there to get myself organized in this fashion, but without fail, our trusty menu board is the easiest and best way to make it happen.

My super handy husband threw this one together with some spray paint and chalkboard paint inspired by the thousands of versions on pinterest and it’s been SO helpful!

Quick Tip:: Uses for lemon spray

I can’t say enough how crazy useful my essential oil sprays are. Filtered water + 100% CPTG Essential Oils = NATURAL MULTI-USE PRODUCT! lemon sprayMy lemon oil spray is always out on my kitchen counter to clean counters, shine my sink and faucet, polish my dining room table and spritz in the air to freshen the room, but is also great to keep fresh fruit… fresh! No more saturating the fruit in lemon juice – just spray your cut fruit with this lemon spray and it coats evenly with just the right strength!

In case you missed the {DIY} recipe for these sprays, it’s simple:

  • 8 oz filtered water
  • about 15 drops doTERRA lemon essential oil

Shake and spray! I have sprays of Wild Orange EO, OnGuard EO, Lavender EO and Lemon EO just sitting in my kitchen alone!

**These statements have not been evaluated by the Food and Drug Administration. This product is not intended to diagnose, treat, cure, or prevent any disease.

{DIY} natural bum paste!

The {DIY} project today…home made diaper cream! This {DIY} has been a huge success and I can honestly say I will not be buying diaper cream from the store ever again! It works great, smells great and mostly importantly is SAFE to use on my little ones. You will be happy to know exactly what is in your cream, especially when your 2 year old decides to open it up and rub it all over himself (that may or may not have happened here yesterday) 🙂diaper rash cream

This stuff is so easy to make, and my 3 year old loved helping.
Recipe adapted from www.mymerrymessylife.com

What’s in it:

  • 1/2 c raw organic Shea butter
  • 1/4 c raw organic coconut oil
  • 1 Tbsp organic beeswax pastilles
  • 2 Tbsp zinc oxide powder (can omit if using cloth diapers)
  • 1 Tbsp pure aloe vera gel
  • 10 drops lavender essential oil
  • 8 drops melaleuca essential oil
  • 4 drops peppermint essential oil

STEP 1:
heat the shea butter, coconut oil and beeswax in double boiler over med heat until liquified. Remove from heat and let cool slightly (just so the temp is lower).
STEP 2:
Pour into stand mixer and add zinc powder, aloe and whip on high until smooth and completely blended. Drop in essential oils (make sure the mix is no longer hot as heat can break down the therapeutic properties of the oils).
STEP 3:
Mix thoroughly and pour into containers. Glass containers are best as the essential oils can break down plastic over time. Makes appx 8 oz of cream so I divided into two 4 oz glass jars. It will be thin when you pour it, but will thicken up quickly as it cools, so don’t plan on moving it to different containers after cooling 🙂 I keep a small one in the diaper bag, and at each changing station throughout the house!

The oils are are moisturizing and calming and soothing to baby’s skin. The zinc provides an excellent wetness barrier. The combination of ingredients is perfect for the little bums, and you may want to rub it on your arms and hands while you’re at it 🙂 If you like the recipe, I’d suggest doubling it next time and stocking up!

{DIY} foaming hand wash

So my list of things to ‘never have to buy again’ is growing and I LOVE it! Today’s {DIY} is so simple. Foaming hand wash. The secret to the foaming is to save and wash out former containers that have the foaming pump. You will see I had quite a few from a popular store that work really well to save and refill with your own natural ingredients, though I now order the containers from dōTERRA when I need replacements because it is so easy to throw that onto my essential oil order!

Before I list the ‘recipe,’ let’s take a look at a few of the ingredients in the original container that was purchased at a store for $5.50.

ORIGINAL INGREDIENTS:
Water, Sodium Laureth Sulfate (read more about this), Parfum, PPG-1-PEG-9 Laurel Glycol Ether, Disodium Laureth Sulfosuccinate, Propylene Glycol (read more about this), Cocomidopropylamine Oxide, Hydroxyethel Urea, PEG-7 Glyceryl Cocoate, Triethelyne Glycol, Tetrasodium EDTA, Hydroxypropyl Methylcellulose, Citric Acid, Benzyl Alcohol, Benzophenone-4, Glycerin, Sodium Chloride, Butalyne Glycol, Sodium Hydroxide, Yellow 6, Honey Extract, Methylchloroisothiazolinone, Methylisothiazolinone, Guar Hydroxypropyltrimonium Chloride, Red 33, Olea Europea Fruit Extract, Cocos Nucifera Fruit Extract, Mangifera Indica Fruit Extract

——————————————————————-

foaming hand soapNEW INGREDIENTS:

Pour Dr. Bronner’s and vegetable glycerin into empty bottle, add essential oils and fill the rest with filtered water. Shake it all up and you’re ready to use!

—————————————————————————–

To be fair, here are the ingredients broken down for the Dr. Bronner’s Peppermint Castile:
Water, saponified organic coconut and organic olive oils, organic hemp oil, organic jojoba oil, organic peppermint oil, organic mentha arvensis, sea salt, citric acid, and vitamin E.

Since my Dr. Bronner’s already had peppermint I used lavender to compliment the scent and for it’s skin soothing properties. Many essential oils have great constituents to support a healthy immune function, so you can use whatever oils you prefer to scent your soap. dōTERRA OnGuard is excellent for this and is my go-to for soaps this fall. It has an amazing cinnamon spice scent and is a very good choice to protect against environmental threats.

I’m working on a cost break-down for all my {DIY} items, but replacing this with all natural organic ingredients was less than 1/2 of the cost of the original chemical filled product!