Cinco De Mayo Fiesta Menu

FLASHBACK TO 2009!! I found this old post from our Cinco de Mayo fiesta 8 years ago and had to resurrect it. This was SUCH a fun party if you’re looking for some Cinco de Mayo fun this weekend!

If only I knew where my photos were from that year…..sigh.

Thankfully we’ve also come a ways in eating REAL food and there is so much of this that can be done with great ingredients, so lose the Lime Tostitos, Velveeta and the Diet Coke with Lime 😉
CincodeMayovvvvvvvvvvvvvvvvvvvvvvvvvvvvvvvvvvvvvvvvvvvvvvvvvvvvvvvvvvvvvvvv
~~~~~~~~~~~~~~~~~~~~~~~~~~~~~~~~~~~~~~~~~~~~~~~~~
One day left before the big Nacho Libre Fiesta and I think I’ve narrowed down the menu.  If you’re thinking of doing a Cinco de Mayo party at all this week here are some recipes and menu ideas I’ve rounded up that may be helpful.  We will have about 20 guests total.  I’ll post a follow-up next week to show how things went!

Taco Bar

  • Carne Asada (steaks thinly sliced and set in this marinade for 24+ hours)
  • Shredded Chicken (chicken breasts in Chipotle Lime marinade for 24+ hours)
  • Ground Beef with the organic taco seasoning
  • Crumbled Mexican Queso Fresco
  • Shredded White Blend Mexican Cheeses
  • Tomatoes, Onions, Lettuce, Cilantro
  • Corn and Flour tortillas from our local Mexican market
    (check and see if you have a local Mexican food market – the quality is MUCH better & they are generally cheaper)

Chips/Salsa Station

  • tortilla chips
  • Black Bean & Roasted Corn salsa
  • tomatillo salsa
    (tomatillos (halved, face down) and corn roasted under broiler, tiny bit of jalepeno, lime juice, onion, garlic, salt, pinch of sugar)
  • mango salsa
    (1 diced mango, can sweet corn, chopped red onion, chopped tomato, cilantro, lime juice, pinch of sugar)
  • guacamole
  • So-bad-for-you chili cheese dip (block of velveeta melted with 1 can hormel chile no beans)

Sides

  • Elote (mexican corn on the cob) as featured in Nacho Libre
  • Black Bean Cakes
  • Tostones (fried plantains) with garlic salt (best if plantains are still a bit green but just starting to yellow)

Desserts

Drinks

  • Margaritas
  • Diet Coke with Lime
  • Fresh squeezed Ginger Lemonade

Anyone else doing any Cinco de Mayo festivities?

detox foot & armpit mask


Many people love bentonite clay + apple cider vinegar masks on their face, but did you know you can also use these to detox other areas of your body? I like to keep a small glass jar upstairs with the 2 ingredients and a wooden chopstick. Makes whipping up a batch of this stuff so quick and easy.

Pour a few Tbsp of bentonite clay into my 4 oz jar, add in organic ACV until it gets smooth and stir it well with the wooden stick (do not use metal with the bentonite clay).
It will get nice and smooth and bubbly – way better than mixing it with water! My favorite essential oil to mix in is dōTERRA’s Zendocrine detoxification blend. It is an amazing blend of tangerine, rosemary, geranium, juniper berry and cilantro essential oils!

These oils are fantastic to support cleansing of the endocrine system (great for your skin) and cilantro is also excellent for heavy metal cheating.

Add in 2-3 drops of the Zendocrine oil to your wet clay mixture, cover your feet. Prop them up and sit back with a good book and let it dry before washing all those toxins and inpurities out!

This is also GREAT for an armpit detox!! Pulling out those toxins and odors can be very beneficial, especially when switching to natural deodorants.

Some other fun oils to try as add-ins::

  • Deep blue to sooth tired feet and sore muscles
  • Slim and sassy to boost metabolic function and detox
  • Lemongrass and peppermint for a fresh and cooling pick-me-up
  • Cilantro to pull out heavy metals

Have fun with these & Let me know how you like it!

how to make kombucha

Kombucha can be intimidating, but once you jump in and realize that your scoby won’t jump out of the jar and eat you in the middle of the night (and that it is harder to kill than a goldfish) you’ll think this is super easy. I will do another entire post about the importance of gut health and the benefits kombucha can give, but this will focus on the how-to.IMG_9347

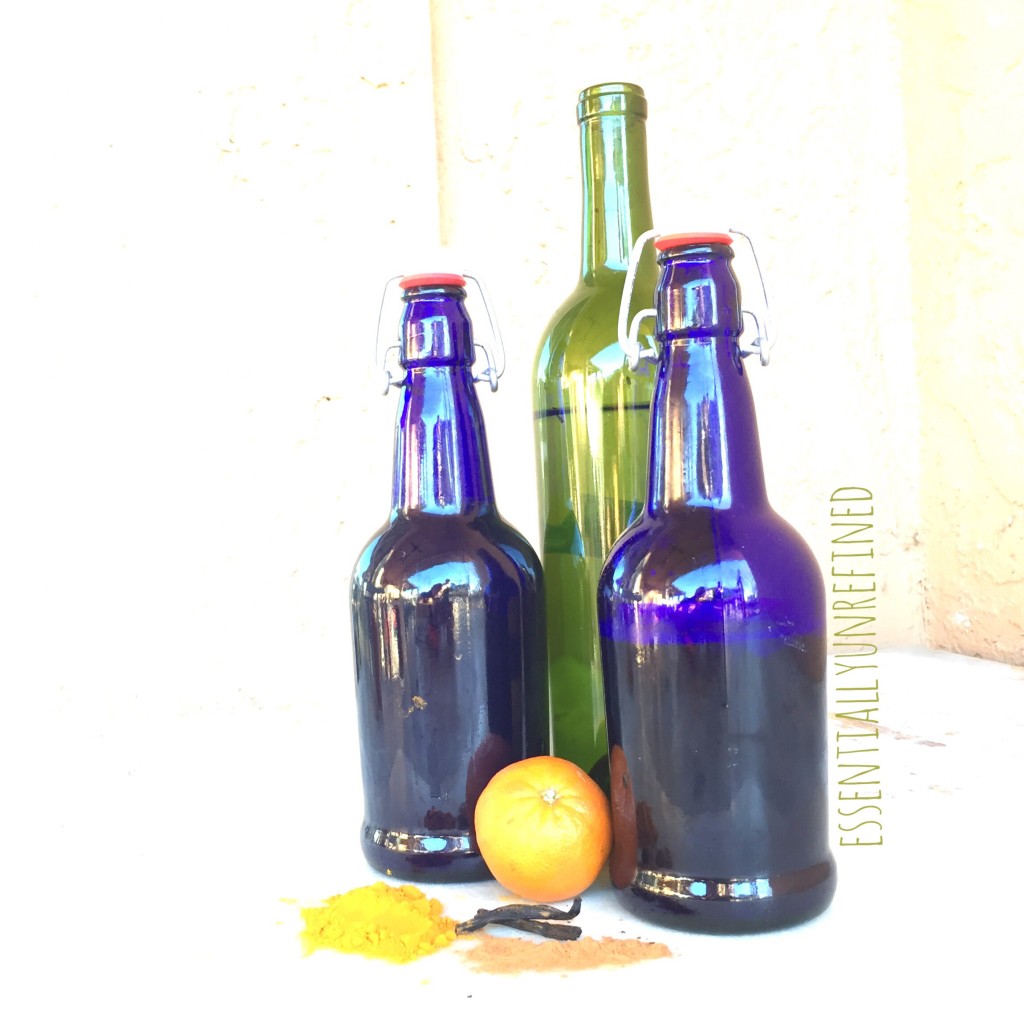
Things you’ll need to get before you start:

  • a scoby (I’d suggest asking around to all your natural minded friends and there’s a good chance someone will know someone who has one they would be happy to part with. If not, you can often get them at local health food stores)
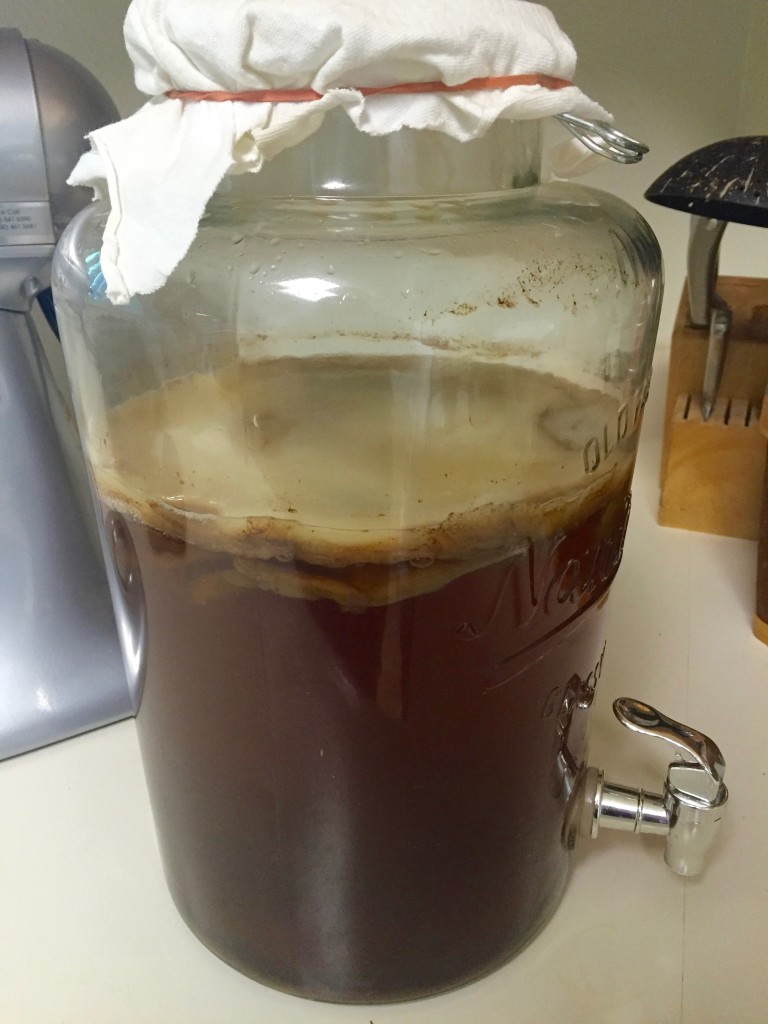
  • a large glass jar (1-2 gallons or larger) I love the ones with the pour spout as it makes continuous brew kombucha SO easy! This is the jar I use and LOVE.
  • a piece of breathable cloth or a tshirt you can cut to make your ‘lid’
  • a rubber band to hold on aforementioned lid
  • enough black tea to brew however many gallons your jar will hold
    NOTE: get PLAIN black caffeinated tea. This is not the time for the decaf and DEFINITELY don’t do herbal. Scoby will not like that.
  • organic sugar (1 cup per gallon)
  • class containers to house your kombucha
    NOTE: If you do a 2nd ferment (the part that makes it yummy and fizzy) you will want to invest in some EZ cap long necked glass flip top bottles. These work SO much better than any others if you like a lot of carbonation These are my FAVORITE!
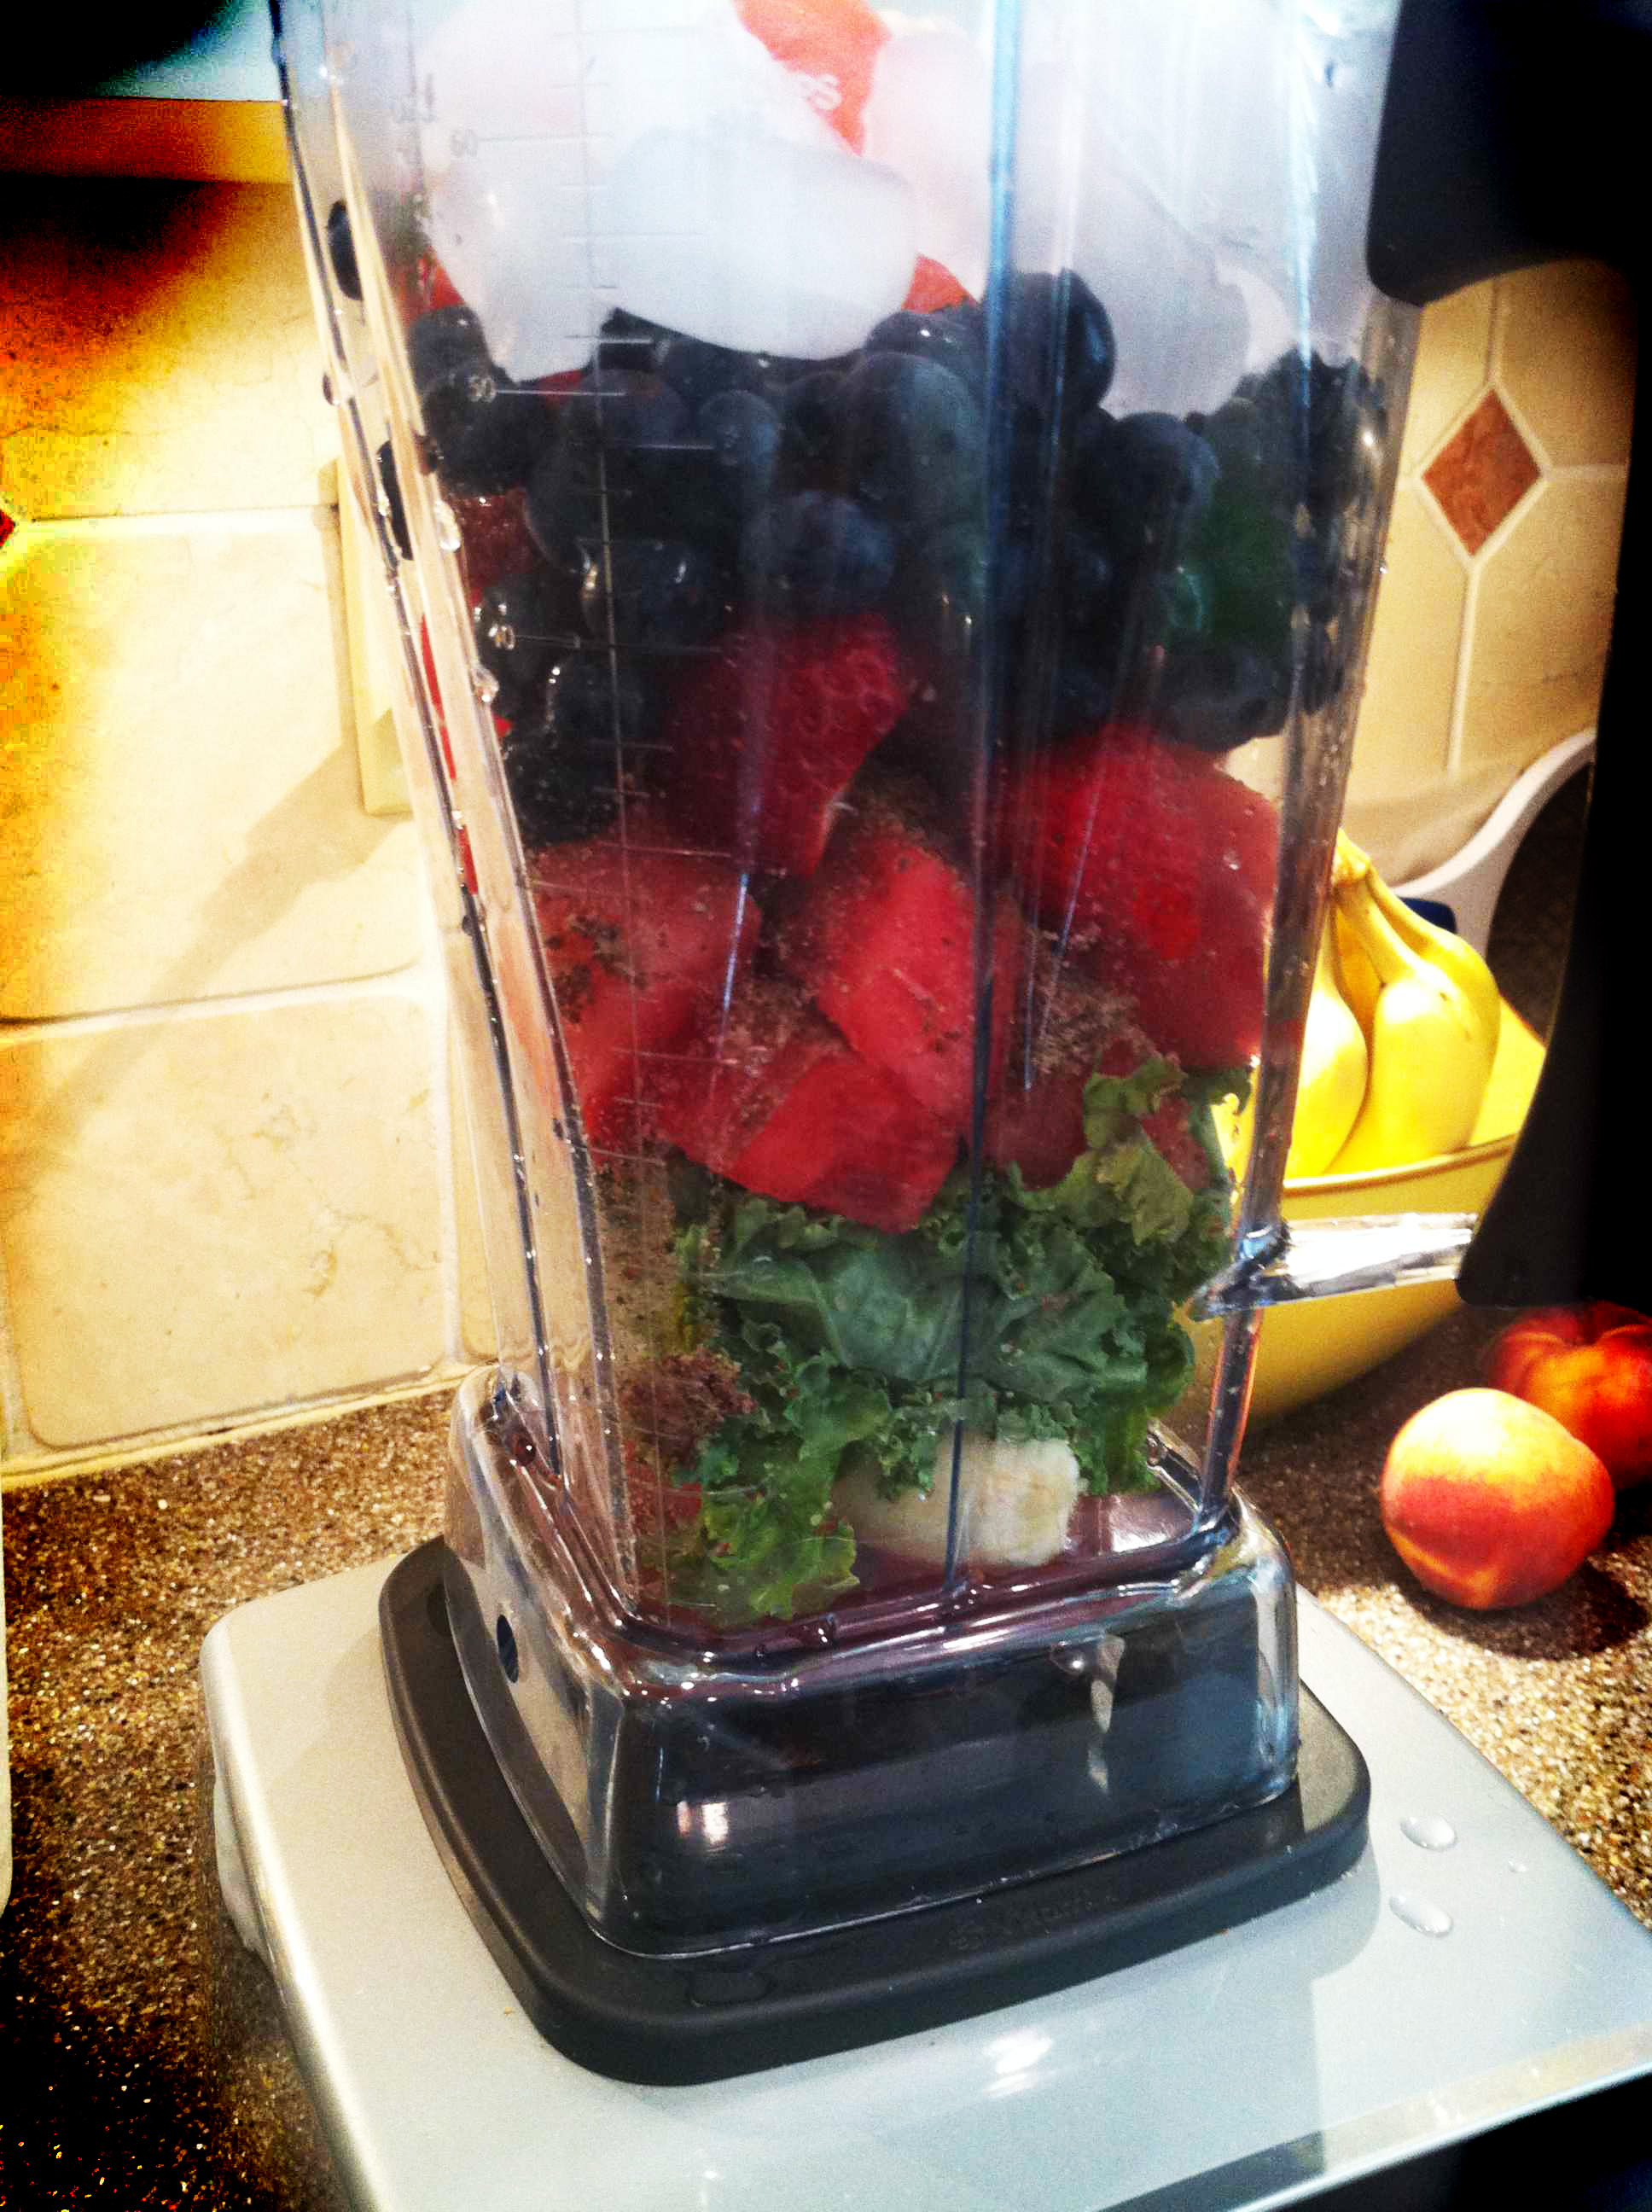
    You will also want fruit, herbs or fruit juice to flavor your 2nd ferment.

IMG_9693HOW TO:

1) Brew your tea as directed in another container and add your sugar. Let it cool to room temp.
**the temp is super important for the scoby. Do NOT EVER pour your scalding hot water on him, and freezing cold tea will put him into hibernation**

2) gently pour your tea into your large container with your scoby. It should rise to the top. If it doesn’t it may be the temp is off but eventually it should float. if you have to reach in there or touch it with any type of utensil, just do NOT use reactive metal.

3) cover with your [clean] tshirt piece and rubber band that on. I suggest using a dry erase to mark the date so you know when you’ve started this masterpiece.

4) leave it alone in a nice corner where it won’t get too hot or too cold. let it sit there for about a week and then give it a sip. Don’t be scared of the scoby. Just dip a plastic spoon in there and give it a taste. The longer it sits, the more that scoby will eat the sugar, making the health benefits great, but the flavor will start to really sour (vinegary) the longer that it sits. Some people like to let it go for 2 weeks – I personally have found 8-9 days is great for my liking.

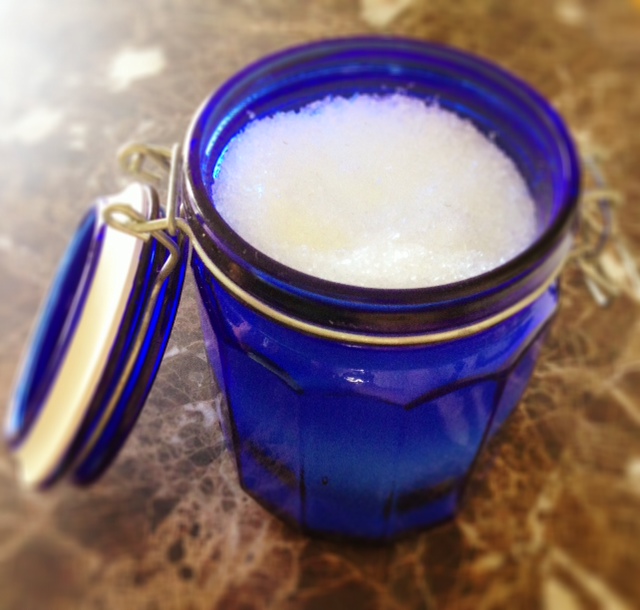
5) this is where you can drink it as-is or choose to go to 2nd ferment. This is my favorite part, but will require a few additional containers. If you paid attention and got the EZ cap flip top glass bottles (mentioned above), now is the time to pull those out. click here to get the cobalt ones I LOVE!

2nd FERMENT

6) pour your kombucha into your smaller containers and add about 1/4 c juice to every 16 oz container that you fill with kombucha. MAKE SURE to leave enough room for this stuff to ‘breathe’ so do NOT fill the bottle too high (1-2″ space left at the top or in the neck)IMG_9470

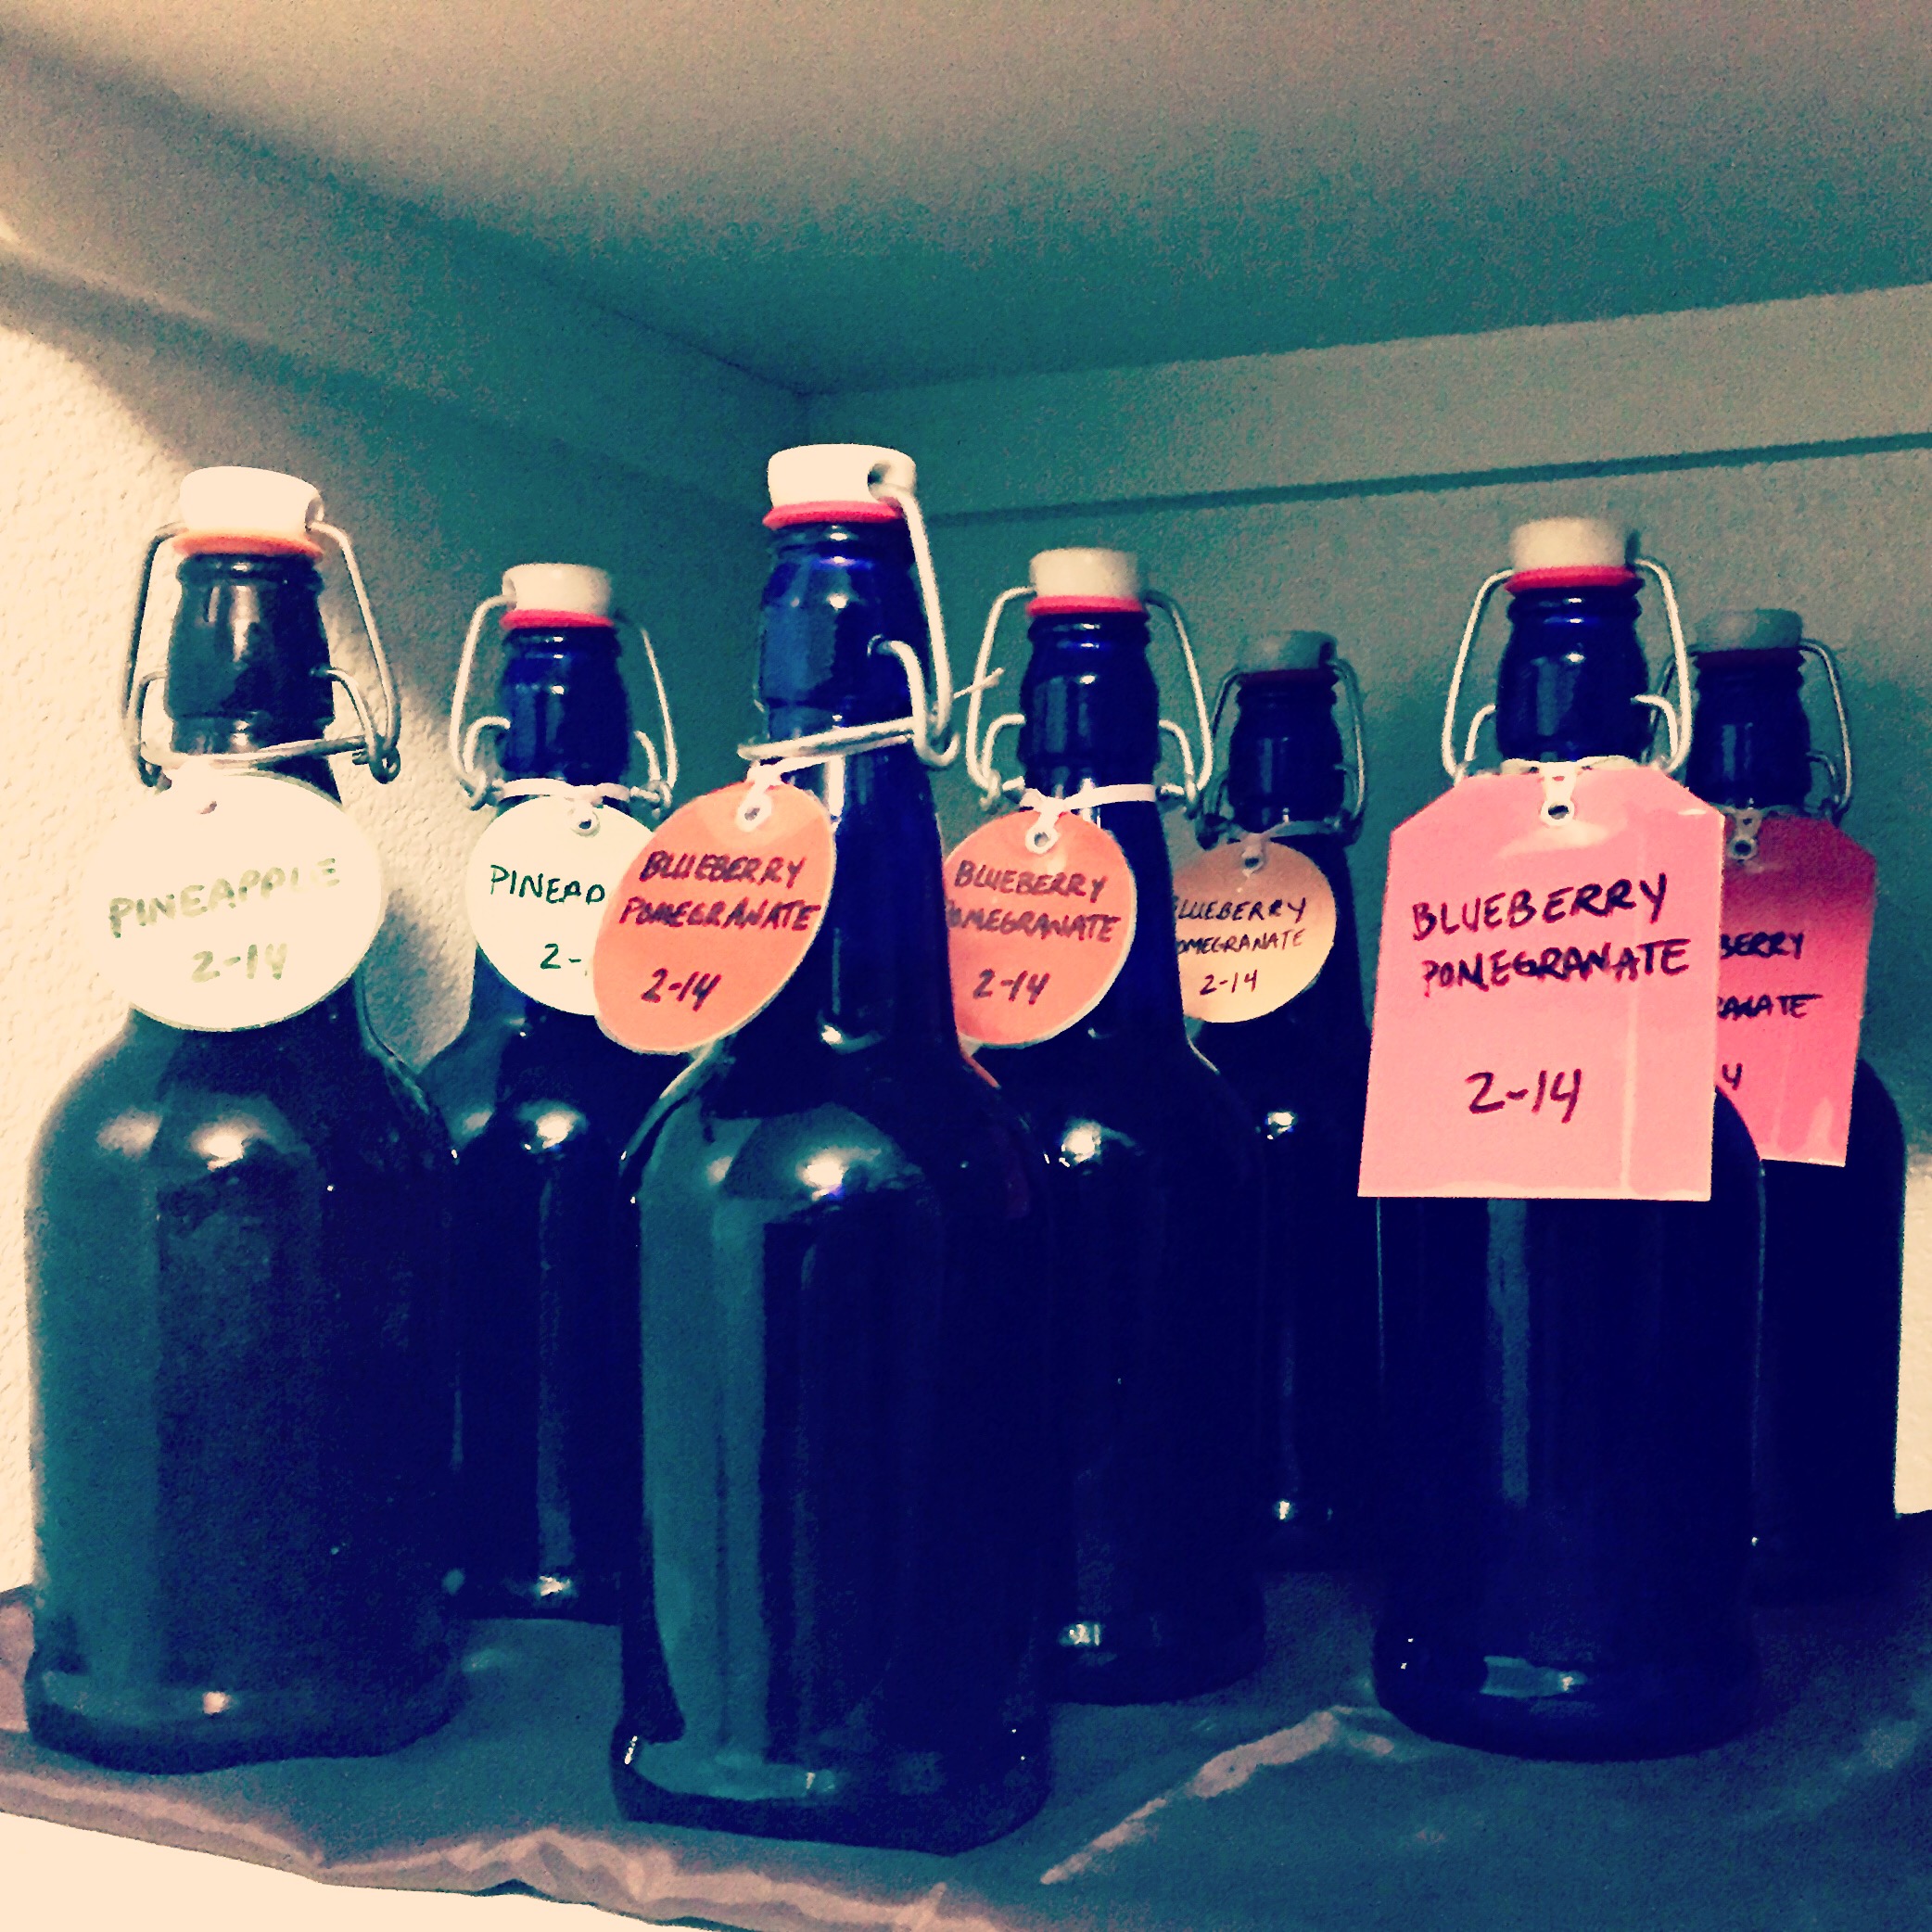
7) seal your bottles and let them sit anywhere from 2-10 more days on the shelf. only refrigerate them when you are ready for the fermentation to stop (when it is sufficiently carbonated to your liking)

8) carefully pop open the top (it can get SUPER fizzy) and enjoy your handiwork knowing that you are getting a great probiotic drink at a fraction of the cost to buy it in the stores!

2nd FERMENT FLAVOR OPTIONS:

There are endless possibilities when it comes to how you want to flavor your 2nd ferment, but here are a few that I’ve tried and our favorites:

~ Organic Cranberry Pomegranate juice – LOVE
~ Organic Blueberry Pomegranate juice – LOVE
~ Pineapple juice – my FAVORITE
~ Apple juice – MEH – It’s really good if you let it carbonate a lot and then tastes like sparkling cider, but otherwise tastes more like ACV
~ Fresh Peach slices – NOT A FAN – Love the idea of the fresh fruit, but this just didn’t add enough sugar to carbonate it to my liking and still had a strong vinegar taste

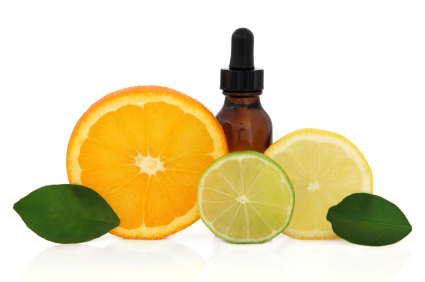
The BEST part about flavoring your kombucha is that you can also add in a drop of dōTERRA essential oil into the 2nd ferment (make sure it is one that is safe for internal use). They give an amazing burst of flavor!

Check out some of these combos (and msg me if you need any of these oils):
Blueberry + Pomegranate + dōTERRA Lavender
Blueberry + Pomegranate + dōTERRA Lemon
Blueberry + Pomegranate + dōTERRA Tangerine

You can also add in things like cinnamon, herbs, oils, turmeric, etc. I’ve found powders like cinnamon and turmeric add good flavor, but they leave a thick sludge at the bottom, so be prepared to either suck it up and drink that or strain it out.

Would LOVE to hear your favorite flavors, tips and tricks!

{DIY} laundry detergent

About the time I had started using essential oils, I came across a killer deal on a super green cloth diaper friendly laundry detergent, so I bought a TON of it. I was so proud of myself for scoring that deal. Since then I have wanted to try making my own several times, but just had no need for it! I FINALLY (after almost 2 years) have run out of my stash, so this was my project! My first attempt I followed a traditional recipe that used borax and that was a big NO GO on my little ones sensitive skin. I made a massive batch, and had to give most of it away!
laundry_detergentMy REVISED detergent is now borax FREE and it seems to be working quite well so far. Here are the ingredients that I have switched to for our homemade laundry detergent

  • 2 cups washing soda
  • 1 cup baking soda
  • 1/2 cup of course sea salt or epsom salt
  • 1/2 cup of Biokleen oxygen bleach
  • 1 bar of castille soap finely grated (a cuisinart with a finer grater attachment works great to do this quickly)
  • 10 – 20 drops each of lavender and wild orange essential oils (I’ll change this up each time just for fun)

Dump it all into a container, mix it up, add in the essential oils, and there you go! Use about 1-2 Tbsp with each load, add in white vinegar with 2 drops of essential oil as the liquid fabric softener and run the load!


Melaleuca magic

Melaleuca is truly a magical essential oil – great for cleansing and rejuvenating the skin and protecting against environmental threats, but did you know it’s also great for scrubbing off those ‘permanent’ stains on pots and pans!?

Bonus to clean with something so strong yet 100% all natural and safe – no harsh chemicals!

Yay!
Pic on the left was taken after scrubbing with Dawn dish soap.

Pic on the right was taken after scrubbing with a few drops if straight melaleuca essential oil.

20131031-101408.jpg

**These statements have not been evaluated by the Food and Drug Administration. This product is not intended to diagnose, treat, cure, or prevent any disease.

bentonite clay + essential oil ‘facial’

bentonite clay + essential oil facialSo I’ve had a ton of questions about the bentonite clay – what it is and what it does. It’s a really fine all natural grayish colored clay that is super absorbent and full of minerals. A lot of it comes from areas in WY. It’s great at pulling toxins and heavy metals out of your body and in place depositing beneficial minerals. As to not completely re-invent the wheel, Wellness Mama has a great blog post that gives a ton of information on it. I ordered my bentonite clay (affiliate link) on amazon.com and it’s a good mix of calcium bentonite and sodium bentonite so as not to get all of one mineral and none of the other!

As I’ve stated before, I’ve simplified my face cleaning regimen down to 100% all natural honey and oils and I LOVE it. I’m on month 3 of this now and it’s the longest I’ve gone since starting middle school without having some crazy breakouts! I am NOT one of those who was blessed with naturally smooth beautiful skin. at. all. I only wished I’d known about these methods about 20 years ago. I would have saved A LOT OF MONEY and A LOT OF CHEMICALS from going into my body!

So here’s a short 3 step 100% all natural, detox, repairing mini facial!

1) wash your face with 100% raw honey (the more crystallized the better as it nicely exfoliates while you scrub). Just rub the honey on your face and wash with warm water! yum!

2) for the mask, mix the bentonite clay with apple cider vinegar (you can use water if you don’t have ACV, but it is not as smooth or potent). Make sure not to mix it in, or with, anything metal as it will alter the properties of the clay! Make a paste out of it and spread it on your face! Let it dry completely….it will tighten up quite a bit and then rinse off with warm water. Add a drop of 100% CPTG melaleuca (tea tree) essential oil to also help boost the skin cleansing properties.

3) moisturize, hydrate and rejuvinate with essential oils! I immediately followed the mask with good hydrating blend of fractionated coconut oil and doTERRA’s Immortelle anti-aging 100% essential oil blend. This stuff is AWESOME! I have been using my own blend of fractionated coconut oils, frankincense and lavender essential oils (which I still love and highly recommend), but if you can at all get your hands on an Immortelle oil blend, it is amazing!Immortelle

Immortelle is doTERRA’s anti-aging blend that contains a powerful mix of some rare oils like frankincense, Hawaiian sandalwood, myrrh, lavender, helichrysum and rose. Send me a message me if you want to get your hands on one of these!

The results = smooth awesome skin that is being pampered, detoxed and cleansed with 100% pure all natural basic ingredients!


how to eat real food…really: GREEN SMOOTHIES!

Anyone that knows me knows that we LOVE our smoothies! We make them every morning and my 2 toddler boys BEG for these. It’s a great way to get a ton of fruits and veggies in right away and start the day right. Of course all our recipes are dairy free so the calories are kept at a minimum too.

My only regret in getting super amazing high powered blender is that I didn’t do it sooner. If there is one purchase we’ve made in the last few years that has contributed the most to our nutrition, the Vitamix wins hands down. Of course you don’t have to have a Vitamix to get healthy amazing blended things quickly, but man, it helps a lot. The best thing for us about it, is that it mixes everything so well you can hide a LOT of veggies in….and still have a delicious smoothie.

There are endless possibilities and you can throw in whatever you want, but here is our morning go-to smoothie recipe:kale green smoothie recipe

  • 2-3 bananas (not overly ripe b/c I don’t like too much banana flavor)
  • 2-3 stalks of kale (stalks removed – using the leaves only makes it less bitter)
  • 1-2 cups strawberries or 1/2 bag frozen (frozen are great to chill smoothie without watering it down)
  • 2-3 cups baby spinach
  • 1 fresh lemon, juiced (I juice in 1-2 oranges too if I have them)
  • about 2 cups organic rice milk (add more if needed to thin texture)

This is the base no-fail recipe that we love, but it’s also great for throwing in veggies that may need used up like cucumber or carrots! If not using any frozen fruit, add a handful of ice to chill and thicken it up. Despite the photo, I normally avoid blueberries in the smoothies (they love to eat them on the side) as I find they thicken up too much after sitting for a few minutes and are a really big pain in their straw sippy cups.

We also add a drop of Vitamin D to the cups before serving per our amazing pediatrician’s recommendation. It is a vitamin packed way to start the day, and fills them up with the good stuff before anything else!

{DIY} essential oil bath salts

This is SUCH an easy {DIY} project that not only has great therapeutic properties while relaxing and de-stressing your body, but also makes great gifts for friends and family. Keep these salts in mind as the holidays are quickly approaching!

{DIY} bath salts with essential oilsTo make your own bath salts, simply use the following ratio:

  • 1 cup salt
  • 5-10 drops essential oils (depending on how strong you want it)

STEP 1: choose which salt you want to use. The coarser the salt, the slower it will dissolve. Some great options are epsom salts and dead sea salts. I frequently use the epsom salts as they are easy to find, inexpensive, provide a great detox and the magnesium sulfate is great for your health. You can use a combination of salts as well.

STEP 2: Pick the essential oil or blend that you want. There is an endless variety! Here are some of my favorites:
Lavender (relaxation), dōTERRA Balance Blend (grounding), Geranium (skin), Cypress (healthy circulation), dōTERRA Citrus Bliss Blend or any Citrus Oils (invigorating, but still great for night bath), Peppermint (great foot soak), dōTERRA Elevation Blend (smells AMAZING and lifts mood)

STEP 3: Mix the salt and oils together thoroughly until it’s well blended

STEP 4: Pour into glass jar or container for storage. Thrift stores are awesome for this sort of thing! You can get endless varieties of glass bottles with character (dark glass is best for long term storage of any essential oil products). Make a cute tag, tie some twine or ribbon on and you have a unique gift!

Step 5: Fill your bath and throw in several scoops of your scented bath salts! Relax and enjoy!

VARIATIONS:
1) You can drop in a few drops of food coloring (if you don’t care about keeping it ‘all natural’ for a nice color effect. mix it into the salt and stir until thoroughly blended.
2) Add some dried flower petals, herbs or spices for some extra color and texture, though keep in mind they will float in the tub when used!

{DIY} baby onesie makeovers

This week I decided to do something to prepare for this next baby’s arrival since he could show up any time now! Having boy #3 doesn’t leave you with much to shop for, so instead I decided to give some old onesies new life using some fabric scraps I already had (cost = $0). These are really simple and such a fun way to customize some things for a little one! Also a great use of ‘old’ clothes given new life – recycling at it’s finest!

photo(1)These all had previous designs that were a little boring and outdated, so I simply picked some new ones that would cover what was already there. (and NO we haven’t finalized a name for this baby yet, but figured an “E” would be a safe bet) ; )

4 steps to a {DIY} Onesie makeover

  • Print out a template using any clip art silhouettes or font in the size that you want, cut the shape out and trace it onto fabric heat transfer paper (this is the one I use)
  • Iron the transfer paper onto your fabric scrap and cut the shape out
  • Position the shape (heat transfer side down obviously) on your onesie where you want it and iron it in place according to the product instructions.
  • Outline the design with a simple stitch for extra reinforcement and to prevent any peeling and fraying. (this may be optional, but I haven’t tried it without the stitching so not sure how it would hold up through washings?)

This also works GREAT for custom burp cloths, blankets, etc!

Quick tips:: Freshen up your home with essential oils

For a quick pick-me-up around your home, a little essential oil can go a long way! Here are some simple ideas to naturally freshen up the area….and get diffused therapeutic benefits of the oils while you’re at it!freshen your home with essential oils

  • Put a drop of essential oil on the front of your osculating fan and let the scent blow through the area
  • Put a drop into any humidifier to diffuse through the room
  • Drop essential oil into the middle of your toilet paper roll (in the tube). It will absorb into the paper and offer a natural fresh scent to the bathroom!
  • Put some essential oils on a tissue and place in your vacuum bag to freshen and deodorize as you vacuum…or put 5-10 drops in a cup of baking soda and sprinkle around carpets prior to vacuuming!
  • Use any of the {DIY} oil “sprays” you can make as an air freshener – just spritz around the room and enjoy!
  • Add a drop of essential oil to your steam cleaner tank to boost cleaning power and smell great too
  • Put essential oils into your fabric softener spot (see post on {DIY} fabric softener with vinegar and essential oils)
  • Add a drop of your favorite oil to your dishwasher soap to boost cleaning power and smell amazing (lemon and citrus oils are great for the dishes)!
  • Put a drop of essential oils onto a lightbulb to quickly scent a room (great right before guests arrive). The heat will break down the therapeutic properties, but the smell will definitely fill the air!
  • make your own all natural air freshener with essential oil and baking soda that actually fights odors, not masks them!
  • heat a cup of water, drop 2-3 drops of your favorite oil to diffuse into the air (also great trick prior to guests arriving)! dōTERRA’s OnGuard is an amazing spice scent for fall, and it supports healthy immune systems too!


{DIY} hand sanitizer

Making your own hand sanitizer is so simple using 100% dōTERRA essential oils!

diy hand sanitizerMy vote for the best oil to use in hand sanitizer is definitely dōTERRA’s OnGuard Blend. This oil blend has an amazing cinnamon spice smell, and boosts your immune system while protecting against environmental threats.

Here’s the recipe::

  • 1 oz pure aloe vera gel
  • 1 oz purified water
  • 2 oz high-proof vodka, grain alcohol or gin (can use witch hazel extract for an alcohol free version)
  • 12-15 drops dōTERRA OnGuard essential oil blend

You can also add a few capsules of vitamin E oil to the mix to soften skin even further!
Mix all ingredients into a 4 oz glass pump bottle. Shake well to ensure it’s properly blended!

This is a great alternative to commercial hand sanitizers. Here is a typical list of ingredients from a store bought brand:
water, isopropyl alcohol, aloe barbadensis leaf juice, caprylyl glygol, glycerin, isopropyl myristate, tocopheryl acetate, acrylates/C10-30 Alkyl Acreylate Crosspolymer, Aminomethyl Propanol, Frangrance (Parfum), Blue 1 (Cl42090), Yellow 5 (Cl 19140)

Fewer chemicals and additives and much better for your skin! What a bonus to boost immunity while sanitizing your hands!

How to actually get rid of fruit flies

In case anyone is having a problem with fruit flies – if you haven’t tried this it works really well. I put apple cider vinegar (or u can use wine, but who wants to waste that!) a little honey and a squirt of dawn (to break surface tension) in a jar. Sometimes I throw in some fruit scraps. Tape a piece of paper to make a funnel with a small opening at bottom and the fruit flies get in and can’t get out. I’ve had more success with this than anything else!fruitflytrap

Quick Tip:: {DIY} natural fabric softener

This is so simple it shouldn’t be called {DIY}, but if you’re still buying commercial fabric softener you can stop now!

Jlavender fabric softenerust fill the liquid fabric softener spot on your washer with white vinegar, and add 2-3 drops of your favorite essential oil. I love lavender EO to freshen the laundry. Not only does this soften your clothes, but the scent of real lavender fills your house while washing, which also greatly helps to reduce the stress of laundry day 🙂

Even more importantly, it keeps this list of chemicals out of your fabric and off of your skin:
(ingredients in Liquid Ultra Downy Spring Lavender Scent, taken directly from Proctor & Gamble. view pdf here)

  • diethyl ester dimethyl ammonium chloride,
  • Fragrance (synthetic)
  • Starch
  • Ammonium chloride
  • Calcium chloride
  • Formic acid
  • Polydimethylsiloxane
  • Liquitint colorant Purple
  • Benzisothiazolinone
  • diethylenetriamine pentaacetate

Another great way to save money, reduce chemicals and avoid unnecessary irritants and allergens in your home!

Quick Tip:: Uses for lemon spray

I can’t say enough how crazy useful my essential oil sprays are. Filtered water + 100% CPTG Essential Oils = NATURAL MULTI-USE PRODUCT! lemon sprayMy lemon oil spray is always out on my kitchen counter to clean counters, shine my sink and faucet, polish my dining room table and spritz in the air to freshen the room, but is also great to keep fresh fruit… fresh! No more saturating the fruit in lemon juice – just spray your cut fruit with this lemon spray and it coats evenly with just the right strength!

In case you missed the {DIY} recipe for these sprays, it’s simple:

  • 8 oz filtered water
  • about 15 drops doTERRA lemon essential oil

Shake and spray! I have sprays of Wild Orange EO, OnGuard EO, Lavender EO and Lemon EO just sitting in my kitchen alone!

**These statements have not been evaluated by the Food and Drug Administration. This product is not intended to diagnose, treat, cure, or prevent any disease.