lessons from the sea

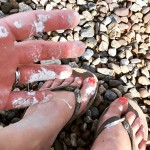
Our favorite beach has changed a lot over the years…

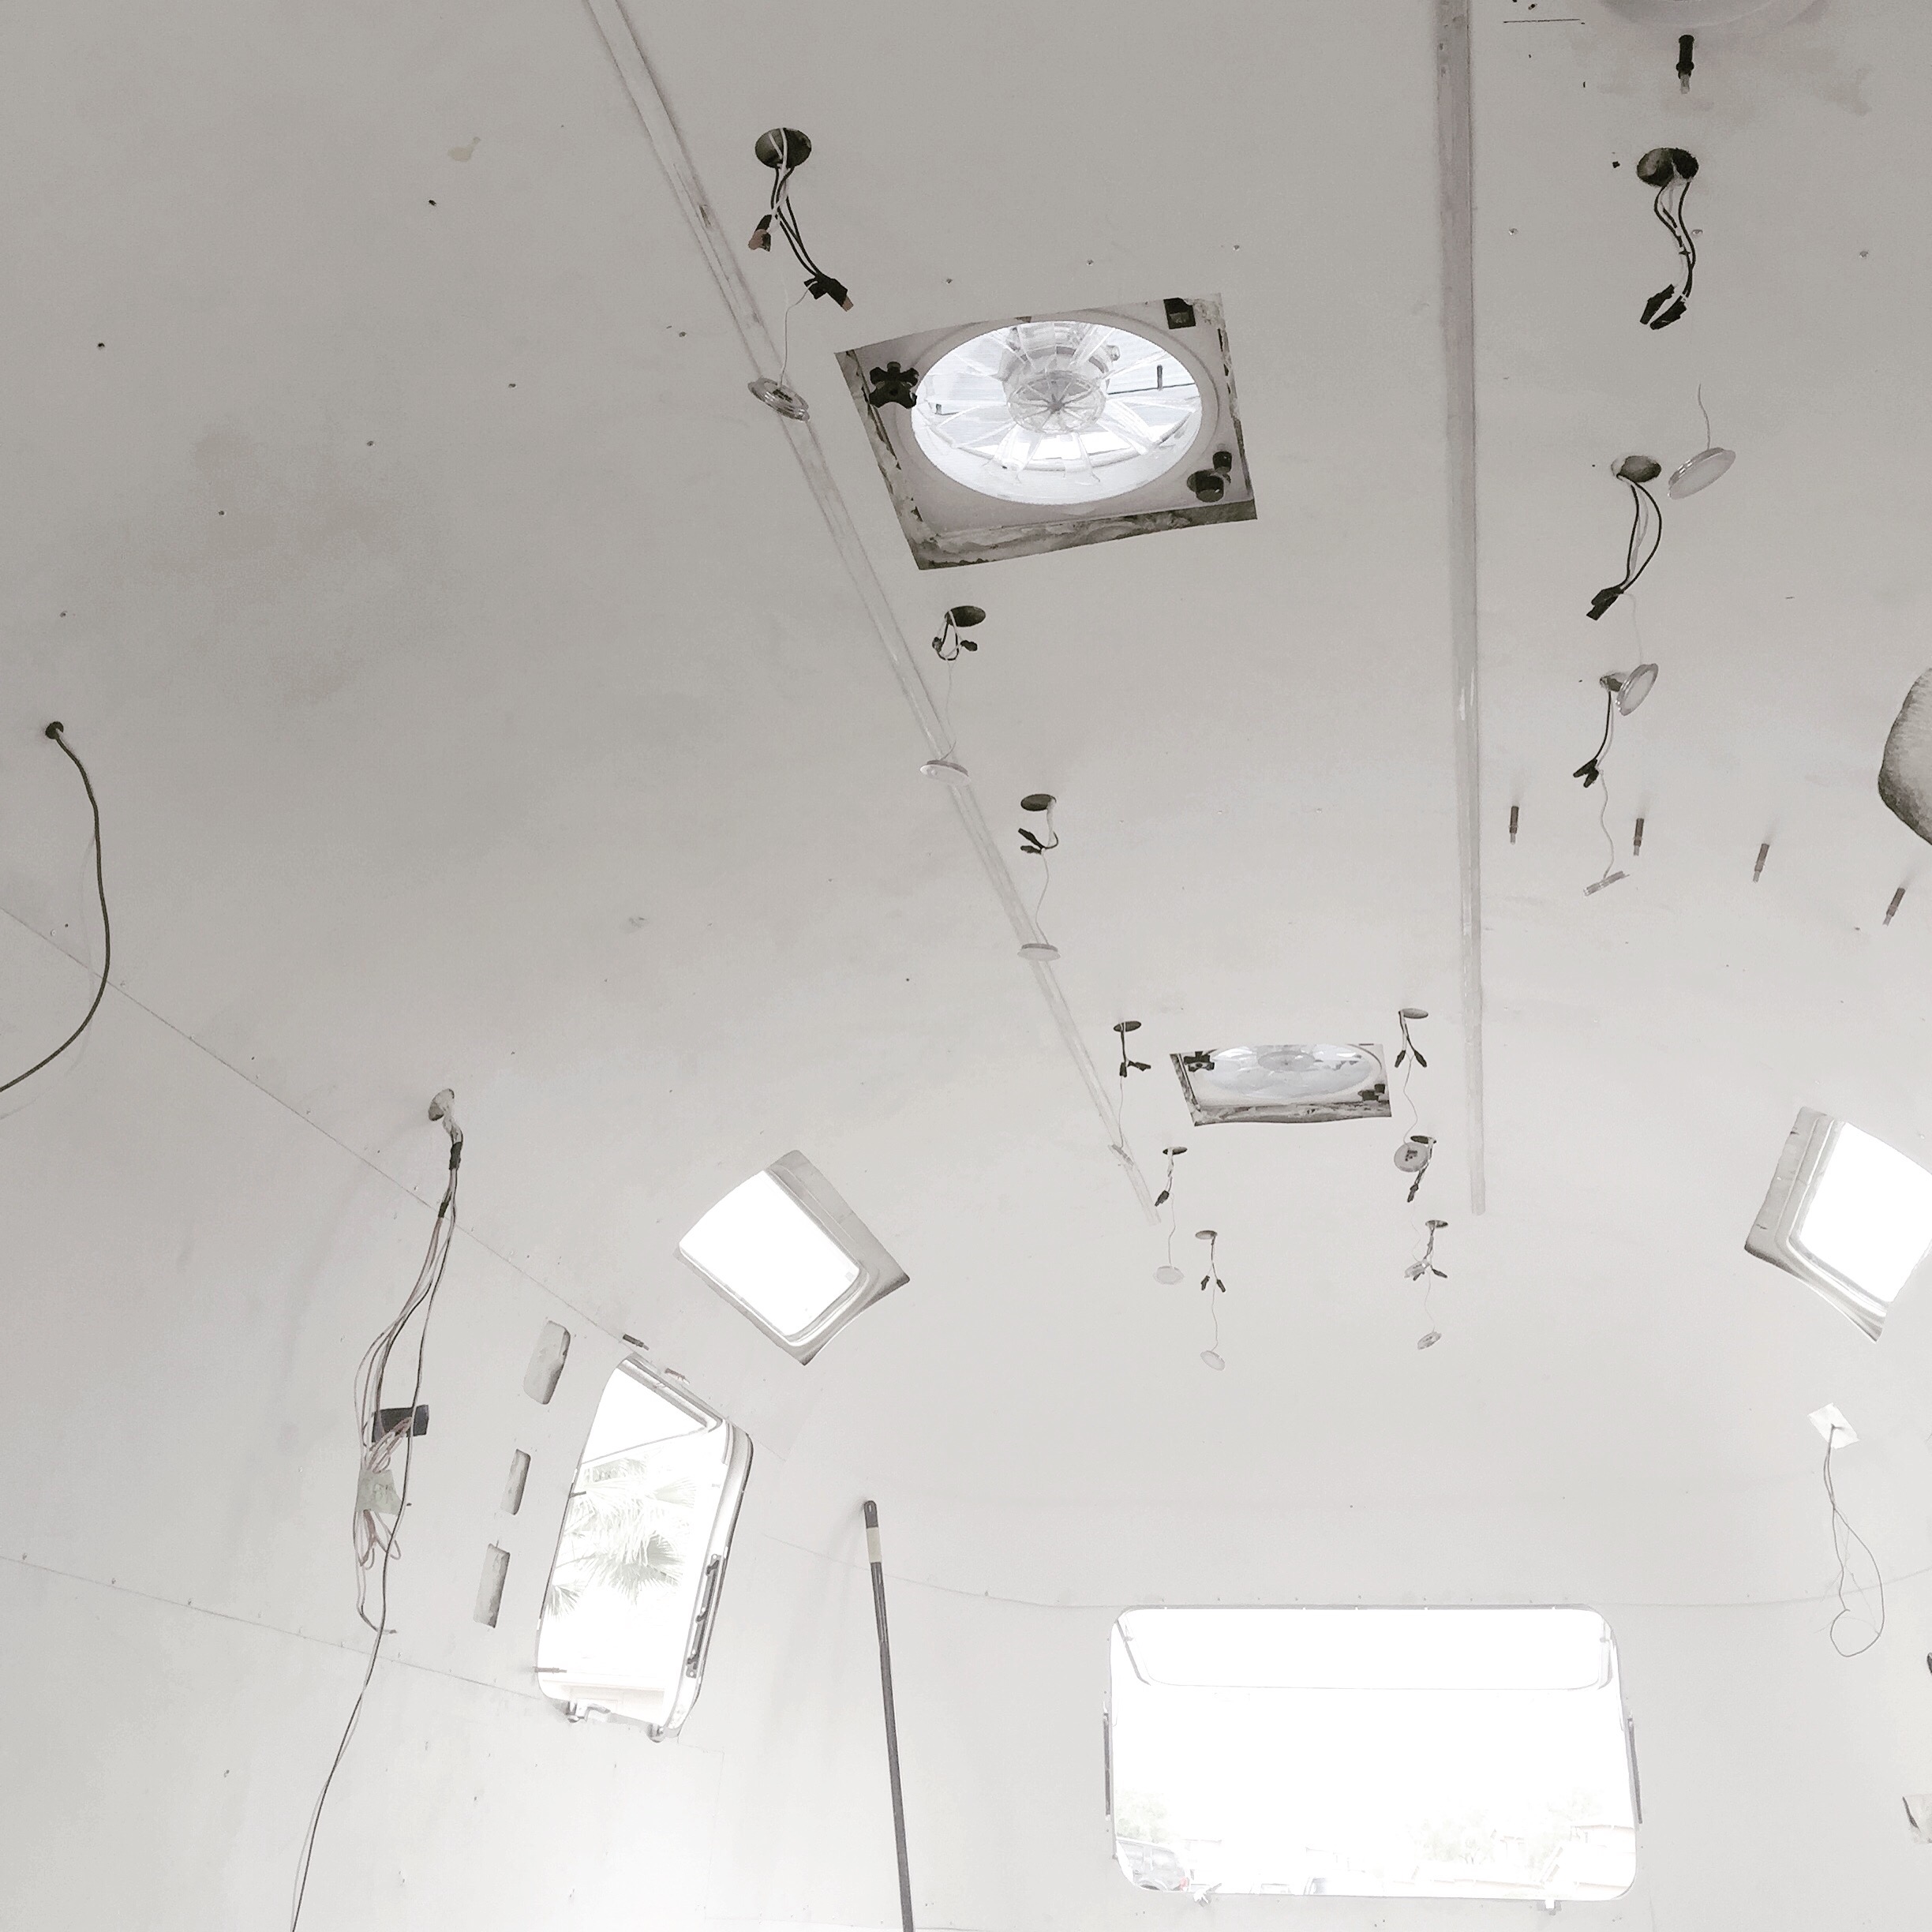
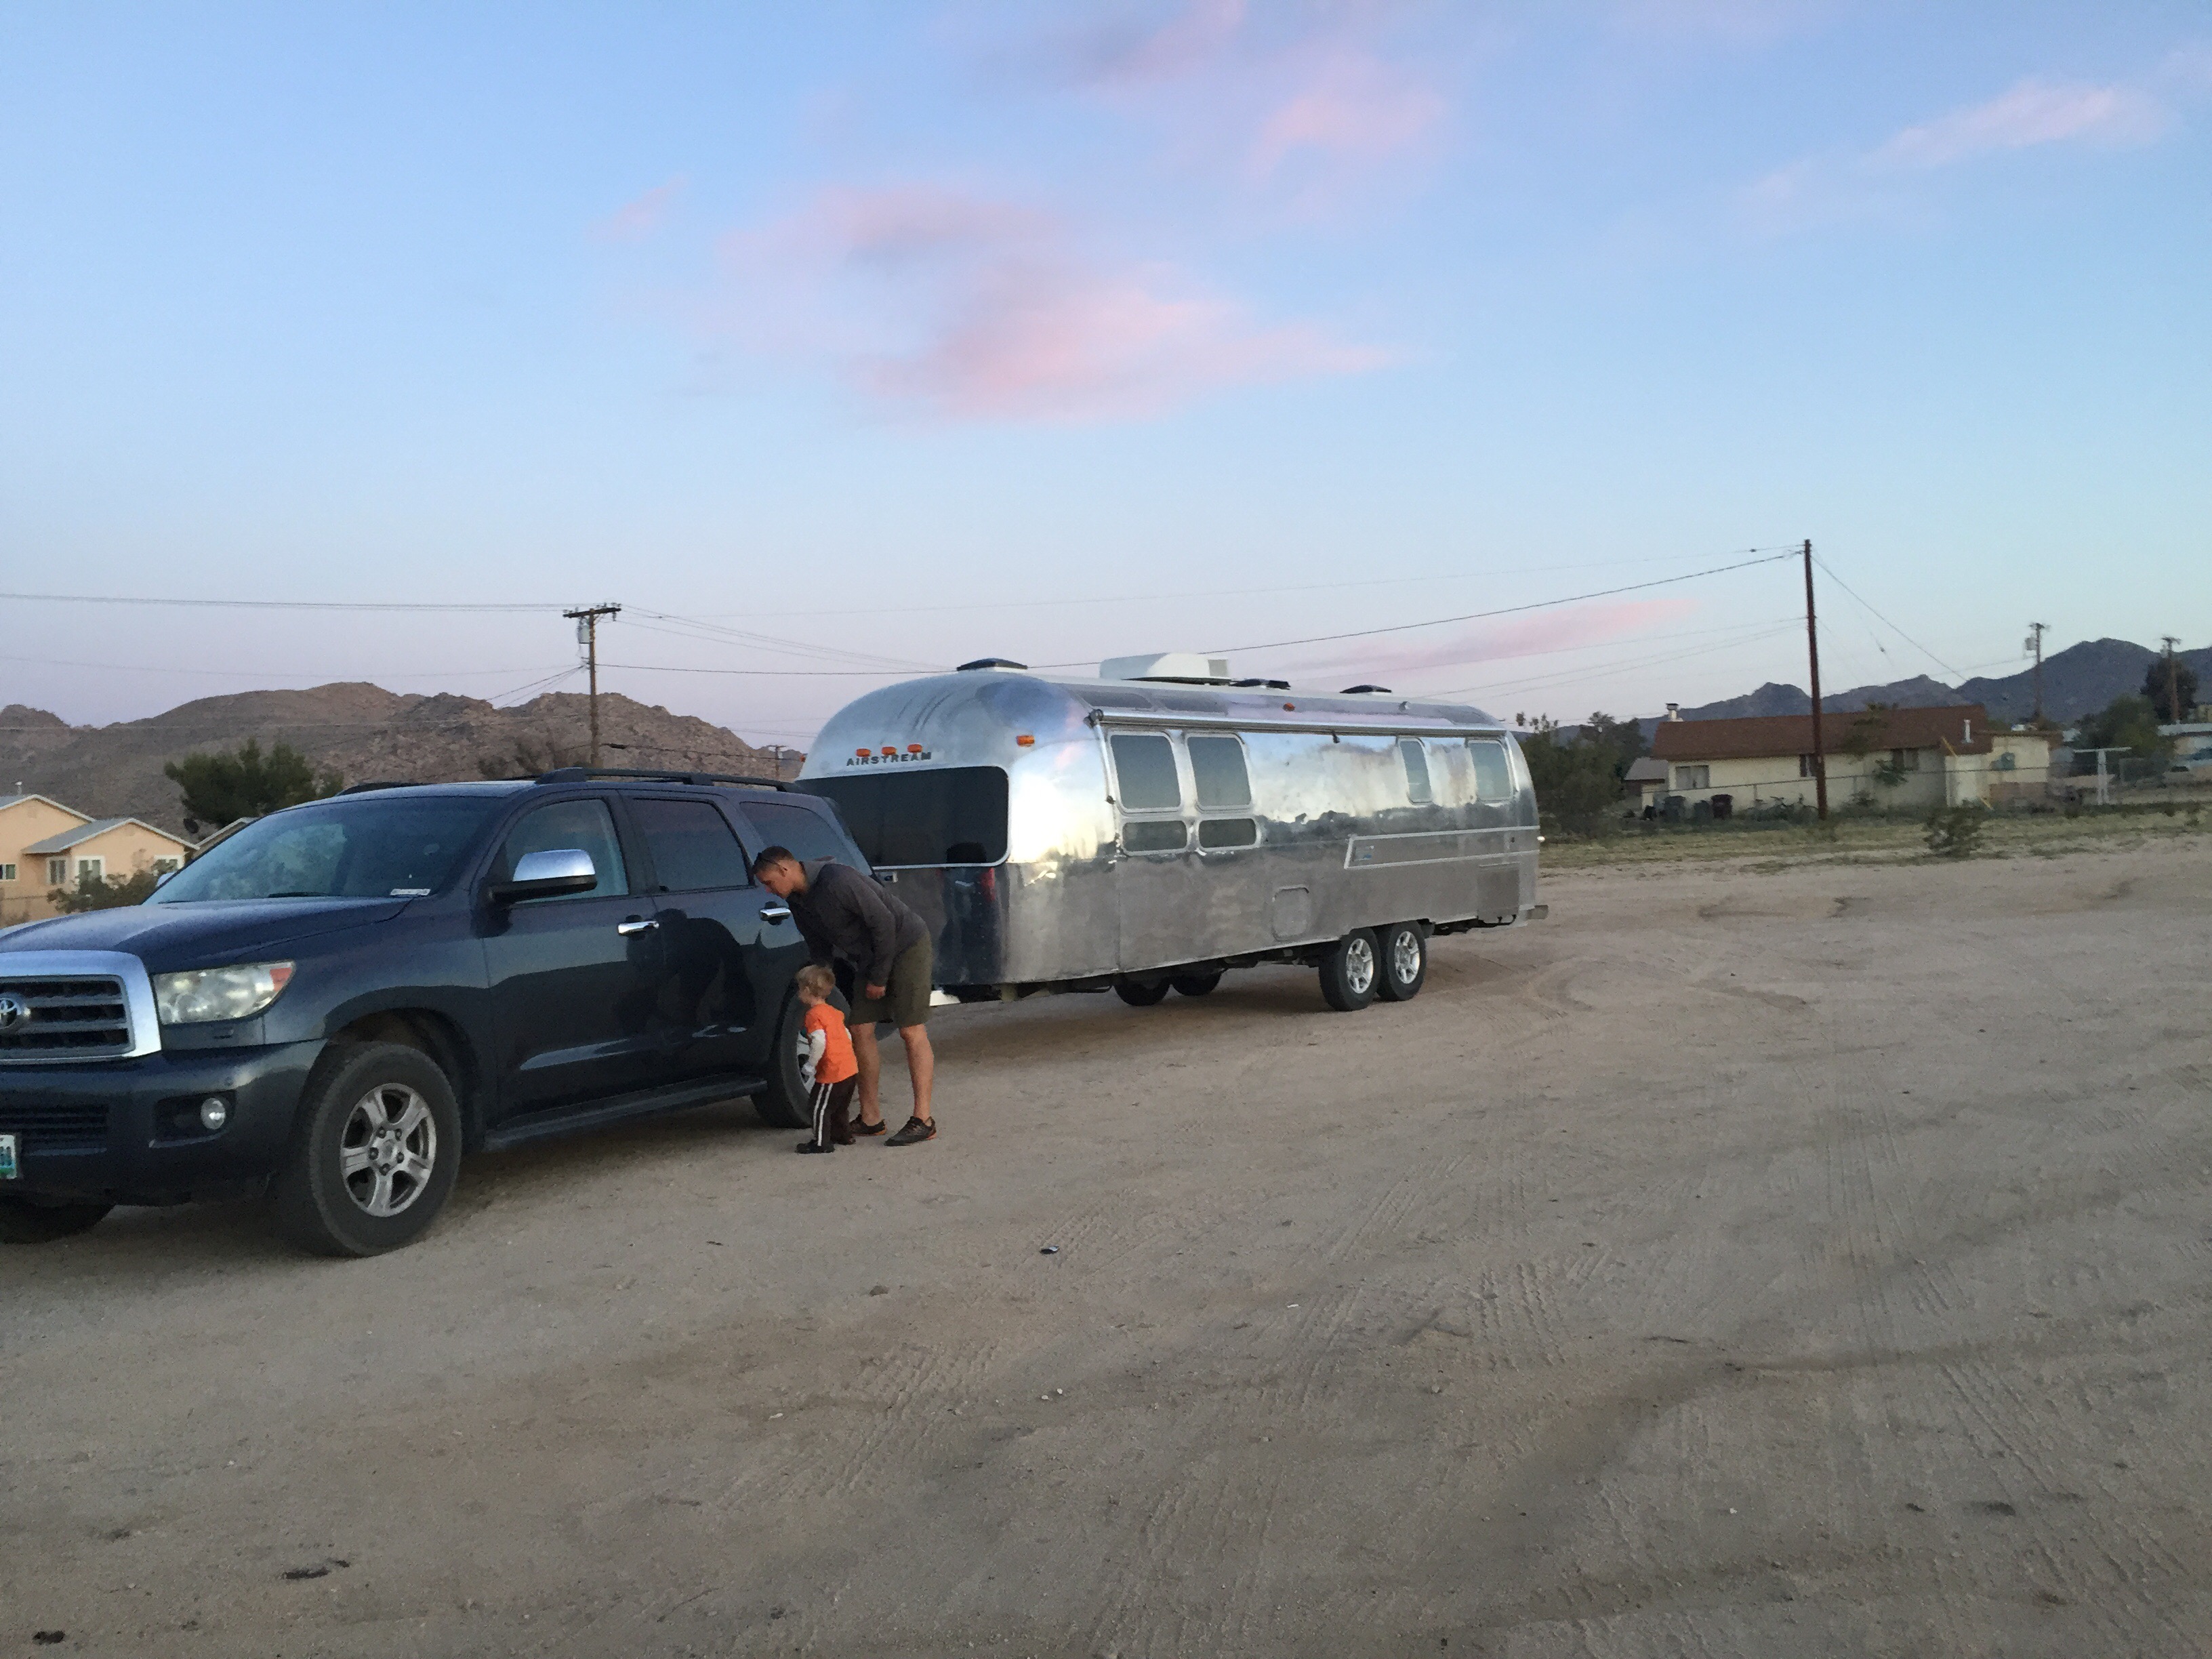
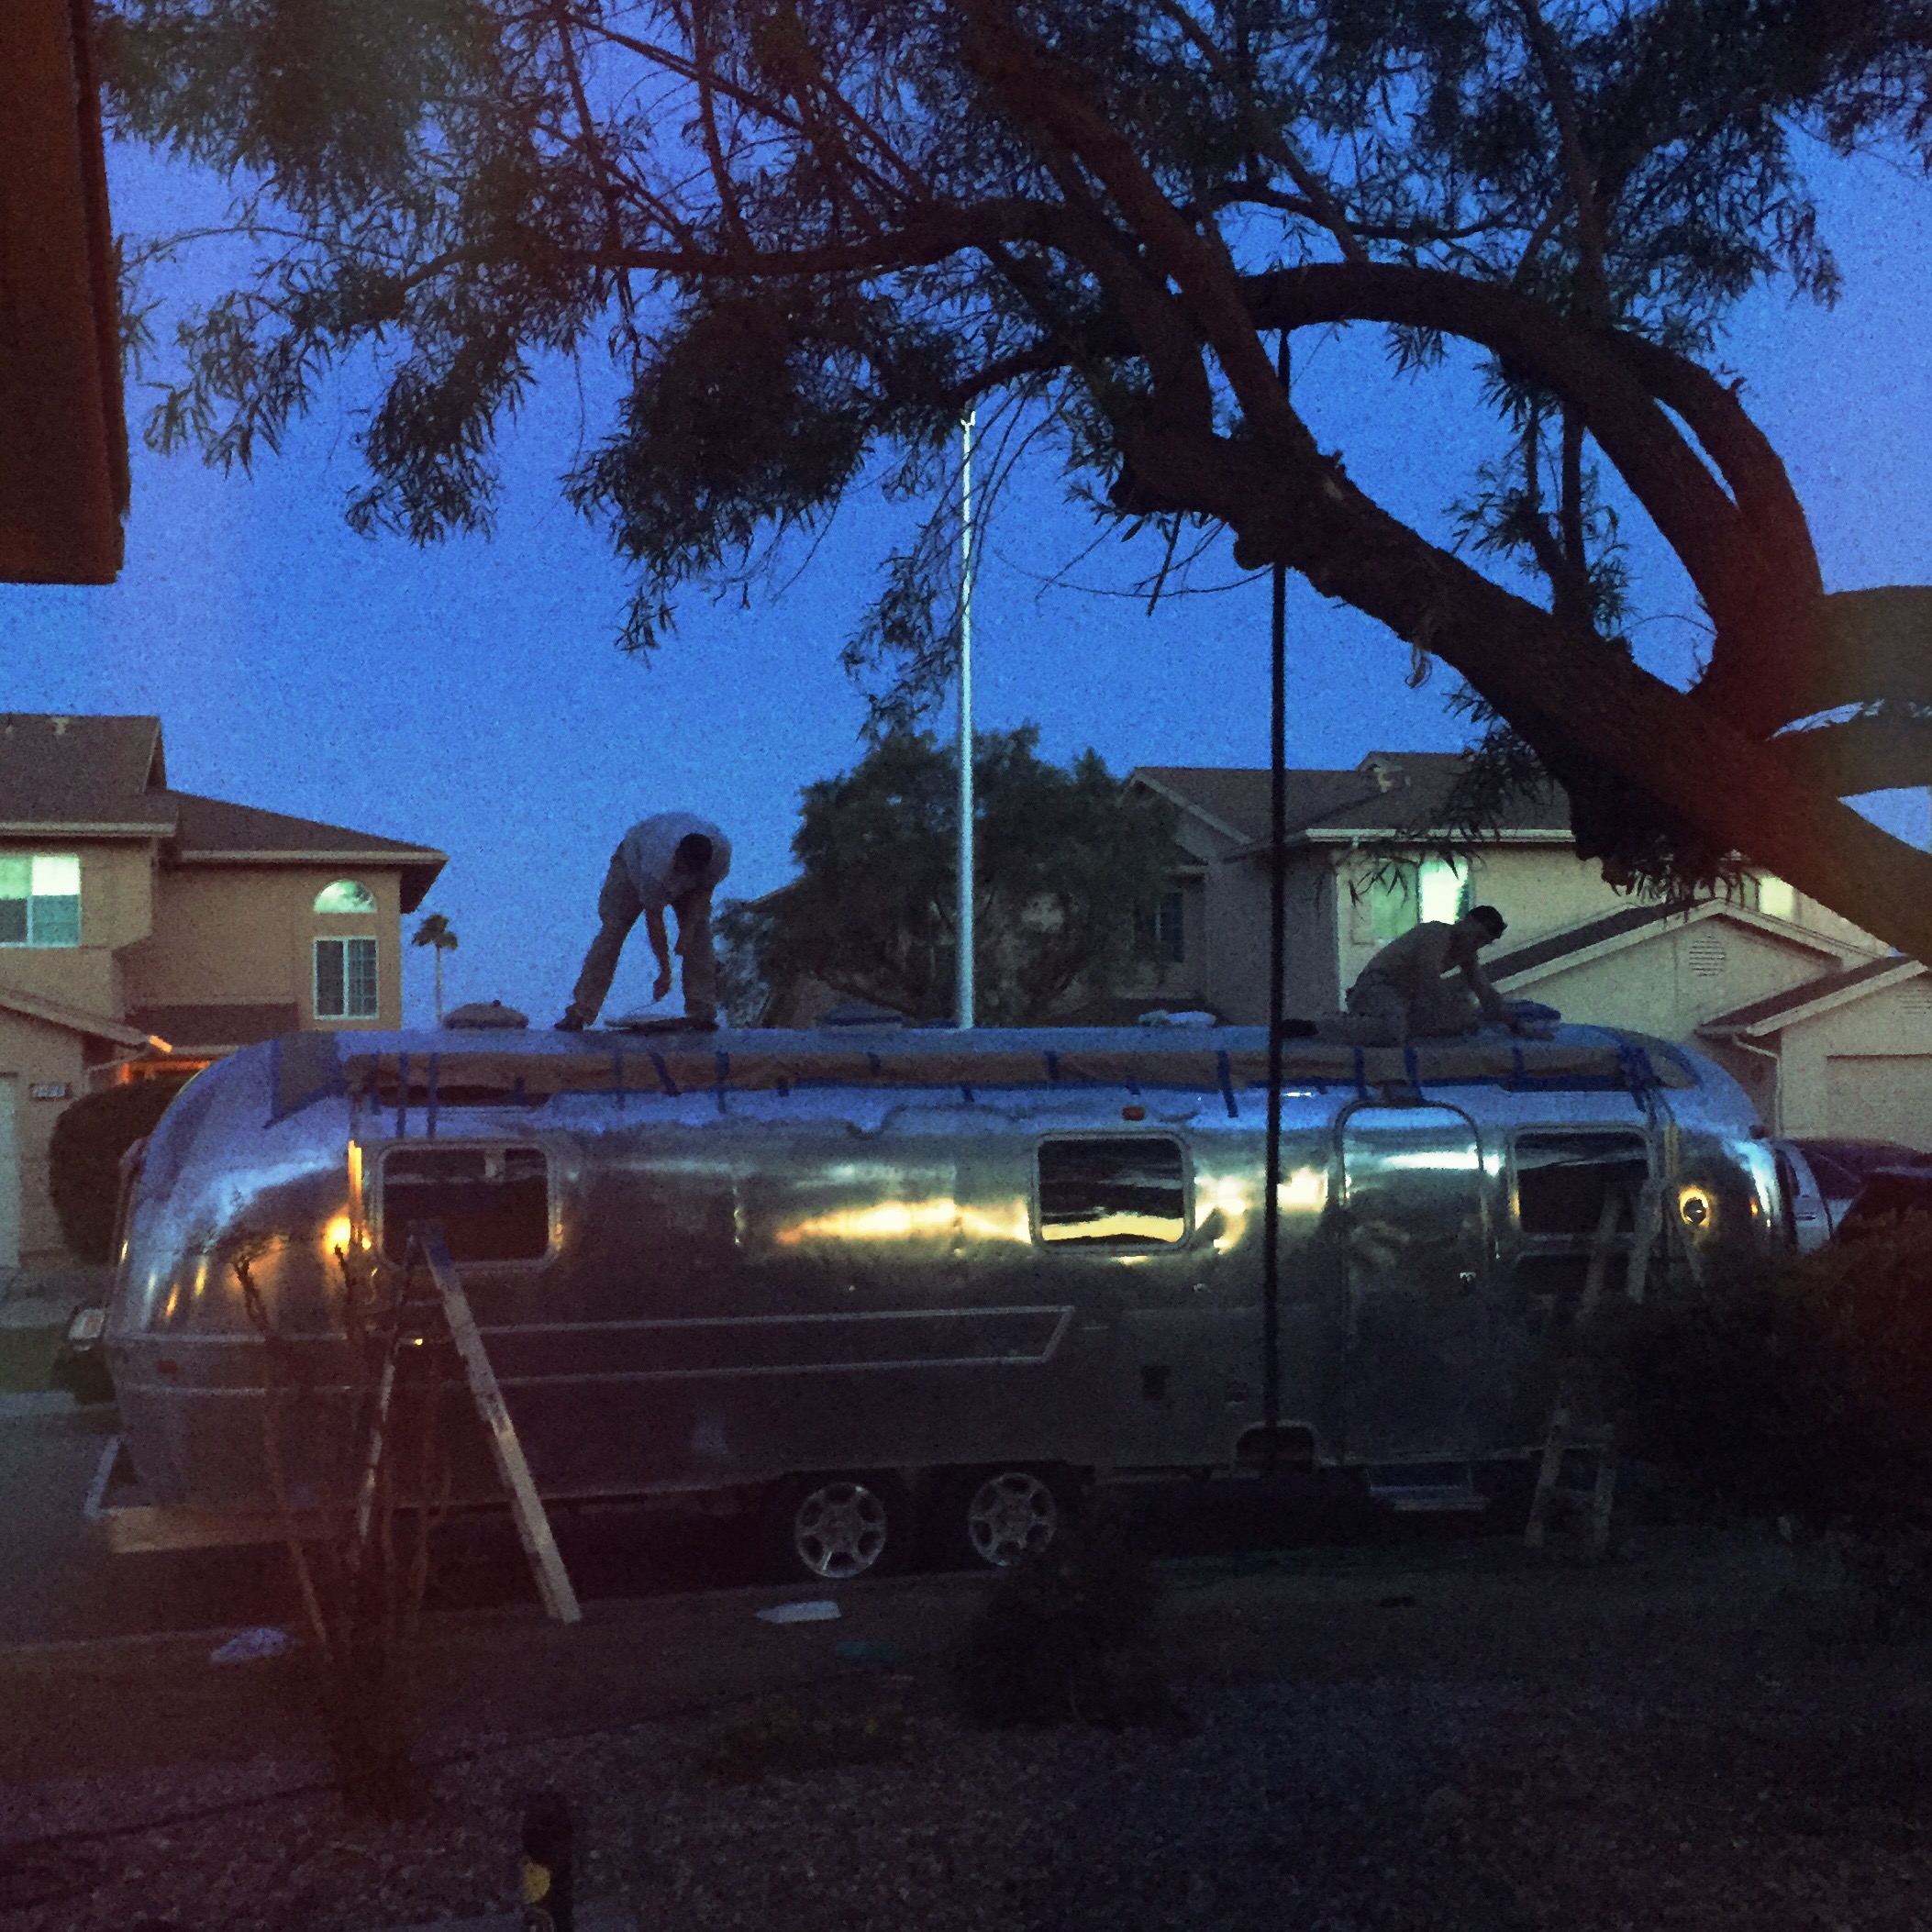
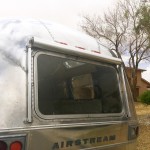
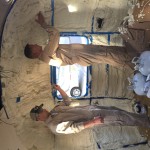
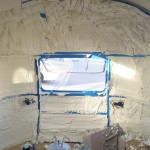
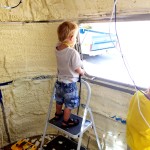
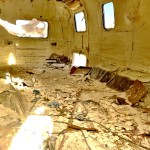
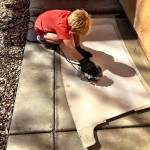
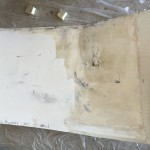
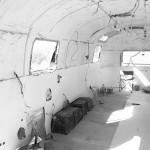
Each time we come there are more and more rocks on the shore, making parts of it almost impossible to navigate or pass to reach the water. We had a particularly rough day with the airstream renovation, and each time we go to ‘fix’ or start a project to make this place more liveable, the mess and chaos just grows. I reached my tipping point with it tonight and had to get out and get some fresh air. What better place than this beach! So the boys went down with me and my 6 year old decided that he wanted to clear a path to the water. While the rest of us were sitting there watching the waves across the wide span of rocks, he set out to make his path….one rock at a time. At first I wondered what he was up to this time. He’s always building or tinkering with something, but then I started to really watch him and saw a path start to emerge the longer he kept at it.

He was determined and just kept throwing those rocks out his way left and right, left and right. I’m not entirely sure he thought about what a huge task he was attempting to take on or what it would fully entail. He just knew he had a plan and what it would take to get there, and kept working.

As I watched him I saw a major lesson being illustrated right in front of my eyes. Take our challenges one rock at a time and before we know it, we have moved mountains. I was so inspired by his perseverance and from where I sat I could see the path clearing, so it motivated me to get up and join him. Pretty soon my other son wanted in on the action and quickly after that we had a fully cleared path all the way to the water. To look at the task before starting and asses the work would have been overwhelming, but just jumping in and doing it one rock at a time made it totally doable.


Even more, I love how God puts things in front of us to teach and illustrate the exact thing we need to be reminded of at the time. I also loved how when we returned the next day, that particular spot of the beach was now filled with people playing in the surf – a spot that they could not access before his path was there. His vision quickly became a benefit and useful path everyone else around him.

marshmallow dreams


Funny the questions that have been popping into my head about people who travel and live full-time at campgrounds. Tonight the thought struck me that they probably get really tired of campfires. {gasp} I know it seems like such an awesome part of outdoor life, but in reality, smoke and sticky marshmallows surely lose their charm night after night, right?

Good news is that for us, they are still magical and every bit an essential part of this camping life. (Though I quickly learned not to leave the airstream windows open next to the fire ?).

My boys have an obsession with burning their marshmallows to a crisp and declaring it ‘perfectly done!’

You may wonder how S’mores work for kids with food allergies. We have come up with 2 alternatives that are not just acceptable, but in my opinion far surpass the traditional S’more…

1) Sharf brand gluten free shortbread cookies. These paired with toasted marshmallows are so good, you usually forget the chocolate, but the Enjoy Life Dairy Free Chocolate Chunks make an excellent addition if you remember to put them on.

2) Betty Crocker’s Gluten Free Brownies  (this one is still their fav of all the gf brownie mixes). Bake up a batch and top it with your roasted marshmallow for a really indulgent campfire treat!

There’s no way we’ll be able to make this a nightly event, but since we are just starting out you’d better bet the boys are LOVING some evening camp fires and marshmallows!

first stop: San Onofre beach

Our go-to favorite beach camping spot in Southern California has always been San Onofre Beach, so when we thought about starting out we figured it is smart to start somewhere familiar that we love. We drove out of the 112 degree desert and have arrived at our ‘camping beach’ safely with the airstream!

We were saying our prayers all the way down the hill after finally pulling through the weigh station ? Turns out with all of our things loaded up + propane + water we are just out of the ‘safe’ towing capacity of our Toyota Sequoia ? We LOVE our sequoia and are racking our brains as to what we could take out of the airstream to lighten up. Thankfully we will be here working on some things in the area, so we have some time to figure out a plan before we have to drive again.

Talk about stress. We are FINALLY all moved in and managed to weed through everything we own and get rid of a LOT. We packed up the rest and had the movers take it to my family in SC to store, but kept all our favorite or essential things just to realize we are in a bad spot with the weight. Anyway, we have arrived in San Onofre and set up camp, unloading all of our tools and construction materials that we had to bring with us to finish up. The boys ❤️ their ‘camping beach’ so we have not had any issues with the transition for them so far. It just feels like we are in a weekend vacation. So weird.


We have water and electricity hookups here, but no sewer. We figured for our first night living in it we won’t know any different, so just pretending we are camping with some extra perks. ? We looked like the total amateurs that we are trying to back in and level it the first time, but we managed!


So we hooked up our water and have running water!!! Yay! Unfortunately we did not have time to hook up the propane tanks and hot water heater before leaving so we have no hot water ? we are just so happy to be out of the 112 degrees and the desert …..and this is our new backyard view, so we don’t even care!

Wild orange and cassia gluten free coconut French toast

This is the best French toast, and so so easy. We use gluten free bread because of food allergies and coconut milk gives this the perfect sweet touch while keeping it dairy free!


Here’s the recipe:

  • 1 loaf gluten free bread (or bread of your choice)
  • 2 eggs
  • 2 small cans of organic coconut cream 
  • 2 tsp cinnamon powder
  • Dash vanilla extract
  • 2 drops doTERRA wild orange essential oil
  • 2 drops doTERRA cassia essential oil

Mix all ingredients (except for the bread)? in a stand mixer and blend until smooth. Soak each piece of bread in mixture until coated and pan fry in coconut oil. 

For an extra sweet treat, top with cream cheese and maple syrup!

It’s that easy. Enjoy!

detox foot & armpit mask


Many people love bentonite clay + apple cider vinegar masks on their face, but did you know you can also use these to detox other areas of your body? I like to keep a small glass jar upstairs with the 2 ingredients and a wooden chopstick. Makes whipping up a batch of this stuff so quick and easy.

Pour a few Tbsp of bentonite clay into my 4 oz jar, add in organic ACV until it gets smooth and stir it well with the wooden stick (do not use metal with the bentonite clay).
It will get nice and smooth and bubbly – way better than mixing it with water! My favorite essential oil to mix in is dōTERRA’s Zendocrine detoxification blend. It is an amazing blend of tangerine, rosemary, geranium, juniper berry and cilantro essential oils!

These oils are fantastic to support cleansing of the endocrine system (great for your skin) and cilantro is also excellent for heavy metal cheating.

Add in 2-3 drops of the Zendocrine oil to your wet clay mixture, cover your feet. Prop them up and sit back with a good book and let it dry before washing all those toxins and inpurities out!

This is also GREAT for an armpit detox!! Pulling out those toxins and odors can be very beneficial, especially when switching to natural deodorants.

Some other fun oils to try as add-ins::

  • Deep blue to sooth tired feet and sore muscles
  • Slim and sassy to boost metabolic function and detox
  • Lemongrass and peppermint for a fresh and cooling pick-me-up
  • Cilantro to pull out heavy metals

Have fun with these & Let me know how you like it!

airstream renovation: flooring

Something is FINALLY happening on the inside!! I think at the end of all this maybe we will have time to better organize our updates, but for now just trying to keep up with it so we can have some of this written down and documented. This week we’ve made some big strides!

We installed the floors early this week. We went with TrafficMASTER allure after reading a lot of reviews on what to use and not use in a travel trailer. It is so crazy the things you have to factor in and consider when taking your ‘home’ into all different climates and also moving it around constantly. It is like having to build everything to be able to withstand an earthquake at all times. So fun. Anyway, the floors we went with a floating plank style but since we could not use real wood bc of climate control, moisture and weight issues we went with the Allure vinyl plank. Here’s what went down (literally)

It is crazy how much the lighting changes the shade of this floor, but in most light it is more of a neutral unfinished tone than the golden hue. We wanted it to be warmer than a grey driftwood, but still light and very neutral.

Pros: easiest floor we have ever installed. So so so easy. Literally press it down and a pair of heavy duty clippers or box cutters did the trick to make the cuts. It looks great – has a nice texture and we loved the color options. It is super easy to clean and seems very durable as little ones have already dropped tools and heavy objects on it with no ill result (big plus).


Cons: installing it in a travel trailer voids the warranty or any type of guarantee it may otherwise have. In reading the fine print, it actually recommends installing it in a cool dark place. Well that makes life rather boring. Short story:: it can’t take the heat.

So the day after we celebrated our beautiful new floors it hit triple digits here in the high desert. Blaring hot sun with no reprieve. By mid day with it closed up and stored the floors were already having issues 🙁 we have several spots that buckled and warped with the high temps. Thankfully as it cooled again that night some of it went back down, but we are going to have to go through and glue down several parts of our nice new and NOT cheap floating vinyl floor….which is a bummer.


It still looks good. It will still work, but despite all the rave reviews we had read, we will NOT likely be recommending this flooring to anyone renovating an RV or travel trailer bc of this. Unfortunately most other flooring options would be just as bad or worse so we feel we still have a good choice, but definitely not impressed at it warping in spots on day 1. Hoping it will be a fairly easy fix and we will not have more issues with it moving forward. Overall we are still happy to have it in and excited to move on to the next step: building in the furniture!

airstream renovation :: wall panels back in

We finally have some visible progress! The walls are finally all in! E made a door to cover the big hole (aka generator opening) and we have sanded, primed and painted every single wall panel and re-installed them all.

Since we have moved several things on the top center panel, we had to cut a new piece of aluminum for both the center panel and the front end cap (curve). E did an amazing job engineering that – NOTHING about working with curved space is fun or easy, but he pulled it off and it looks great!

The kids are having a lot of fun now that they can spend more time inside with us ‘helping.’

Because we have added in fans and moved the A/C unit we had to completely replace the top center panel. This was a fun process of a LOT of measuring twice….and three and four times to make sure we only had to cut once. It was pretty funny watching 4 adults try and hold that piece of aluminum up as we slid it into the center holds. Amazing how heavy a little piece of aluminum can get holding it above your head for an extended amount of time, but we made it and it fit perfectly!!

We installed 12v led lights down the center panel through the whole thing. We now have working lights, outlets and a working A/C unit (we hit our goal to get the A/c installed and up and running before the desert heat creeps in!).

We’ve been really blessed this week with some cooler weather – I know it won’t last long, so we are enjoying the clouds and moderate temps while they’re here! 

It’s time to start getting serious about the interior design and build out the insides! We think we know what we want, but I am having a hard time deciding on some of the materials (shocker, I know). We want the interior to be bright, open and airy so we are going with a lot of white and light colors, but with 3 boys (ok more like 4 counting the hubs) and living outdoors most of the time, too much white may prove to be a bad call.

We are en route to the lumber yard as I type this so stay tuned for some good progress pics in the next few weeks!! We’re down to 7 weeks to get this thing completely DONE and get moved in, so the pressure is on and the hours are getting long!

Long nights?

   
I had a long night up with the kiddos the other night and woke up looking a bit…puffy around the eyes. I decided to try correct-X on one eye and a very expensive eye cream on the other to see if the rumors I had heard were true that this can aso be a magic eye cream. Within minutes I could tell and feel the difference, and believe it or not, the correct-X won! It calmed and soothed the skin and took the puffiness right down. A super convenient skin ointment for the kiddos that also works to erase long, rough nights? Yes, please! Bye bye expensive eye creams!

dairy free gluten free mac-n-cheese

I wish I had a video of the dancing that ensued in the kitchen when my boys found out I was going to attempt a ‘safe’ mac-n-cheese. When you go your whole life allergic to dairy and wheat, you don’t get this as a dinner staple….or at all. My 6 year old had never had it, but when we ordered food and a local place accidentally delivered a side of mac-n-cheese that my 4 year old (not allergic kid) devoured. Their curiosity was peaked for this ‘kid’ food staple.

So I finally decided making a ‘cheesy’ sauce with no cheese couldn’t be that hard, right? While we usually try and change our diet rather than sub food, we have incorporated some shredded Daiya brand ‘cheese’ into a few dishes and the boys feel like they are getting something cheesy (quesadillas are their fav)

So for this Mac-n-cheese I started with a pack of organic gluten free rice/corn blend fusilli (who doesn’t love the spirals!!).

 Here is the recipe for the ‘cheese sauce’ though I apologize – I never really measure anything.

Start by melting the butter over med heat until liquified, then adding in the gf flour to make a rue.

Once this paste is formed, add in the Daiya shreds and let them melt and add in flax milk to cream it up. Whisk the blend until smooth and creamy.

 Add in salt to taste, the grated nutmeg (bc everything cheesy is better with nutmeg) and remove from heat. Stir in 2 drops of dōTERRA black pepper oil for an amazing flavor boost.

Drain pasta and drizzle on some Rosemary & Thyme infused olive oil. Top with cheese sauce and watch your dairy free kids smile with delight and gobble it up!

We kicked it up a notch my adding in some natural sausage – browned and crumbled into the mix. You can sneak in chopped spinach as well!

Healthy Eyes

  
so I maybe did a little airstream renovation work this past weekend without proper eye protection. That combined with the desert dust and dryness was not a great combo.

These three oils have been by my side and are fantastic when you need to support healthy eye function. LOVE these touch rollers! Just figure 8 them around your outer eye bone in layers when you need a little extra support! 

Never never put essential oils directly into your eyes, ears or nose:..safety first! 

gluten free instant pot quinoa breakfast bowl

This is hands down my new favorite quick and healthy breakfast. Have I mentioned how much I LOVE our instant pot? 

For this breakfast bowl…

STEP 1: start your breakfast meat cooking (optional). We love the Jones Farm Natural Maple Sausage Links and cook up a batch of those while the rest is preparing

STEP 2: make quinoa in your instant pot (if you have the Bluetooth instant pot there is a recipe script on the app). If not, add:

  • 2 cups quinoa (rinse it first)
  • 3 cups water
  • A few shakes of sea salt

Close and lock the lid, select manual and drop it to 1 minute

Let it release naturally after 10 minutes

When pressure releases, fluff with fork and drizzle with rosemary & thyme infused olive oil

STEP 3: We routinely make soft boiled eggs with the instant pot. It is SO easy with perfect results every time!

Insert your rack into the instant pot. Add about 1/2-1 cup water and however many eggs you want to boil

Close and lock lid. Set to 4 minutes on manual. If you like them really soft boiled, cancel it when the cook time is done and manually release the pressure. Otherwise, let it naturally release in 10 min and they are more like medium boiled eggs (no runny yolk).

Once pressure is released, put eggs into cool bowl of water with ice to stop the cooking. The shells are a breeze to peel this way too.

Peel your eggs

STEP 4: prep your veggies. I love adding chopped spinach and/or avocado but you can do whatever you’d like

ASSEMBLY: scoop some of the rosemary & thyme flavored quinoa into a bowl. Add in a few peeled eggs, your sausage, chopped veggies and sprinkle with Parmesan or sharp cheddar (optional). Add in some fresh grated sea salt, lots of freshly grated black pepper and dig in!


GF raw Blueberry Bars with Wild Orange and Cinnamon Oil 

I’m always cooking and flavoring our food with essential oils, so I am super excited about this recipe for these raw, gluten-free treats from dōTERRA! These may be a new staple in our house!
  
INGREDIENTS:

Base Layer

  • 1 1/2 cups oat flour
  • 4 tbsp water
  • 2 tbsp coconut oil
  • 2 tbsp maple syrup
  • 2 tbsp molasses
  • 1 drop Cinnamon essential oil

Blueberry Layer

  • 4 cups organic blueberries (Frozen is fine but be sure to thaw first; also, fresh will give you a more vibrant color.)
  • 3 cups GF oat flour (I use my vitamix to grind up GF rolled oats)
  • 1/2 cup maple syrup
  • 5 tbsp coconut oil
  • 2-5 drops Wild Orange essential oil

DIRECTIONS:

Bottom Layer: Melt coconut oil in microwave and combine with other ingredients, adding the Cinnamon essential oil last. Mix well. Press mixture into a layer an 7×11 pan. Place pan in refrigerator to firm up.

Blueberry Layer: Puree blueberries in a food processor. Melt coconut oil and combine all remaining ingredients, adding the Wild Orange essential oil last. 

Press blueberry layer evenly on top of bottom layer. Dust with unsweetened cocoa power like we did or leave them blue and bare-y. Place in fridge to chill until desired consistency is reached.

http://doterrablog.com/raw-blueberry-bars-with-wild-orange-and-cinnamon-essential-oil/

simplify:: my closet

with less than 4 months to go until we hopefully hit the road, i am getting a new urgency to get rid of as much stuff as possible. i’m actually carving time into my week (thanks to my improved time blocking skills and my new Erin Condren planner) to tackle an area of crazy in this house in hopes to take small chunks out of this mountain sized project of moving from excess to minimalism.
today’s project: my clothes. this is one i’ve been putting off, but i made a good dent today! i don’t know if it would have been easier or harder had i actually FIT into all the clothes i’ve been toting around for the past 10 years. nope, pretty sure the jeans i wore out of college before life with three babies aren’t going to fit the same way again….ever. time to let go. though i have NOT been successful following the KonMari method, i did find it useful today to realize these clothes have served their purpose and it is ok to let them go. crazy the memories that we can attach to clothing, right? like the sweater I was wearing the day we brought our puppy home and i had him hiding out in the pocket!

Needless to say all this stuff is now OUT and I am one step closer to creating a capsule wardrobe that will work for our life on the road! 

Who here has done a capsule wardrobe? Tips? I’ll be updating when I get mine down to that and all set!


airstream renovation :: part 4

This has been the most stressful, but rewarding phase yet. It’s about to start getting REAL! I have to give a shout-out to my super talented husband who managed to get all of the electrical wiring in the right place & tested, the spray foam in (despite a few challenges) and then completely cleaned up and ready for walls in a relatively short amount of time. If anyone is wondering what we’re doing in our ‘spare’ time – this is it….night and day aside from our normal work hours. The kids have been troopers and are really starting to get into it too as it’s getting to the point they can pitch in and help more.

Getting this thing water tight and all the last little rivets, caulking and cracks filled took a long.long.long time. Once we finally got everything in, set and sealed, it passed the water test! We then had to finalize the placement of all the electrical wiring. Trying to decide the exact spot that you want an outlet when you don’t even have walls in yet to work with is a challenge. I learned that I am very visual and my spacial orientation is lacking when it comes to envisioning where this all will end up. Talk about stress! Making sure you have every wire in the right spot and set before you’re about to foam it all in with NO undo button will definitely make you break a sweat. We had some intense days of making sure this thing was 100% ready for the spray foam.

Speaking of the foam…..now that it’s behind us, I’m sure it is awesome and will be a great asset to our comfort in the future. Up to this point, it has been nothing but a pain in the a$$. As you know, this stuff grows as it cures, and when you only have 1.5″ space and no wiggle room, the expanding qualities are nothing short of awful. Thankful that we have excellent safety gear on hand, and after many many many hours of ‘trimming’ it back down, we are about 99% DONE with the insulation phase!

The final step of this phase is salvaging the old aluminum wall panels. Man these things were rough. We have washed each of the panels several times, sanded them down and coated them with the best primer we could get our hands on. They look amazing compared to where they came from! We’ll hopefully be wrapping the walls up this week!!

Next steps: lights and switches installed, walls painted, A/C & generator installed & then we’ll get to lay the flooring!!!

Gluten Free Irish Soda Bread


This bread is good any way you slice it. I compiled ideas from several recipes and this is what I came up with… We started making this for St Patrick’s Day 2009 and it has been a favorite ever since! Since this one is not easily adapted to be dairy free, we have avoided it for the kids until this year. Now that we are able to do baked egg and milk, we converted this to a gluten-free variation this week. The texture is a bit more dense, but the flavor is still spot on!

IRISH SODA BREAD

1/2 cup white sugar

2 cups white flour***

2 cups wheat flour***

***[for gluten free, sub these for 4c gluten free complete flour mix]

2 tsp. baking powder

1 1/2 tsp. baking soda*

3/4 tsp. salt

1 cup currants

1/2 cup craisins

1/2 cup pecans [nut-free sub for sunflower seeds]

1 Tbsp flax seed, pecans

1 Tbsp. caraway seeds

2 eggs lightly beaten

1 1/4 cups buttermilk

1/2 cup sour cream

1/2 cup plain yogurt**

**(can substitute yogurt/sour cream) If using ALL sour cream, decrease baking soda by 1/2 tsp. If using ALL yogurt, increase baking soda by 1/2 tsp.

1. Preheat oven to 350 degrees F (175 degrees C). Grease a 10 inch round cast iron skillet (or could use round baking or cake pan)

2. In a mixing bowl, combine flour, sugar, baking powder, baking soda, salt, raisins and caraway seeds. In a small bowl, blend eggs, buttermilk, sour cream and yogurt. Stir the liquid mixture into flour mixture just until flour is moistened. Knead dough in bowl about 10 to 12 strokes. Dough will be sticky. Place the dough in the prepared skillet or pan and pat down with a dusting of wheat flour. Cut a 1 in. by 6 in. deep “X” into the top of the bread before baking.

3. Bake in a preheated 350 degrees F (175 degrees C) oven for appx 50 min or until brown and pulling away from sides of the pan. Turn bread onto a wire rack to cool.